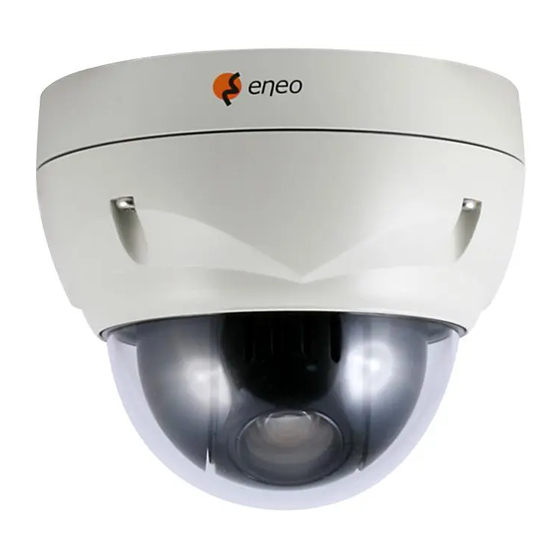
Summary of Contents for Eneo IPP-62A0012M0A
- Page 1 Quick Installation Guide 1/2.8” Network Dome, PTZ, 12x, Day&Night, 1920x1080, 12/24V, PoE, IP66 IPP-62A0012M0A...
-
Page 2: Table Of Contents
Content Safety instructions General safety instructions Components........................5 • Before switching on and operating the system, first read this safety advice and the operating instructions. • Keep the operating instructions in a safe place for later use. Installation ........................6 • Installation, commissioning and maintenance of the system may only be carried out by authorised individuals and in accordance with the installation instructions - ensuring that all applicable standards and Installation ...................................6 guidelines are followed. -
Page 3: Components
Components Class A device note This is a Class A device. This device can cause malfunctions in the living area; in such an event, the operator may This system comes with the following components; need to take appropriate measures to compensate for these. WEEE (Waste Electronical &... -
Page 4: Installation
Installation 2. Fix the Mounting Bracket to the ceiling using supplied Anchors (4x) and Mounting Screws (4x) (Figure B). 3. Hook up the Safety Lanyard to the Safety Lanyard Hook of the Mounting Bracket Installation (Figure C). 4. Align the locking tab on the bracket and the locking slot on the base of the dome The dome camera is for use in surface or pendent mounting applications, and the mount- (Figure D). -
Page 5: Basic Configuration Of Camera System
CAUTION: Before installing mounting bracket to surface pre-adjust the four mounting The camera must be installed by qualified service personnel in accordance with all local screws ”A” on the base of the dome camera to best match the mounting bracket locked and federal electrical and building codes. -
Page 6: Connecting Alarms
Connecting Alarms Network Connection & IP Assignment The eneo scanning device tool is used to locate all eneo network cameras in a local net- A1,A2,A3,A4 (Alarm Input 1,2,3,4) work. The tool does not need to be installed with a setup program. The program exe-file You can use external devices to signal the dome camera to react on events. -
Page 7: Operation
Operation Access from the internet The network camera can be used with Windows operating system and browsers. The Once connected, the network camera is accessible on your local network (LAN). To access recommended browsers are Internet Explorer, Safari, Firefox, Opera and Google Chrome the network camera from the Internet you must configure your broadband router to with Windows. -
Page 8: Live View Page
Live View Page The Snapshot button takes a snapshot of the current image. The location where the image is saved can be specified. The Live View page comes in several screen modes: 1920x1080, 1280x1024, 1280x720(960), 1024x768, 704x480(576), 640x480(360) and 320x240. Users are allowed The Digital Zoom button activates a zoom-in or zoom-out function for video image to select the most suitable one out of those modes. -
Page 9: Playback
Playback Forward Play: play forward the video clip. Fast forward play: play fast forward of the video clip. Go to the last: go to the end of the video clip. Clip copy: copy the video clip. Zoom In: zoom in the video clip. Full Screen: display full screen of the video. -
Page 10: Network Camera Setup
Notice: If the password is lost, the network camera must be reset to the factory default settings. Please see ”Resetting to the factory default setting”. Resetting to the factory default settings To reset the network camera to the original factory settings, go to the Setup > System > Maintenance web page (described in ”System >... -
Page 11: Further Information
Further information Make sure to always upgrade to the latest firmware version available from the eneo web- site at www.eneo-security.com to receive the latest functionality for your product. The manual, and other software tools are available on the eneo website at www.eneo-se- curity.com or on the included CD. - Page 13 VIDEOR E. Hartig GmbH Exclusive distribution through specialised trade channels only. VIDEOR E. Hartig GmbH Carl-Zeiss-Straße 8 63322 Rödermark/Germany Tel. +49 (0) 6074 / 888-0 Technical changes reserved Fax +49 (0) 6074 / 888-100 www.videor.com...


Need help?
Do you have a question about the IPP-62A0012M0A and is the answer not in the manual?
Questions and answers