Redwood CA900FI Installation & User Manual Instructions
Hide thumbs
Also See for CA900FI:
- Installation & user manual instructions (12 pages) ,
- Product instructions (10 pages)

Related Manuals for Redwood CA900FI


Summary of Contents for Redwood CA900FI
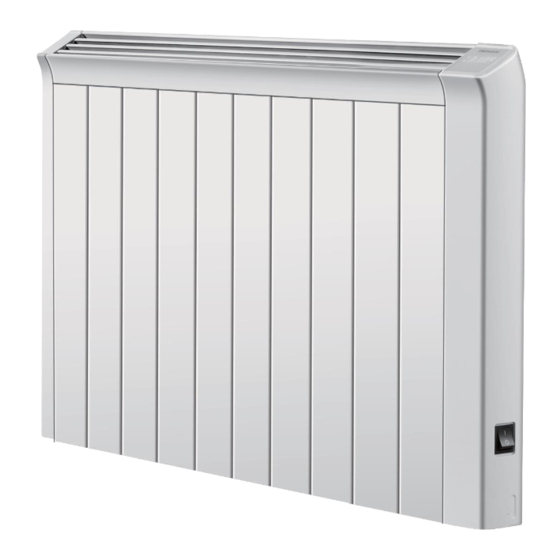
- Page 1 Panel Heater Installation & User Manual Instructions Models: CA900FI, CA180FI, CA240FI...
-
Page 2: Safety Requirements
Please register your warranty at www.theheatingcompany.co.nz/warranty. The Redwood Panel heaters are a high-quality product and will provide you with many years of comfort. The Redwood Panel Heater is covered by a comprehensive 2 Year Manufacturer’s Warranty. For further information or technical advice please contact: www.theheatingcompany.co.nz... -
Page 3: Installation Location
5. Rear Panel 8. Front Panel 3. Bracket Fixing Position 6. Panel 9. Top Grill Model Nominal Rated Rated Current Number of Voltage Frequency Fins CA900FI 240V 50Hz 4.1 A CA180FI 240V 50Hz 8.2 A CA240FI 240V 50Hz 10 A... -
Page 4: Installation Method
Redwood Panel Heater Dimensions Model Width (mm) Height (mm) Depth (mm) Area size (m CA900FI 554 mm 510 mm 60 mm Up to 12 m CA180FI 850 mm 510 mm 60 mm Up to 25 m CA240FE 1150 mm 510 mm... -
Page 5: Key Function Description
When the lock symbol is displayed, it indicates that the device is locked. In this state, all buttons are invalid. To unlock the heater press and hold “-“button & input the 6-digit pin number (if the 6 digit password set). When the symbol is blinking, it indicates the heater searching for WIFI connection. - Page 6 Programming: Can only be done through the mobile app Manual Mode: On/Off and temperature can be controlled on the heater display. How to add the heater to the mobile App The TUYA App is available to download on Apple app store (IOS version) & Google play store (Android version).
- Page 7 3. Follow the 2.4GHz Wi-Fi connection instructions before adding device. Follow the instructions to add the device. Press the button on the heater to turn on the heater. Hold the button for 3 seconds to initiate to pare the heater into your network. At this time, the indicating light on the heater "...
- Page 8 5. Scanning devices Press add figure on the interface of APP as below to scanning the device automatically. Press + button to scan for the device Once the device is founded, click on the “Add” button, and then fill in your network Password as below.
- Page 9 Wait a couple of seconds Press the “next” button 6.Final step to finish pare your heater: To customise the device details, press the icon of heater before complete device adding process. Press the heaters icon to edit the details Name your heater...
- Page 10 Current mode Press this button to finish pairing and switch to operation The set temperature & current room temperature Decrease temperature setting Increase ON/OFF switch temperature setting Extra settings Switch between manual and programming modes To use the settings You can set the desired temperature by pressing “+” or “-“. Also, set a designated time to turn off or turn on the heater automatically in “settings”...
- Page 11 Save your settings or go back without saving. Specify whether this timer switches the heater On or Off How to program on APP 1. Enter program setting 2. Press the time columns to select timing you 3. set the desired want set temperature in the time you...
- Page 12 Switch your heater to program mode 2. Current mode is manual 3. Press mode switch to program mode 1. Select program and press done to confirm 4. The heater is now working in program mode...
-
Page 13: Restore Factory Settings
Manual Mode (On Heater LCD Display) If you wish to continue in manual mode, please press “ ”until” ” symbol is off on the display. Then you can set the desired temperature by pressing “ ” & “ ” buttons. Once you set the desired temperature, the “...
Need help?
Do you have a question about the CA900FI and is the answer not in the manual?
Questions and answers