Advertisement
Quick Links
Advertisement

Subscribe to Our Youtube Channel
Related Manuals for Arctiko FLEXA 110


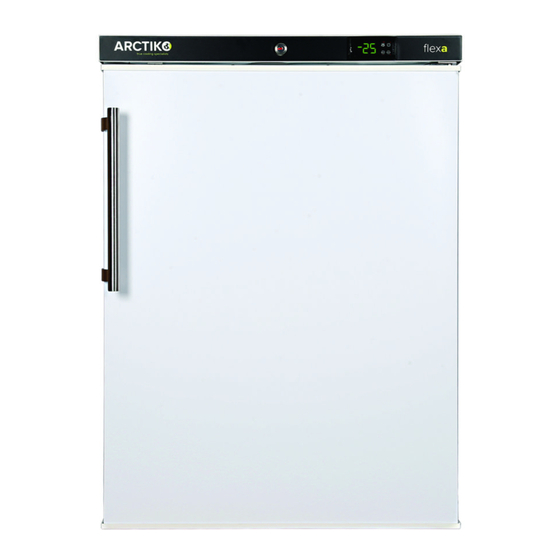
Summary of Contents for Arctiko FLEXA 110
- Page 1 MOUNTING INSTRUCTIONS FOR STACKING KIT FLEXA 110 / 120 MODELS...
- Page 2 Instruction 1x DAI 3511 Remove the two black screws that fix the top on the back of appliance and save them for step 3. 1x DAI 3511 Place the stacking kit on the top of the appliance. The ventilation area must be positioned to the front and the holes for the screws must be in line with the holes on the rear side of the appliance.
- Page 3 1x DAI 3511 Fix the stacking kit to the top reusing the black screws removed in the first step. 1x DAI 3511 Unscrew the 4 levelling feet on the bottom of the appliance which will be placed on top of the stacking kit, until the levelling feet can enter into the defined holes in the top of the stacking kit.
- Page 4 Place the appliance above the other. Be sure that the levelling feet fit the holes. To place it correctly, push the upper appliance backwards until the rear side is aligned with the lower appliance. 5085073-01...
- Page 5 The final look of the stacked appliances should be like the images below. The front and rear side of the appliances should be aligned. 5085073-01...
- Page 6 5085073-01-GB ARCTIKO A/S | Oddesundvej 39 | 6715 Esbjerg N | Denmark +45 70 20 03 28 | www.arctiko.com | info@arctiko.com...
Need help?
Do you have a question about the FLEXA 110 and is the answer not in the manual?
Questions and answers