Table of Contents
Advertisement
Quick Links
FLEX-6300 MicroSD Card
Installation Guide
May 4, 2022
The following guide will provide the necessary step-by-step procedure for installing a MicroSD
card in a FLEX-6700 or FLEX-6500.
Table of Contents
......................................................................................................................... 2
Required Tools ......................................................................................................................... 2
Materials needed for Service Procedure .................................................................................. 2
Removing the Top Cover ......................................................................................................... 2
Locating and Removing the RF Isolation Cover....................................................................... 4
Remove the existing MicroSD Card ......................................................................................... 5
Remove the existing MicroSD Card ......................................................................................... 6
Installing the New MicroSD Card in the Card Socket .............................................................. 7
Verify the FLEX-6300 will boot properly with the new MicroSD Card .................... 8
Reinstall RF Isolation cover ...................................................................................................... 8
Page 1
.................................................................................... 4
............................................................................................ 7
............................................................................................... 9
....................................................................... 2
© 2022 FlexRadio, v1.0.0
Advertisement
Table of Contents

Related Manuals for FlexRadio FLEX-6300


Summary of Contents for FlexRadio FLEX-6300
-
Page 1: Table Of Contents
NSTALLING THE NEW ICRO Installing the New MicroSD Card in the Card Socket .............. 7 Verify the FLEX-6300 will boot properly with the new MicroSD Card ....8 Reinstall RF Isolation cover ...................... 8 ....................9 EINST ALLI NG THE... -
Page 2: Getting Started
Preparing to Install the MicroSD Card Removing the Top Cover Disconnect all cables connected to the FLEX-6300 and locate a flat secure work table to perform the procedure outlined below The top chassis cover for the FLEX-6300 must be removed before the MicroSD card can be installed. - Page 3 Once the bottom cover retaining screws have been removed, gently pull the Bottom Cover upwards to remove it from the FLEX-6000. The image below shows the removal of the Bottom Cover. Page 3 © 2022 FlexRadio, v1.0.0...
-
Page 4: Replacing The Existing Microsd Card
This procedure will not void your warranty since FlexRadio is instructing you to do it. Using a sharp-pointed knife or razor blade, cut through the label so that the removable top can be easily lifted and removed. -
Page 5: Remove The Existing Microsd Card
Remove the existing MicroSD Card The next step is to remove the MicroSD card from the FLEX-6300. The MicroSD card is located adjacent to the FPGA processor/fan assembly. Locate the MicroSD card in the red box shown in the image below. -
Page 6: Remove The Existing Microsd Card
Remove the existing MicroSD Card The next step is to remove the MicroSD card from the FLEX-6300. Using a non-metallic object to lift the end of the card nearest to the FPGA processor/fan assembly, the MicroSD card should easily lift out of the card socket so it can be removed. -
Page 7: Installing The New Microsd Card
To prevent the retaining clip from coming unlatched when the radio is shipped, place a strip of Kapton tape over the top of the MicroSD card socket as shown below. Page 7 © 2022 FlexRadio, v1.0.0... -
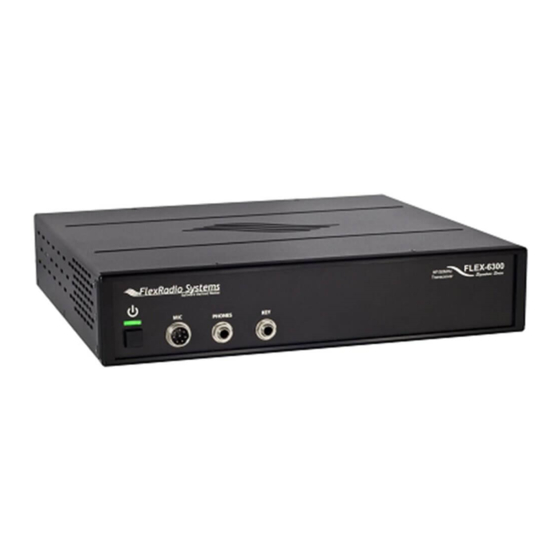
Page 8: Verify The Flex-6300 Will Boot Properly With The New Microsd Card
Connect an Ethernet cable to the radio and connect it to your LAN Turn the FLEX-6300 on and verify the radio boots without an error and the Power LED is solid green. Note: If the FLEX-6300 does not boot, then power down the radio, remove the DC power cable, reseat the MicroSD card, power up the FLEX-6300 and reseat the MicroSD card. -
Page 9: Reinstalling The Top Cover
If an ATU board was moved out of the way when you removed the RF Isolation cover, carefully move the ATU back into place and reinstall the three (3) retaining screws. Reinstalling the Top Cover Place the top cover on the FLEX-6300. In reverse order, re-install the top cover screws. ...
Need help?
Do you have a question about the FLEX-6300 and is the answer not in the manual?
Questions and answers