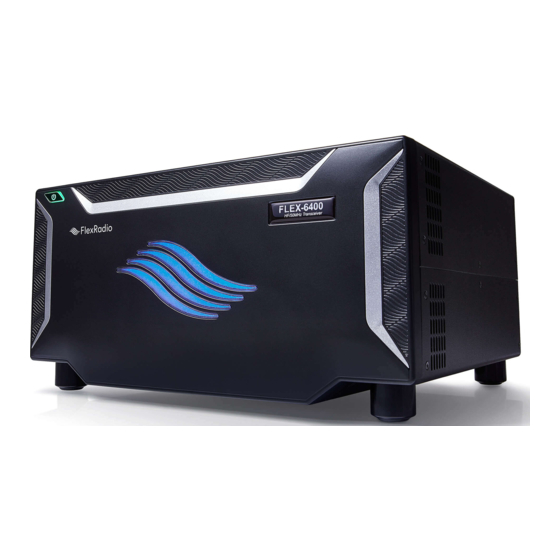
FlexRadio FLEX-6400 Installation Manual
Hide thumbs
Also See for FLEX-6400:
- Installation manual (13 pages) ,
- Installation instructions manual (7 pages) ,
- Instructions (4 pages)
Advertisement
Philips Head Flat Screw (#1 Philips screwdriver)
Referred to as (item 3), this is a longer
replacement screw for fitting the rack mount ear
or handle to the chassis.
For Handles Only
Step 1- Remove cover screws on both
sides of the chassis (item 4).
There are 4 per side.
Step 2- Attach the handles (item 2)
to the chassis with the 4
supplied screws (item 3),
replacing the screws that
were removed in step 1.
Step 3- Repeat steps 2 and 3 for the
other handle.
For Rack Mount Only
Step 1- Remove cover screws on both sides of the chassis (item 4). There are 4 per side.
Step 2- Attach rack mount ear (item 1 to chassis bracket (item 2) with the 4 supplied M2.5
screws (item 5).
Step 3- Attach chassis bracket (item 2) to the chassis with the 4 supplied screws (item 3),
replacing the screws that were removed in step 1.
Step 4- Repeat steps 2 and 3 for the
other bracket.
3
1
4
5
2
M2.5 flat screw (1.5mm hex wrench *included)
Referred to as (item 5), this screw attaches the
rack mount ear or handle to the rack mount.
3
2
4
FLEX-6400 & FLEX-6600
Rack Mount and Handle
Installation Guide
Advertisement
Table of Contents

Summary of Contents for FlexRadio FLEX-6400
- Page 1 FLEX-6400 & FLEX-6600 Rack Mount and Handle Installation Guide Philips Head Flat Screw (#1 Philips screwdriver) M2.5 flat screw (1.5mm hex wrench *included) Referred to as (item 3), this is a longer Referred to as (item 5), this screw attaches the replacement screw for fitting the rack mount ear rack mount ear or handle to the rack mount.
- Page 2 1. Step 4- Repeat steps 2 and 3 for the other bracket. For any additional information on safety and operation please refer to the User Manual on the included CD For technical support go to helpdesk.flexradio.com...


Need help?
Do you have a question about the FLEX-6400 and is the answer not in the manual?
Questions and answers