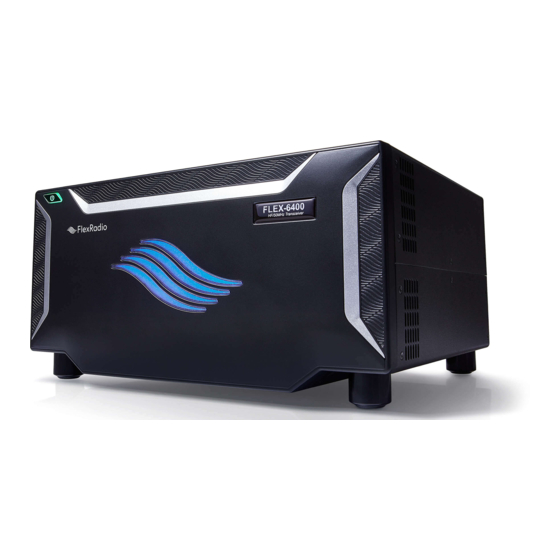
FlexRadio FLEX-6400 Installation Instructions Manual
Atu
Hide thumbs
Also See for FLEX-6400:
- Installation manual (13 pages) ,
- Instructions (4 pages) ,
- Quick start manual (2 pages)
Table of Contents
Advertisement
Quick Links
FLEX-6400/6400M ATU Installation Instructions
Thank you for purchasing the ATU Kit for your FLEX-6400/FLEX-6400M radio. You will need the
following tools to complete the installation.
One (1) ATU Kit
3/16 Hex Nut Driver
Phillips screwdriver
Hex Key (provide) for removal of radio cover
Prerequisites for Installing the ATU
The ATU Kit is designed as a field installable option. Before starting, remember to observe
proper ESD (electro discharge) procedures before attempting the installation of the FLEX-6400
/ FLEX-6400M ATU in order to prevent damage that may occur from static charges that can
build up on your body or work surfaces. This is especially a concern during the winter months or
in climates where the relative humidity can be very low.
Procedure
Step 1: Carefully remove the 4 screws from the top cover of the 6400/6400M with a T8 Torx.
Advertisement
Table of Contents

Related Manuals for FlexRadio FLEX-6400


Summary of Contents for FlexRadio FLEX-6400
- Page 1 FLEX-6400/6400M ATU Installation Instructions Thank you for purchasing the ATU Kit for your FLEX-6400/FLEX-6400M radio. You will need the following tools to complete the installation. One (1) ATU Kit 3/16 Hex Nut Driver Phillips screwdriver Hex Key (provide) for removal of radio cover Prerequisites for Installing the ATU The ATU Kit is designed as a field installable option.
- Page 2 Step 2: Carefully remove screws (5 each side) from both sides of the top cover using the T8 Torx. Step 3: Remove top cover and handle gently so as not to scratch the cover. Set aside. Step 4: With a Phillips head screwdriver, remove the 4 screws and washers from the top board that sits behind the main fan.
- Page 3 Step 5: Where the 4 screws were removed above, replace with the 4 stand offs included in the kit as show below. Step 6: Remove ATU from bag and insert the two cables provided as shown. Both cables should be inserted from the top with the straight connector going through the grommet and the right-angle connector on top.
- Page 4 Step 7: Connect the coax to the board below by pressing until you hear it “click” into place. Repeat this process with the shorter coax by snapping into place as shown below. The longer coax goes in X10, ATU- OUT and the shorter coax goes into X9, ATU-IN Step 8: Next, snap the ribbon cable to the connector on the bottom board as shown.
- Page 5 Step 9: Connect other end of ribbon cable to connection point on the ATU board. Step 10: Next set plate with ATU board down on the stand offs and align with screw holes.
- Page 6 Step 11: Screw down the plate to the stand-offs using the 4 screws/washers provided in the kit. The fifth screw is to be screwed in through the backside of the radio as show below. Step 12: The right angle coax connectors need to be connected to the ATU as shown below. Note: keep the short coax away from L1 as much as possible as shown in the picture.
Need help?
Do you have a question about the FLEX-6400 and is the answer not in the manual?
Questions and answers