ADTRAN NETVANTA 1224 Installation Manual
Hide thumbs
Also See for NETVANTA 1224:
- Installation and maintenance practice (220 pages) ,
- Quick start manual (2 pages) ,
- Hardware installation manual (68 pages)
Advertisement
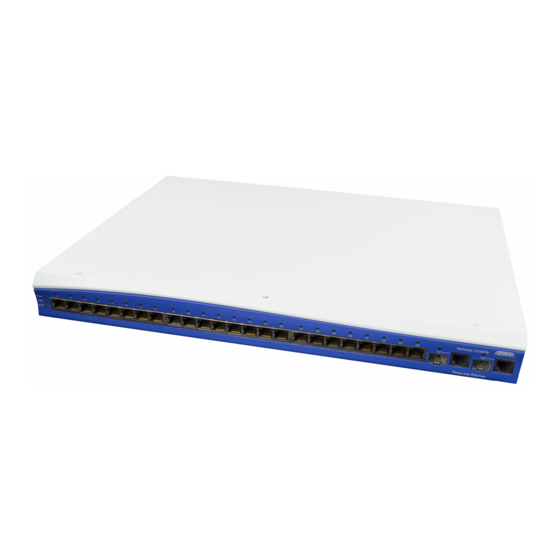
INSTALLING THE NETVANTA 1224 (1224ST) SWITCH
Quick Start Guide
C
C
ONNECT THE
1
To establish a connection to the NetVanta 1224 (1224ST) Switch's CONSOLE
interface, you need the following items:
•
VT100 terminal or PC (with VT100 terminal emulation software)
•
Straight-through serial cable with a DB-9 (male) connector on one end and
the appropriate interface for your terminal or PC communication port on the
other end
1.
Connect the DB-9 (male) connector of your serial cable to the CONSOLE
port on the rear panel of the switch.
2.
Connect the other end of the serial cable to the terminal or PC.
3.
Insert the connector of the provided power cord into the power interface on
the rear panel of the unit, and plug the cord into a standard electrical outlet.
4.
Once the switch has powered up, open a VT100 terminal session using the
following settings: 9600 baud, 8 data bits, no parity bits, and 1 stop bit.
Press <Enter> to activate the ADTRAN operating system command line
interface (AOS CLI).
Quick Start Guide, 61200500L1-13B, November 2003
I
ONSOLE
NTERFACE
Technical Support 1-888-4ADTRAN (1-888-423-8726)
For more detailed documentation, visit us online at
C
U
ONFIGURE THE
NIT
2
Configure the IP address and subnet mask by following these steps. If you are
not sure what IP address to assign, please contact your network administrator.
1.
Enter enable to activate the Enable command security mode.
2.
When prompted, enter the enable password (the default password is
password).
3.
Enter config terminal to activate the Global configuration mode.
4.
Enter interface vlan 1 to access the configuration parameters for the VLAN
(virtual LAN) interface.
5.
Enter ip address 10.26.12.12 255.255.255.0* to assign an IP address and
subnet mask to the VLAN interface. Depending on your network
configuration, you may need to set a default gateway as well.
*Note: These are example entries only. Modify them to match your
configuration.
6.
Enter no shutdown to activate the virtual interface to pass data.
7.
Enter end to return to the Global configuration mode.
8.
Enter copy running-config startup-config to save the running
configuration to the unit's non-volatile memory (NVRAM).
Switch>
Switch>enable
Password:
Switch#config term
Switch(config)#interface vlan 1
Switch(config-vlan 1)#ip address 10.26.12.12 255.255.255.0
Switch(config-vlan 1)#no shutdown
Switch(config-vlan 1)#end
Switch#copy run start
Configuration built.
Switch#
www.adtran.com
P/N 1200500L1/1200504L1
'
IP A
S
DDRESS
¤ 2003 ADTRAN, All Rights Reserved
Advertisement
Table of Contents

Related Manuals for ADTRAN NETVANTA 1224


Summary of Contents for ADTRAN NETVANTA 1224
- Page 1 NTERFACE Configure the IP address and subnet mask by following these steps. If you are To establish a connection to the NetVanta 1224 (1224ST) Switch’s CONSOLE not sure what IP address to assign, please contact your network administrator. interface, you need the following items: •...
- Page 2 Access the CLI via the console port or a telnet session. For more details on CLI access, refer to the AOS Command Reference Guide on your ADTRAN OS System Documentation CD (included in shipment).
Need help?
Do you have a question about the NETVANTA 1224 and is the answer not in the manual?
Questions and answers