Advertisement
Quick Links
Advertisement

Related Manuals for Prolux MATRIX BAR 6 IP


Summary of Contents for Prolux MATRIX BAR 6 IP
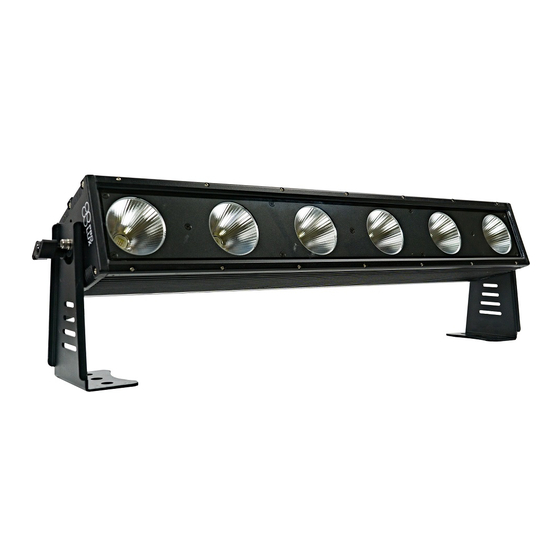
- Page 1 MATRIX BAR 6 IP USER MANUAL...
- Page 2 1 SUMMARIZE Thank you for purchasing our Light MATRIX BAR 6. Please read these instructions carefully before begin and operate the fixtures according to these instructions to avoid any possible damages and accidents causes by misusage. Product introduction This LED wall washer is designed in a fashion of hydrodynamic form. It uses high power RGBW 5-in-1 25W COB LEDs, means each led is made of R,G,B,A,W five led chips.
- Page 3 Before the installation, please check the light’s fasteners and mechanical structure have been received in good condition and appear no damage. This light is designed for indoor or outdoor, working temperature should be lower than 50 degrees. The fixtures should be mounted in any position provided there is adequate room for ventilation.
- Page 4 Built-in temperature control measurement function, when LED work overheated, intelligent reduce LED output power, current power output could be checked Cooling mode: Fan cooling Convection, Fan speed can be set to reduce noise Beam Angle: 30° (60° Optional) Anti-electricity intension: 1.5KV Insulation Resistance: >2MΩ...
- Page 5 38 Channel Mode 30 Channel Mode Channel Name Channel Name Dim all...
- Page 6 Strobe Effect Auto speed Virtual color wheel Dimmer mode Id function Id address 18 Channel Mode 23 Channel Mode Channel Name Channel Name Dim all Dim all Strobe Effect Auto speed Virtual color wheel Dimmer mode...
- Page 7 Strobe Id function Effect Id address Auto speed Virtual color wheel Dimmer mode Id function Id address 11 Channel Mode 6 Channel Mode 5 Channel Mode Channel Name Channel Name Channel Name Dim all Dim all Strobe Effect Auto speed...
- Page 8 21-60 Synchronous strobe (slow to fast) 61-100 Electronic sine wave (slow to fast) 101-140 Random strobe (slow to fast) 141-180 Opening pulse (slow to fast) 181-220 Closing pulse (slow to fast) 221-255 Electronic square wave (slow to fast) Effect...
- Page 9 126-130 Auto 15 (0-12.25s) 131-135 Auto 16 (0-12.25s) 136-140 Auto 17 (0-25s) 141-145 Auto 18 (0-25s) 146-150 Auto 19 (0-25.5s) 151-155 Auto 20 (0-255s) 156-160 Auto 21 (0-25.5s) 161-165 Auto 22 (0-12.25s) 166-170 Auto 23 (0-17s) 171-175 Auto 24 (0-25.5s) 176-180 Auto 25 (0-25.5s)
- Page 10 Light blue (red=0, green=full, blue =full, white=0) (step) Red=0, green=full, blue->down, white=0 52-90 (proportional) Green (red=0, green=full, blue =0, white=0) (step) 92-130 Red->up, green=full, blue=0, white=0 (proportional) Yellow (red=full, green=full, blue=0, white=0) (step) Red=full, green->down, blue=0, white=0 132-170 (proportional)
- Page 11 R,G,B,A,W,RG,RB,GB,AW,RGBA,RGBW,RGBAW R↑,R↓,G↑,G↓,B↑,B↓,A↑,A↓,W↑,W↓ R↑G↑,R↓G↓,R↑B↑,R↓B↓,B↑G↑,B↓G↓ R↑G↑B↑W↑,R↓G↓B↓W↓ B,BG↑,BG,B↓G,G,GR↑,GR,G↓R,R,RB↑,RB,R↓B(Rainbow effect) One piece running from 1 to 6 then change color continue 2 Amber step running 3 Orange running with fade 3 Pink step running 2 Red running on Green 2 Green running on Blue...
- Page 12 Inverse direction AUTO 17 Inverse direction AUTO 18 Each piece rainbow effect 6 DISPLAY OPERATION INSTRUCTION MENU: access the menu or return to a previous menu option ENTER: select the current menu option UP: menu selection or parameter increments...
- Page 13 Menu Tree: Level 1 Level 2 Level 3 Level 4 Addr (address) 001-512 Stat (static control) 0-255 * 0-255 * 0-255 * 0-255 * 0-255 * 0-255 * 0-255 * 0-255 * 0-255 * 0-255 * 0-255 * 0-255 *...
- Page 14 18ch 18ch 11ch Lin/sqr/isqr/scur/ Dim (dimming lin. mode) /sqr./isqr/scur. On (permanent Disp (display set) 2min (2 minutes off) Fan (fan speed) High (high) Mid (middle) Low(low) Ctst (custom color Ct01 0-255 set) 0-255 0-255 0-255 0-255 Ct10 Auto (auto) At01 Run..
- Page 15 Run.. * (sound Sou2 strobe, white color only) Prog (program) Chs1 (chase 1) Sc01 (scene 1) 0-255 0-255 0-255 0-255 0-255 0-255 0-255 0-255 0-255 0-255 0-255 0-255 0-255 0-255 0-255 Shut 0-255 Auto None, at01-at33 Atsp 0-255(s) Time...
- Page 16 Send (send) Yes/No 0-255 Illustrations: When enter to the “*” position displayed on the LED, the projector will automatically set as master and send data to external. Other projectors will synchronously be running without manually set as slaver. When power cycle it will jump to the “*”...
- Page 17 Illustrations: When pressing the【YES】button which means valid on the【USE】 interface, the actual output value of RED,GREEN,BLUE,AMBER, WHITE, UV is output in accordance with the percentage which the color cast calibration value divides 255. 6.4 CHANNEL MODE SETTING 1) Press the【ENTER】button in 【CHMD】menu, then enter to the channel mode setting.
- Page 18 6.7 SET MAXMUN FAN SPEED 1) Press the【ENTER】button in【FAN】menu, then enter to the maximum fan speed setting. 2) Press the【UP/DOWN】button to select【HIGH】,【MIDDLE】, 【LOW】 3) Press the【ENTER】button to escape and save. 6.8 CUSTOM COLOR SETTING 1) Press the 【ENTER】 button in 【CTST】 menu, then enter to the custom color setting.
- Page 19 8) Press the【ENTER】button to escape and save. Illustrations:When【USE】 is set to be【NO】,or the parameter of【TIME】 is 0, it will not run this scene. When 【WAIT】is set to be FADE time, the running process is as the following chart showing.
- Page 20 6.14 LIGHTING PARAMETER DOWNLOADING EACH OTHER VIA DMX CABLE 1) Press the【ENTER】button in【SEND】menu, then enter to sending parameter to other lightings. 2) Press the【UP/DOWN】button to select【YES】. 3) Press the【ENTER】button to confirm sending. Illustrations: 1)Please disconnect the connection of projector and DMX console before sending the parameter.
- Page 21 Connection of control board is not correct. Call a qualified personnel to fix it. Please check the DMX connector and the power connection is connected correctly or not. It means having signal if it shows twinkling of the decimal point which in the lower right corner of the screen when exiting the screen saver.
Need help?
Do you have a question about the MATRIX BAR 6 IP and is the answer not in the manual?
Questions and answers