Advertisement
X
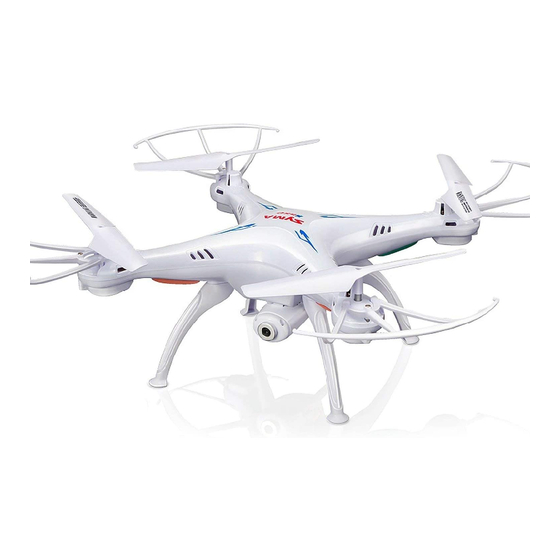
4-CHANNEL PRESSURE HOVERING HEIGHT-ADJUSTMENT REMOTE CONTROL 6-AXIS FLYCOPTER
USER MANUAL
OPERATING STANDARDS: GB/T26701-2011
MAIN FEATURES
● Utilizes the 4-axis structure, enabling the aircraft to be even more
flexible, speedy,and possessing a relatively stronger wind-withstanding
capability. Also it can conduct flights in interior as well as exterior
environment.
● A 6-axis gyro direction stabiliser is built-in, ensuring precise positioning
in the air.
● The structure uses modular designs, making installation simple and
repair and maintenance easier.
● Capable of 360° 3D overturning function and fling-flying function.
● Headless function is enabling the aircraft to be summoned back with ease.
● Brand new pressure hovering height-adjustment function.
● HD wifi real-time transmission aerial.
● New functions increased are auto take-off and landing .
GYRO REMOTE CONTROL SERIES
5SW-V3
12+
Advertisement
Table of Contents

Related Manuals for SYMA X5SW-V3


Summary of Contents for SYMA X5SW-V3
- Page 1 GYRO REMOTE CONTROL SERIES 5SW-V3 4-CHANNEL PRESSURE HOVERING HEIGHT-ADJUSTMENT REMOTE CONTROL 6-AXIS FLYCOPTER USER MANUAL OPERATING STANDARDS: GB/T26701-2011 MAIN FEATURES ● Utilizes the 4-axis structure, enabling the aircraft to be even more flexible, speedy,and possessing a relatively stronger wind-withstanding capability. Also it can conduct flights in interior as well as exterior environment.
-
Page 2: Safety Guide
For any updates or errors, please abide by the SYMA MODEL AIRCRAFT’s website as accurate. Safety guide 1. Please store the smaller-sized aircraft accessories in places that are out of reach of children, in order to avoid the occurrence of accidents. -
Page 3: Repair And Maintenance
Repair and maintenance 1. Always use dry and soft cloth to clean this product. 2. Avoid this product to be exposed to sunlight or heat. 3. Avoid immersing these toys in the water, otherwise ,the electronic parts may be damaged. 4. -
Page 4: Battery Installation For Remote Control
Understanding your remote control Remote control’s button function description: Phone attaching clamp Power ON/OFF Right function lever ( Pressing over 3 Left function lever seconds for entering (Keep pressing this headless mode than lever for trimming . pressing again to To clear all the exit. - Page 5 1. During the battery installation, it must be ensured that the polarities of the batteries are matched with that of the battery box. No battery shall be installed with the opposite polarity. 2. Please do not use new and old batteries together. 3.
-
Page 6: How To Connect
For Android phones,download and install the SYMA GO APP by visiting the www.symatoys.com or by scanning the QR code. For IOS Apple phones,download and install the SYMA GO APP by visiting the App Store or by scanning the QR code. - Page 7 Flight-track operation interface Press the flight-track button to enter into the flight-track interface, and the air vehicle will flight in accordance with recorded route. Adjust the scale can change the flight distance 4. Real-time aerial photography uploading: Photo/Record: When the 720P WiFi camera is operating normally,press the photo/ record icon in the real-time upload interface to take photos/videos.(Photos/recordings that were taken can be viewed in the “View Photo and Video”...
-
Page 8: Fine-Tuning Operation
Left turning and right turning control Left side flying and right side flying control When the left joystick (Accelerator) is When the right joystick (Turning Rudder) pushed towards the left or right, the is pushed towards the left or right, the aircraft will turn left or right aircraft will fly sideward on the left or correspondingly. - Page 9 Flight preparation and switching off of the aircraft I. Flight preparation Step 1: Open up the Step 2: Slide backward Step 3: Switch on the power supply switch the battery cover, and aircraft’s switch at of the remote control. connect the battery the bottom area.
- Page 10 Method 2: Move the left and right joysticks inwards in an internal loop of “8” for 1 second, the ventilation blade of aircraft starts rotating slowly. Method 3: When the vehicle is stationary, press the B button, the vehicle slowly rotating blades, automatically rises to a certain height.
-
Page 11: Product Features
Product features I. Low-voltage protection: When the four indicator lights at the bottom of aircraft start flicking, it means that the aircraft's battery power is low. At this time, the aircraft will initiate the height- limiting function and will drop to a certain safety height. II. - Page 12 VI. Fling-flying action Instructions: As the aircraft uses a 6-axis gyro, it greatly increases the fun factor. Fling the aircraft outwards or overturning it upwards with a simultaneous stepping on the accelerator joystick, the aircraft can stop in the air in a steady manner. VII.
- Page 13 2. Toggling between headless function and normal function: 1. When the aircraft has completed its matching of frequency, the default of the aircraft is normal mode. At this time, the light indicator on the aircraft is in the long blinking mode. When pressing and holding on to the left upper corner of the headless function toggle button for 2 seconds, the remote control will issue a “Di, Di, Di, …...
- Page 14 2. Disconnect the connection joint of the battery from the connection interface of the power supply. 3. Connect the power supply line of the battery with USB, and connect the USB interface with the computer’s connection port (During charging, the light indicator will light up; and the light indicator will go off when it is fully charged.
- Page 15 - Transformers used with the toy are to be regularly examined for damage to the cord,plug,enclosure and other parts,and that,in the event of such damage,the toys must not be used with this transformer until the damage has been repaired. - Warning! The toy is to be assembled by an adult. - Rechargeable batteries are to be removed from the toy before being charged .
- Page 16 1. When the camera is aligned with the main body’s connector,push the camera inwards according to Figure (1). 2. Insert the 3-line plug into the camera connection interface of the main body according to Figure (2). Rectification procedures Problem Reason Solution 1.
-
Page 17: Accessories (Optional)
Accessories (Optional) You can choose your favorite optional accessories as below. In order to make it easier for the customers to choose and purchase, we have specially offered each and every accessory. The accessories can be purchased through the local distributors. Please kindly specify the favorite during your purchase. -
Page 18: Product Descriptions
X5HW-14 Remote Control Product descriptions -17-... -
Page 19: Main Specifications
Product Name Qty. Product Name Qty. Top Main Body Circuit Board Bottom Main Body Lamp Cover Main Blade(Clockwise Direction) Light Bar Main Blade(Anti-clockwise Direction) Battery Protective Gear Gear Box Battery Cover Camera Main Motor(Clockwise Direction) Foot Stand Main Motor(Anti-clockwise Direction) Main specifications 330mm 330mm... - Page 20 QR code for apple QR code for android iOS system system Manufacturer Guangdong Syma Model drone Industrial Co., Ltd. The Crossing of No.2 West Xingye Road and North Xingye Road,Laimei. Industrial Park Chenghai District Shantou City Guangdong China. Contact person:SYMA Telephone:0754-86381898 The company has the right of final interpretation of this instruction manual statement.
Need help?
Do you have a question about the X5SW-V3 and is the answer not in the manual?
Questions and answers