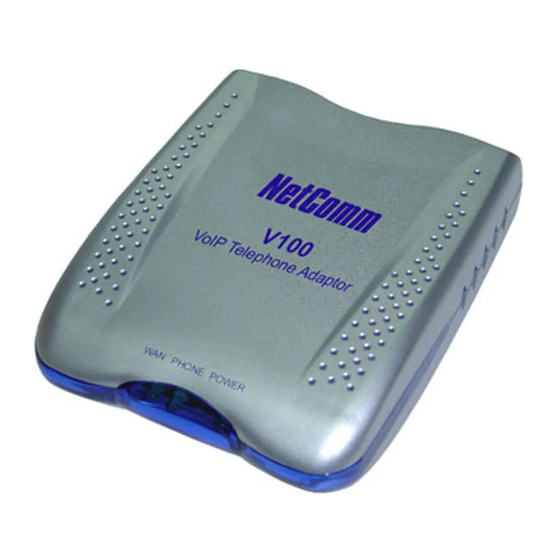
NetComm V100 Setup
Voip
Hide thumbs
Also See for V100:
- User manual (40 pages) ,
- Quick start manual (40 pages) ,
- Software manual (4 pages)
Advertisement
Netcomm V100 VoIP Setup
Please follow the instructions below when setting up the Netcomm V100 with our VoIP service.
1. Connect the Phone socket on the rear of the V100 ATA to an analogue telephone using
RJ-11 cable.
2. Connect the WAN socket on your ATA to one of the LAN ports of your router/switch using
a Category 5 cable.
3. Connect the POWER socket on the rear of your V100 ATA to the power adaptor supplied
and plug into a wall socket.
4. Insert the CD-ROM provided in your package, the autorun setup will run. If not, you may
need to execute the Autorun.exe file by double clicking it.
5. Select the "Install Utility" button and follow the on screen prompts to install the utility.
6. After the installation is completed. You should see the Netcomm V100 PC Tool icon and
program group installed. Double click the icon to start the utility.
7. Click on the SIP option tab
8. Enter in the following information as provided on your VoIP settings sheet:
Under Phone Configuration
User Name: VoIP Username
Under Proxy and Registrar
Proxy/Registration Info: sip.isage.net.au
9. Click on Apply when finished.
10. Click on the Tools - > System option tab
11. Click on Save button to save the settings to the modem
Once the device has finished saving the configuration you are now ready to start using your
iSage VoIP service.
It may also be necessary to make sure the ports 5060 and 6000 and forwarded to your
Netcomm V100 otherwise this will cause delays in your calls.
All manuals and user guides at all-guides.com
Display Name: Your Name
Codec: select G729
DTMF: select RFC2833
Domain Info: sip.isage.net.au
Auth Username: VoIP Username
Auth Password: VoIP Password
1 / 2
Advertisement
Table of Contents

Related Manuals for NetComm V100


Summary of Contents for NetComm V100
- Page 1 All manuals and user guides at all-guides.com Please follow the instructions below when setting up the Netcomm V100 with our VoIP service. 1. Connect the Phone socket on the rear of the V100 ATA to an analogue telephone using RJ-11 cable.
- Page 2 Netcomm V100 VoIP Setup All manuals and user guides at all-guides.com If you are unsure how to do so please use http://www.portforward.com as reference or the modem manual provided by the manufacturer of your DSL modem. 2 / 2...
Need help?
Do you have a question about the V100 and is the answer not in the manual?
Questions and answers