
Related Manuals for Hi-Tech ZycoTherm


Summary of Contents for Hi-Tech ZycoTherm
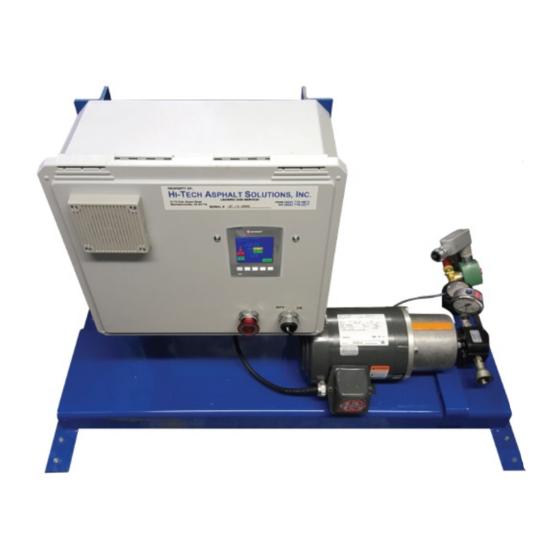
- Page 1 ZycoTherm Pump User Manual In-Line Blend Pump Hi - T ech Hi - i - T T ech T ech T ech T ech 6055 Mechanicsville Turnpike Mechanicsville, VA 23111 www.HTAS.com ASPHALT SOLUTIONS ASPHALT SOLUTIONS (804) 779-4871...
- Page 2 In-Line Blend Pump Install & User Manual Plan a suitable location for the pump and the ZycoTherm material tote. The In-Line Blend Pump should be located within 15 feet of the injection site, the closer the better. Typical injection location of material is in the AC strainer before the AC Pump.
- Page 3 Page 2 1.) Run the CAT5 from the electrical box at the pump to the control box located in the control house. Insert the communication wires from the CAT5 cable into the Green 5 Pin Connector and insert it on the top of the Touch screen. You will wire both the touch screen at the pump and the touch screen in the control house with the CAT5 cable the same way.
- Page 4 Page 3 4.) Connect supply hose (yellow) to material Tote using supplied connectors. The plastic male cam- lock should be transferred from old tote to new tote when replacing the material totes. 5.) Remove Center Cap from top of material tote. Pull rubber plug, punch out center plastic piece with #2 philips screwdriver and place rubber plug back.
-
Page 5: Controller Calibration
Page 4 Prime and Calibrate should be done at the pump. Cut off metal straps and unscrew the lid. With the pump power on and the installation section complete the output hose should be in the top of the Tote with the ball valve or at least the mating quick disconnect, connected. Controller Calibration The Touch Screen ------ all highlighted items are buttons on the touch screen Press Settings, Calibration... - Page 6 Page 5 Running Screen This is the Running Screen. From this screen you can start a run, navigate to the settings menu, view faults, and see information about the current run. START - This button will begin a run and start the timer. Once pressed will change to STOP, and once the timer has ended the Red light above will turn green indicating pump is in motion.
- Page 7 Page 6 MATERIAL % - This is the percentage of ZycoTherm to be added to the AC. AC% - Your AC% is manually typed in. This button may alternatively say “AC TPH” if an analog signal is connected. AC TPH can only be achieved using an analog signal from the plant and can not be manually entered from this screen.
- Page 8 RUNNING SCREEN this timer will count down before the pump actually begins. This is implemented so that if plant issues occur with the AC pump, the ZycoTherm pump will not turn on and off with every attempt of the AC pump.
- Page 9 Page 8 TIE IN OPTIONS SCREEN NO ANALOG – ANALOG INPUT 4-20mA – ANALOG INPUT 0-10V – These are all the same button in the top left of the screen. You can press the button to cycle through the different options.
- Page 10 Page 9 Print Options Screen This is the Print Options screen. It will allow you to adjust the printing options for reports should you have a printer attached. You can set the date and time here, set how often a report will be printed, and print a test print to make sure the printer is working.
- Page 11 Page 10 Tote Screen This is the Tote Screen – From here you can change the number of gallons per tote (Totes are shipped by default with 264 gallons of product) You can adjust the percentage at which the pump will alert you when your tote is getting low. Once your tote has reached this level, an alarm will sound after each run until the tote is changed and reset.
- Page 12 Page 11 Pump Only Calibration Screen VFD % - Here you can manually input how fast to run the pump. If the pump is already running when you adjust the % it will immediately be overridden by the PID. PID ON – PID OFF - Turns the PID on and off. The PID is what controls the speed of the pump depending on need.
Need help?
Do you have a question about the ZycoTherm and is the answer not in the manual?
Questions and answers