Advertisement
Quick Links
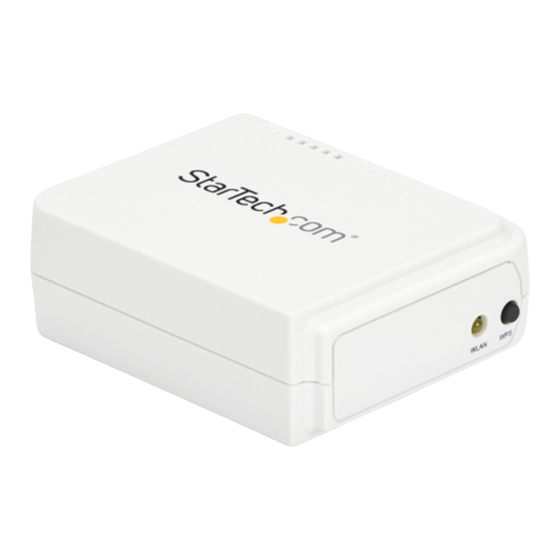
PM1115UW(EU/GB) Setup Guide
Updated: May 2021
Preface
The PM1115UW can be installed using two distinct methods from its factory default state. If the print
server has been previously used it's recommended to
Method 1: For a streamlined installation, follow the steps listed in
note that this method is only available in Windows.
Method 2: For other operating systems or for a more advanced setup in Windows, start by
follow the steps listed in
Once the print server has been installed, you can add the networked printer to any computers within
the subnet by following either
Software Installation
1. With an Ethernet cable connect the print server to an available Ethernet port on the network
(i.e. router or switch). Allow ~40 seconds for the boot up sequence to complete. The printer
does not need to be connected to the print server yet.
2. Install the PS Wizard application on the computer that needs to be able to print. This computer
can be connected to the network using either Wi-Fi or an Ethernet cable. Ensure the computer
already has the proper driver for the printer installed. It's a good idea to confirm the printer
works while directly connected to the computer with a USB cable before continuing.
3. Right-click the PS Wizard shortcut and choose Run as Administrator, choose Yes to allow the
software to run.
4. At the Welcome screen, select Next to begin.
Manually Setting Up the Print
Setting Up a Printer in Windows
reset to factory defaults
Software
Server.
or
Setting Up a Printer in
Page 1
prior to setup.
Installation. Please
macOS.
Advertisement

Related Manuals for StarTech.com PM1115UW


Summary of Contents for StarTech.com PM1115UW
- Page 1 Page 1 PM1115UW(EU/GB) Setup Guide Updated: May 2021 Preface The PM1115UW can be installed using two distinct methods from its factory default state. If the print server has been previously used it's recommended to reset to factory defaults prior to setup.
- Page 2 Page 2 5. At the Select a Print Server screen, click Next to start searching for print servers. Note: If the print server is not detected, check the Ethernet connection. 6. Click to select the print server you wish to configure. Click Next. The print server is properly detected by the software...
- Page 3 Page 3 7. If you’d like to apply a password to the print server’s web interface you can do so by selecting Yes and applying a password. There is no password by default. Click Next. 8. At the Configure Wireless (Basic Wireless Settings) screen, change the Communication Type to Infrastructure.
- Page 4 Page 4 9. Select the correct Authentication Type for the wireless network. The field for Encryption Type will then appear. Most likely the Encryption type is WPA2-PSK (CCMP) also known as WPA2- AES. Input the Pre-shared key, also known as the Wi-Fi Password, for the network. 10.
- Page 5 Page 5 11. Check the configuration for any errors. Click Next. 12. Select the printer to be used with the print server. The printer driver should already be installed on the computer. If not, choose Add New Printer and complete the steps to add the printer driver.
- Page 6 Page 6 13. Check the configuration for any errors. Click Next. 14. Click Finish. Disconnect the Ethernet cable and power supply from the print server. Position the print server near the printer. Connect the power supply to the print server. The Ethernet cable is no longer needed.
- Page 7 Page 7 Manually Setting Up the Print Server 1. Power the print server with the included power adapter. 2. Connect a Cat5e/Cat6 Ethernet cable to the RJ45 port on the print server and to a computer. 3. Set the network adapter on the computer to the following settings: ...
- Page 8 Page 8 If you wish to use the print server with a wired Ethernet connection, the Ethernet cable to the PM1115UW can be moved from your computer to your router/switch. 20. Add the printer using operating system specific steps. Setting Up a Printer in Windows 1.
- Page 9 Page 9 4. On the Add Printer screen, select Add a printer using a TCP/IP address or hostname then click the Next button. 5. On the Hostname or IP address field enter the IP address assigned to the print server, then click the Next button, Windows will detect the TCP/IP port and move to the next screen automatically.
- Page 10 Page 10 6. Set the Device Type field to Custom, then click Settings. 7. On the Configure Standard TCP/IP Port Monitor screen, set the Protocol to LPR. 8. Under LPR Settings, enter lp1 into the Queue Name field then click OK. 9.
- Page 11 Page 11 complete select for your printers Manufacturer and Model from the Install the Printer Driver screen that appears. 11. Windows will start to install the printer driver. Click the Finish button when the installation is complete. Setting Up a Printer in macOS 1.
- Page 12 Page 12 3. The Add screen will appear, if the printer appears on the Default tab, select it and click the Add button. 4. If the printer does not appear, select the IP tab at the top of the screen. 5.
- Page 13 Release the reset button. The print server will restart. WARNING: This will erase all settings on the print server and return it to factory default. Default Settings Username: admin Password: (None) Wireless Mode: Ad-Hoc (Peer-to-Peer) SSID: PM1115UW IP Address: 192.168.0.10...
Need help?
Do you have a question about the PM1115UW and is the answer not in the manual?
Questions and answers