
Related Manuals for Huawei SUN2000-4.95KTL-NHL2


Summary of Contents for Huawei SUN2000-4.95KTL-NHL2
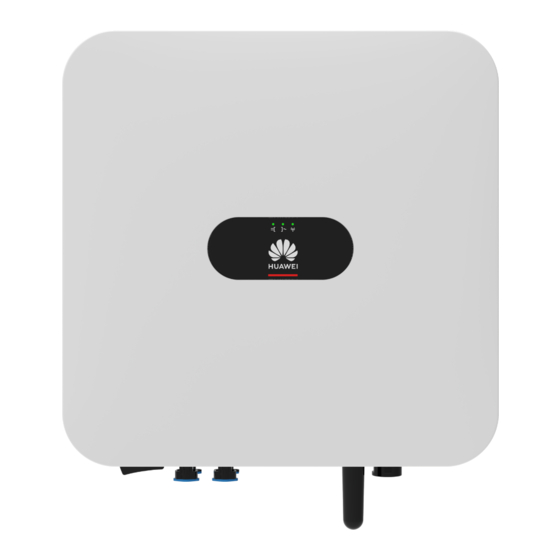
- Page 1 SUN2000-4.95KTL-NHL2 Quick Guide Issue: 02 Part Number: 31500GBL Date: 2022-03-10 HUAWEI TECHNOLOGIES CO., LTD.
- Page 2 The screw is used to secure the DC switch to prevent accidental startup. The screw is delivered with the solar inverter. • b: DC input terminals PV1 and PV2 are controlled by the DC switch. Copyright © Huawei Technologies Co., Ltd. 2022. All rights reserved.
-
Page 3: Installing The Device
Installing the Device Installation Requirements Space Angle Mounting Hole Dimensions Installing the Solar Inverter 1. Install the mounting bracket. Avoid drilling holes in the water pipes and cables buried in the wall. - Page 4 • M6x60 expansion bolts are delivered with the solar inverter. If the length and number of the bolts do not meet installation requirements, prepare M6 stainless steel expansion bolts by yourself. • The expansion bolts delivered with the solar inverter are mainly used for solid concrete walls. For other types of walls, prepare bolts by yourself and ensure that the wall meets the load bearing requirements of the solar inverter.
-
Page 5: Connecting Cables
Connecting Cables Preparing Cables • Connect cables in accordance with the local installation laws and regulations. • Before connecting cables, ensure that the DC switch of the solar inverter and all the switches connected to it are set to OFF. Otherwise, the high voltage produced by the solar inverter may cause electric shocks. -
Page 6: Installing A Wlan Antenna
Installing a WLAN Antenna Antenna port (ANT) Ensure that the WLAN antenna is installed securely. Installing the AC Output Power Cable Ensure that the protective layer of the AC output power cable is inside the connector, that the core wires are totally inserted into the cable hole, and that the cable is connected securely. Failing to do so may cause device malfunction or damage. -
Page 7: Installing Dc Input Power Cables
AC output port (AC) Plug insert To remove the AC connector, perform the operations in reverse order of installing the AC connector. Then, remove the plug insert, as shown in the following figure. Installing DC Input Power Cables 1. Ensure that the PV module output is well insulated to ground. 2. - Page 8 1. Assemble DC connectors. Positive connector Positive metal terminal PV-CZM-19100 Ensure that the cable cannot Negative Click be pulled out after being connector Negative metal terminal crimped. Use the wrench shown Ensure that cable in the figure to tighten polarities are correct. the locking nut.
- Page 9 Y-branch connectors can be used to connect multiple PV modules to a SUN2000. However, it is recommended that the same number of PV modules be connected to each Y-branch connector. Use the Staubli Y-branch connectors, MC4 positive and negative metal terminals, and DC connectors.
- Page 10 No. Label Definition Description COM Port Pin Definitions Used for cascading solar inverters RS485B, RS485 485B1 or connecting to the JX01 differential signal– terminal block of the 10-in 1-out RS485A, RS485 485A1 SmartACBox. differential signal+ Used for cascading solar inverters RS485B, RS485 485B2 or connecting to the JX01...
- Page 11 Insulate the shielding layer of the RS485 communications cable that is connected to the ground point in the chassis. The RS485 communications cable and single-phase power cable share a ground point. 2. Connect the RS485 communications cable to the JX01 terminal block. SUN2000-4.95KTL-NHL2 Cascading Scenario...
- Page 12 SUN2000-4.95KTL-NHL2 and SUN2000-4.95KTL-JPL1 Cascading Scenario Connecting the AC Input Power Cable 3.7.2 Connect AC input power cables of the SmartACBox to input circuit breakers QF01 to QF05 and QF07 to QF11. It is recommended that AC input power cables be routed to input circuit breakers QF01 to QF05 through AC input cable hole 1 and be routed to QF07 to QF11 through AC input cable hole 2.
- Page 13 The right figure shows how to connect an AC input power cable to input circuit breaker QF05. Connect cables to input circuit breakers QF01 to QF04 and QF07 to QF11 in the same way. SUN2000-4.95KTL-NHL2 Cascading Scenario SUN2000-4.95KTL-NHL2 and SUN2000-4.95KTL-JPL1 Cascading Scenario...
-
Page 14: Verifying The Installation
Verifying the Installation Acceptance Criteria The solar inverter is installed correctly and securely. The WLAN antenna is installed correctly and securely. Cables are routed properly as required by the customer. Cable ties are evenly distributed and no burr exists. The PE cable is connected correctly and securely. The DC switch and all the switches connected to the solar inverter are set to the OFF position. - Page 15 Type Status (Blinking at long intervals: Meaning On for 1s and then Off for 1s; Blinking at short Intervals: On for 0.2s and then Off for 0.2s) Running LED1 LED2 indication Steady green Steady green The solar inverter is operating in grid-tied mode.
-
Page 16: Downloading The App
You can set parameters on the FusionSolar app or SmartLogger WebUI as required. Downloading the App • Method 1: Access https://solar.huawei.com using the mobile phone browser and download the latest installation package. Method 2: Search for FusionSolar on Huawei •... - Page 17 If the SmartLogger has been upgraded through the FusionSolar app management system, scan the SmartLogger. When the message "The device has been bound to a plant. Commission the device?" is displayed, tap Confirm to enter the device commissioning screen, tap Quick Settings, and set battery parameters.
- Page 18 SUN2000-4.95KTL-NHL2 Cascading Scenario SUN2000-4.95KTL-NHL2 and SUN2000-4.95KTL-JPL1 (with batteries) Cascading Scenario Set the working mode to Fully fed to grid.
- Page 19 Create plant and an owner account For details about how to use the site deployment FusionSolar wizard, see App Quick Guide . During the FusionSolar app upgrade, scan the QR code to download the quick guide.
- Page 20 Register an Installer Account (Optional, for Installers Without an Account) Run the FusionSolar app. If no account and password are created, tap No account, select I'm an installer, and enter the registration information.
- Page 21 System Commissioning (SmartLogger Web) 1. The operating system of Windows 7 or later is supported. 2. The WebUI snapshots are for reference only, and the actual display may vary. Preparations and WebUI Login 6.3.1 1. Connect the network cable between the network port of the PC and the WAN or LAN port of the SmartLogger.
- Page 22 Commissioning Through Deployment Wizard 6.3.2 Parameter Description 1. Enter https://XX.XX.XX.XX in the address box of the browser (XX.XX.XX.XX is the Language Set this parameter as required. default IP address of the SmartLogger). If User name Select admin. you log in to the WebUI for the first time, a security risk warning is displayed.
- Page 23 The mobile data parameters are obtained from the SIM card carrier. c. Click Search Device to add the communication devices connected to the SmartLogger. Ensure that the found devices are the same as the connected devices. If any device is missing, check the RS485 cable connection and search for the device again.
- Page 24 d. Select a device and set the grid code. e. (Optional) If an EMI is available, set EMI parameters. Otherwise, skip this step. • Port: The number of the SmartLogger COM port connected to EMI. • The Baud rate, Parity, and Stop bit should be consistent with those of the EMI. •...
- Page 25 f. (Optional) Set management system parameters. • Set Server to the IP address or domain name of the connected management system and Port to the port number of the connected management system. • Set Address mode to Logical address. If the communication address of the device connected to the SmartLogger is unique, you are advised to select Comm.
-
Page 26: Device Commissioning
Device Commissioning 1. Access Device commissioning. Scenario 1: Your phone is not Scenario 2: Your phone is connected to the Internet. connected to the Internet. When your phone is connected to the Internet, Device commissioning is not displayed after you tap .. -
Page 27: Resetting The Password
SUN2000 and connect to the app. c. On the login screen, set a new login password and log in to the app. Customer Service Contact Information Statement Customer Service Contact Information Country/R Area Phone Email egion Japan Japan Japan_ESC@ms.huawei.com 0120258367... - Page 28 Huawei Technologies Co., Ltd Huawei Industrial Base, Bantian, Longgang Shenzhen 518129, People's Republic of China solar.huawei.com...
Need help?
Do you have a question about the SUN2000-4.95KTL-NHL2 and is the answer not in the manual?
Questions and answers