Table of Contents
Advertisement
Quick Links
Advertisement
Table of Contents

Related Manuals for Westinghouse 9K-18K


Summary of Contents for Westinghouse 9K-18K
-
Page 2: Table Of Contents
Contents Caution Statements ............................1 Composition of the Air Conditioner ......................3 Before Operation ........................4 Special Remarks..............................4 Trouble Shooting..............................4 Installation and Maintenance ....................6 1. Safety Notice..............................6 2. Tools and Instruments for Installation ......................7 3. Installation of the Indoor Unit ........................7 3.1 Initial Check ............................7 3.2 Installation............................8 4. -
Page 3: Caution Statements
Caution Statements Alert Symbols: DANGER : The symbol refers to a hazard which can result in severe personal injury or death. : The symbol refers to a hazard or an unsafe practice which may result in severe personal injury WARNING or death. - Page 4 Caution Statements Never use gasoline or other inflammable gas near the air conditioner, which is very WARNING dangerous. When the air conditioner operation is abnormal, such as burnt smell, deformation, fire, smoke, and so on, it is forbidden to continue using the air conditioner, the main power switch of the air conditioner must be cut off immediately and the dealer must be contacted.
-
Page 5: Composition Of The Air Conditioner
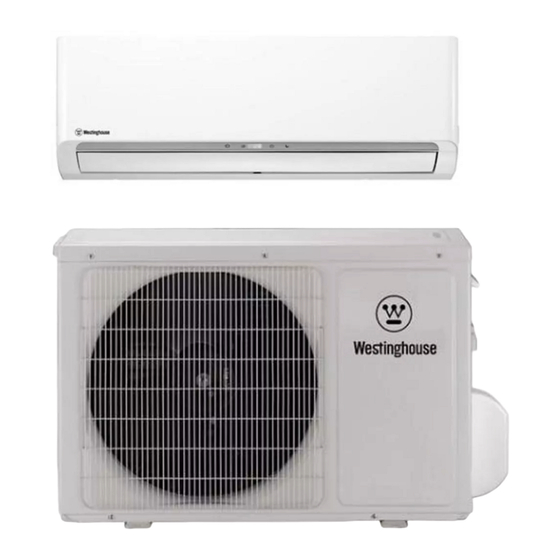
Composition of the Air conditioner Indoor unit 9K~18K 24K~36K 1. Air inlet 2. Electric box 3. Refrigerant pipe (Liquid) 4. Refrigerant pipe (Gas) 5. Drain pipe (Connect with pump) 6. Drain pipe 7. Air outlet Remote Controller (Optional) You can control the air conditioner with the wired or wireless remote controller. It is used for power ON/OFF, setting the operation mode, temperature, fan speed, etc. -
Page 6: Before Operation
Before Operation 1. Special Remarks ● 3-minute protection after compressor stop To protect compressor, the system implements a 3 minutes once operation is stopped. ● 5 - minute protection Compressor must run for at least 5 minutes once operation starts. During the 5 minutes, compressor will not stop even after set point is reached. - Page 7 Before Operation Mode Interfere (for multi-split, 9K&12K) Multi-zone outdoor units can only support a single mode at one time (cooling or heating). mode (cooling or heating). When the mode set at one or more indoor unit is different from the mode that outdoor unit is using mode interfere will occur.
-
Page 8: Installation And Maintenance
Installation and Maintenance 1. Safety Notice WARNING ·Installation should be performed by a qualified dealer/HVAC contractor. (Improper installation may cause water leakage, electrical shock or fire.) ·Install the unit according to the instructions given in this manual. (Incomplete installation may cause water leakage, electrical shock or fire). -
Page 9: Tools And Instruments For Installation
Installation and Maintenance 2. Tools and Instruments for Installation Number Tool Number Tool Standard screwdriver Knife or wire stripper Vacuum pump Leveler Charge hose Hammer Pipe bender Drill Adjustable wrench Pipe expander Pipe cutter Inner hexagon spanner and torque wrench Cross head screwdriver Measuring tape 3. -
Page 10: Installation
Installation and Maintenance ·Air inlet and outlet are free of obstructions. 3.2 Installation ·The air passage is not blocked. 3.2.1 Suspension bolts ·Condensate can drain properly. (1) Consider the pipe direction, wiring, and ·Overhead structure can support the weight of the maintenance carefully, choose the proper indoor unit. - Page 11 Installation and Maintenance 3.2.3 Install the indoor unit. The installation of the indoor unit is shown in Fig. 3.4. Suspension bolts (4-M10 or W3/8) ( Field supplied ) Fig. 3.7 Nuts and (3) After the adjustment, tighten the nuts and apply the washers (4- M1 0 or W3/ 8) thread locker on the suspension to prevent the nuts...
-
Page 12: Refrigerant Pip
Installation and Maintenance 4. Refrigerant Pipe (2) As shown in Fig. 4.3, screw up the nuts with 2 spanners and torque wrench. DANGER Use the refrigerant according to outdoor nameplate. When carrying on the leakage check and test, do not mix in the oxygen, the acetylene and flammable and the virulent gas, for these gases are quite dangerous, and may possibly cause explosion. -
Page 13: Condensate Drain Piping
Installation and Maintenance 5. Condensate Drain Piping · Install the condensate drain piping Referring the figure below, insulate the drain socket · and drain hose using the included large sealing pad. Make sure the drain works properly . · Prepare polyvinyl chloride pipe with a 1-1/4 in.(32mm) outer diameter. -
Page 14: Electrical Wiring
Installation and Maintenance 6. Electrical Wiring General Check CAUTION · When clamping the wiring, use the included clamping material to prevent external pressure being exerted on the wiring connections and clamp firmly. · While performing wiring work, make sure the wiring is proper and does not cause the control box lid to stick up, then close the cover firmly. -
Page 15: Change Of Static Pressure
Installation and Maintenance Installation and Maintenance Electrical Wiring Diagram Indoor unit Outdoor unit Terminal Terminal Power connecting cord Note: Since there may be differences in some model’s terminal blocks, wiring connection should be done according to letters on the terminal block. Please disregard numbers in this case. 6.2 Change of Static Pressure The static pressure can be adjusted using wired controller. -
Page 16: Electrical Installation
Installation and Maintenance 6.3 Electrical Installation · Use an ELB (Electric Leakage Breaker). If not used, it will cause an electric shock or a fire. · Do not operate the system until all the check points have been cleared. (A) Check to ensure that the insulation resistance is more than 2MΩ, by measuring the resistance between ground and the terminal of the electrical parts. - Page 17 /...
- Page 52 WESTINGHOUSE and INNOVATION YOU CAN BE SURE OF are trademarks of Westinghouse Electric Corporation. Used under license by FUJITSU GENERAL AMERICA, INC. All Rights Reserved Version No. 2021669, F...
Need help?
Do you have a question about the 9K-18K and is the answer not in the manual?
Questions and answers