Advertisement
Quick Links
EE
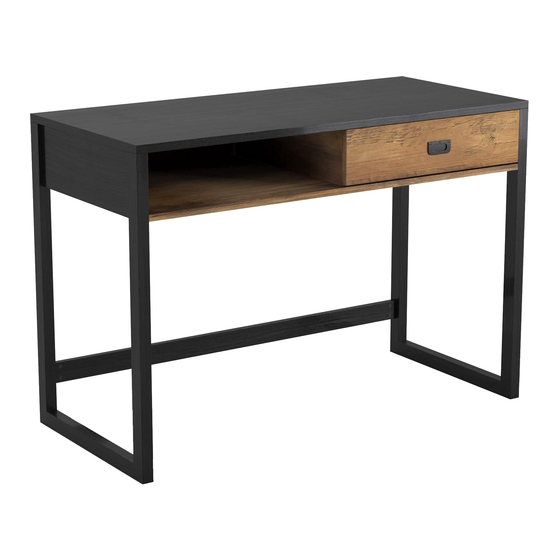
STUDY DESK
Item#: 6
ATTACH YOUR RECEIPT HERE
Keep a copy of your proof of purchase or order
con rmation which will be needed if you need to
contact us about warranty co erage.
Purchase Date:
Questions, problems, missing parts?
Before returning to your retailer, our Florida-based customer service team is available.
Call toll-free
Email
Live chat
E T
cse ice wellt a eled net
www alkenehome com
SAVE THESE INSTRUCTIONS
FOR FUTURE REFERENCE.
9 a.m. – 9 p.m., EST
9 a.m. – 6 p.m., EST, Monday – Friday
06162021
Advertisement

Summary of Contents for Balkene Home Greenwich 63967
- Page 1 STUDY DESK Item#: 6 ATTACH YOUR RECEIPT HERE SAVE THESE INSTRUCTIONS FOR FUTURE REFERENCE. Keep a copy of your proof of purchase or order con rmation which will be needed if you need to contact us about warranty co erage. Purchase Date: Questions, problems, missing parts? Before returning to your retailer, our Florida-based customer service team is available.
-
Page 2: Before You Begin
INFORMATION BEFORE YOU BEGIN Before beginning assembly, ma e sure all parts are present. Compare parts receive ith the arts List. f any part is missing or amage , o T attempt to assemble the pro uct. lease rea an un erstan this entire manual before attempting to assemble, operate or install this pro uct. -
Page 3: Parts List
PARTS LIST PART DESCRIPTION esktop eft Side ight Side Shelf ack Panel rawer i ider race rawer Front rawer ack rawer eft Side rawer ight Side rawer ottom ench TE TS Dowel Cam Bolt Cam ock Sc ew Bolt Ba el 6 5 mm D awe R nne Sc ew... - Page 4 ttach the D awe R nne s Fully e tend one R nne and align it along the small holes on the BACK FRONT D awe Di ide . Verify that the orientation of the Fully extend the Runner to R nne matches the diagram, then fasten the R nne uncover the mounting holes.
- Page 5 ttach the Back Panel to the Shelf inserting 2 Dowels into the holes in the back edge of the Shelf and fitting the Back Panel onto them. Secure the panels together using Sc ews 4 inserted through the Back Panel and into the edge of the Shelf. ighten using a Phillips-head screwdri er.
- Page 6 ASSEMBL Fasten the Brace between the back legs of the Left/ Right Sides : insert 4 Barrel Nuts into each of the 2 pairs of holes on the back of the Brace. Use a flat-head screwdriver to rotate the Barrel Nuts so the threaded hole is aligned with the holes drilled in either end of the Brace.
- Page 7 Assemble the drawer. Join Drawer Back , Drawer Left Side , and Drawer Right Side by inserting Screws through the rear of each Side and into the edge of the Back. NOTE: the grooves along each piece should join together to form one continuous groove on the inside bottom of the drawer.
- Page 8 PR SS C stome s in the Contig o s S P RC S R SS R S S oof of chase f om an a tho i ed etaile , this product is warranted D P R for a period of 1 year from original purchase date against defects in materials and workmanship under normal use.


