Advertisement
Quick Links
Advertisement

Related Manuals for Shire BIKE STORE


Summary of Contents for Shire BIKE STORE
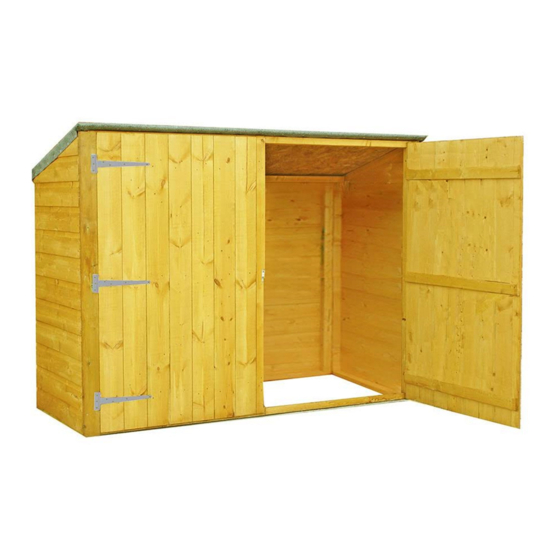
- Page 1 BIKE STORE ASSEMBLY INSTRUCTIONS AI-BST-28/02/11...
-
Page 2: Tools Required
Thank you and congratulations on the purchase of your Shire garden building. We believe that this product will give you many years of excellent service. This is a natural product manufactured to a high standard therefore if you have any queries or experience any difficulties then please contact our customer service hotline on 01945 46 89 10 or 01945 46 89 11 or 01945 46 89 12. - Page 3 PARTS LIST PLEASE LAY OUT PARTS AND CHECK OFF AGAINST CHECK LIST...
- Page 4 WALL ASSEMBLY - STEP ONE WALL ASSEMBLY - STEP TWO...
- Page 5 WALL ASSEMBLY - STEP THREE WALL ASSEMBLY - STEP FOUR...
- Page 6 DOOR FRAME ASSEMBLY - STEP ONE DOOR FRAME ASSEMBLY - STEP TWO...
- Page 7 DOOR FRAME ASSEMBLY - STEP THREE DOOR FRAME ASSEMBLY - STEP FOUR...
- Page 8 ROOF ASSEMBLY - STEP ONE ROOF ASSEMBLY - STEP TWO...
- Page 9 FRONT COVER STRIPS REAR COVER STRIPS...
- Page 10 ROOF FELT - STEP ONE ROOF FELT - STEP TWO...
- Page 11 DOOR ASSEMBLY - STEP ONE DOOR ASSEMBLY - STEP TWO NOTE: Hang Both Doors With A 10mm Gap Between The Floor And Bottom Door Edge.
- Page 12 DOOR ASSEMBLY - STEP THREE DOOR ASSEMBLY - STEP FOUR NOTE: A HASP & STAPLE IS SUPPLIED INSTEAD OF THE PADBOLT SHOWN...
- Page 13 DOOR ASSEMBLY - STEP FIVE NOTE: A HASP & STAPLE IS SUPPLIED INSTEAD OF THE PADBOLT SHOWN DOOR ASSEMBLY - STEP SIX...
- Page 14 DOOR ASSEMBLY - STEP SEVEN IF YOUR BIKESTORE IS TO BE POSITIONED ON EXISTING TIMBER DECKING, 6 No. 80 mm SCREWS HAVE BEEN SUPPLIED TO SECURE YOUR BUILDING, BY SCREW- ING THROUGH THE FRAMEWORK OF THE SIDE AND BACK WALL PANELS IN TO THE TIMBER DECKING BELOW .
Need help?
Do you have a question about the BIKE STORE and is the answer not in the manual?
Questions and answers