
Related Manuals for Alienware AW320M


Summary of Contents for Alienware AW320M
- Page 1 Alienware Wired Gaming Mouse AW320M User Guide Mouse Model: AW320M Regulatory Model: AW320M...
- Page 2 Notes, cautions, and warnings NOTE: A NOTE indicates important information that helps you make better use of your mouse. CAUTION: A CAUTION indicates potential damage to hardware or loss of data if instructions are not followed. WARNING: A WARNING indicates a potential for property damage, personal injury, or death.
-
Page 3: Table Of Contents
Connecting the mouse..... . 6 Alienware Command Center (AWCC) ... . .8 Installing AWCC through Windows Update . -
Page 4: What's In The Box
What’s in the box 1. Mouse 2. Documents What’s in the box... -
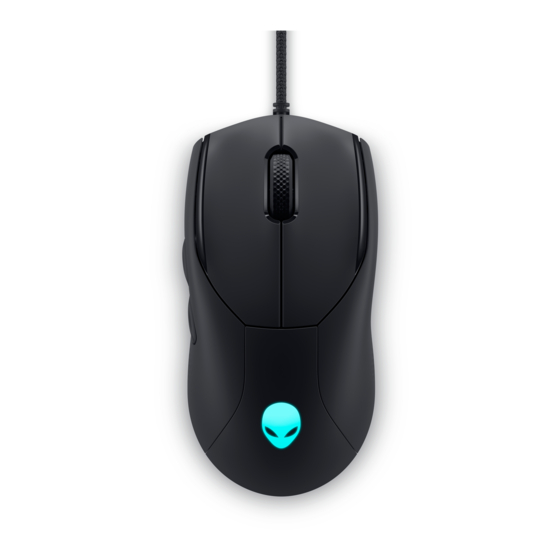
Page 5: Features
Features Bottom Side 1. Left button 2. Right button 3. Scroll wheel 4. DPI indicator 5. DPI button 6. Forward button 7. Backward button Features... -
Page 6: Adjustable Dpi
• 2400: Purple ( ) • 3200: Red ( ) You can change the default DPI settings and customize the DPI stages and LED colors with the Alienware Command Center (AWCC) application. Setting up your gaming mouse Connecting the mouse 1. - Page 7 2. Connect the mouse cable to the USB port on your desktop or laptop. Desktop Laptop Setting up your gaming mouse...
-
Page 8: Alienware Command Center (Awcc)
NOTE: For more information, see the Alienware Command Center (AWCC) application Online Help. Installing AWCC through Windows Update 1. Connect your Alienware peripheral to your computer through the USB port. The AWCC application is downloaded and installed automatically. AWCC installation may take up to 10 minutes to complete. -
Page 9: Installing Awcc From The Dell Support Website
1. Connect your mouse to your computer through the USB cable. 2. Launch AWCC software and click the FX tab. 3. Under Settings, select Alienware AW320M Wired Gaming Mouse from the Edit Device Settings drop-down list. 4. Click the Settings tab. -
Page 10: Updating The Mouse Firmware Manually
Updating the mouse firmware manually 1. Go to www.dell.com/support and search for AW320M. 2. From the Drivers & Downloads tab, download AW320M Mouse FW update tool. 3. Connect your mouse to your computer through the USB cable. 4. Open the downloaded AW320M Mouse FW update tool file. -
Page 11: Specifications
Specifications General Model number AW320M Connection type Wired USB 2.0 Microsoft windows WHQL Windows 7/Windows 8/Windows 8.1/ Windows 10/Window 11 Operation system Windows 7/Windows 8/ Windows8.1/ Windows10/Windows 11/MAC OS X/ Steam OS Electrical Operating voltage Physical characteristics Weight (without cable) Under 80 g (Under 0.1763 lb) -
Page 12: Troubleshooting
3. Restart the computer. Mouse is not running based on 1. Ensure that the Alienware the configuration selected in Command Center (AWCC) the Alienware Command Center application is installed on your (AWCC) application. - Page 13 Problems Possible solutions Resolving cursor issues (continued) 4. Save any data, close any open program(s), and then restart the laptop/desktop. When you do not have another mouse or touchscreen, hold the power button down for at least 15 seconds to turn the laptop/ desktop off.
- Page 14 Problems Possible solutions Troubleshooting a slow moving cursor 3. Change the mouse settings to adjust (continued) the pointer speed. Click on the tab that matches the Operating System (OS) installed on your laptop/desktop and perform the steps within that section to change the settings.
-
Page 15: Statutory Information
Statutory Information Warranty Limited warranty and return policies Dell-branded products carry a two-year limited hardware warranty. If purchased together with Dell system, it will follow the system warranty. For U.S. customers: This purchase and your use of this product are subject to Dell’s end user agreement, which you can find at https:/ /www.dell.com/terms.
Need help?
Do you have a question about the AW320M and is the answer not in the manual?
Questions and answers