Advertisement
ASSEMBLY INSTRUCTIONS
Adult assembly required. Small parts may present choking hazard prior to assembly.
Enclosed please find the simple step-by-step instructions to help you quickly assemble your product. Before you
begin we recommend that you follow the steps below:
1.
Please read the instructions thoroughly
2.
Identify all parts and hardware
3.
You may need to provide the following tools: Philips
Flat head screw driver, Hammer.
Do Not Use Power Drills or Drivers
To protect your parts during assembly please place them on a soft
surface. To clean surface use only water on a damp cloth. Do not
use window cleaners or cleaning abrasives as it will scratch the
surface and could damage the protective coating.
Ottoman may be factory assembled
THIS INSTRUCTION BOOKLET CONTAINS IMPORTANT SAFETY INFORMATION.
PLEASE READ AND KEEP FOR FUTURE REFERENCE.
LOT NUMBER:______________________ DATE OF PURCHASE:_________________________
1((' 352'8&7 6833257"
Our Customer care team is here for you.
If you have any questions about assembling your product, or have any concerns relating to parts,
shipping, or your new product, get in touch with our Customer Service team first and they will be
happy to let you know what to do next.
Customer Service email: service@artivausa.com
or visit us at www.artivausa.com
We will respond within 24 hrs Monday- Friday 9am to 5pm PST (except Holiday)
Made in Vietnam
Head screw driver,
Monday- Friday 9am to 5pm PST
1
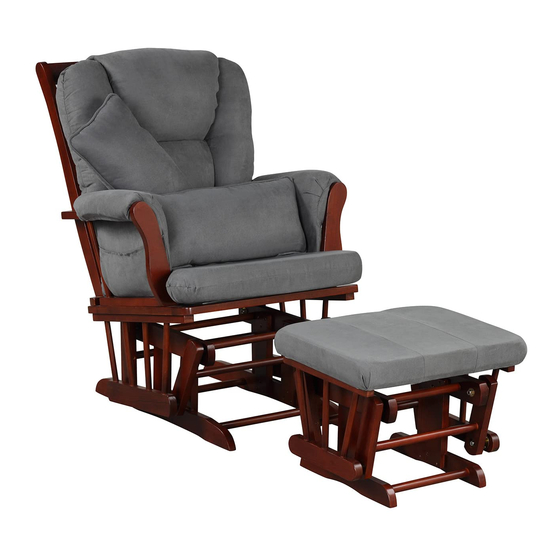
ITEM#: AF20206-GRX
Glider with Ottoman
Advertisement
Table of Contents

Related Manuals for ARTIVA AF20206-GRX


Summary of Contents for ARTIVA AF20206-GRX
- Page 1 ASSEMBLY INSTRUCTIONS ITEM#: AF20206-GRX Glider with Ottoman Adult assembly required. Small parts may present choking hazard prior to assembly. Enclosed please find the simple step-by-step instructions to help you quickly assemble your product. Before you begin we recommend that you follow the steps below:...
- Page 2 Parts List Please contact customer service DESCRIPTION Base Back Frame Left arm Right arm Arm cushion Back cushion Seat cushion Ottoman Pillow COMPONENTS 1/4" X 2" Bolt 1/4" X 1-3/8" Bolt 1/4" Spring washer Barrel nut Allen key 1/4" X 1-3/8" Bolt (FACTORY INSTALLED) Ottoman factory assembled...
- Page 3 STEP 1 Attach the back frame (B) to base (A) screw with bolts (2) and washer (3) by Allen key (5). Note: Leave bolts loose for easier assembly of arms in next step. STEP 2 2.2 Attach the left arm (C-L ) to the base (A) 2.1 Insert barrel nut (4) into the hole underneath and secure with bolts (2) and washer (3) as the armrest as shown in DETAIL A.
- Page 4 STEP 3 Attach the armrest cushions (D) to the armrest by buttoning the buttons along the interior seat and on the sides. STEP 4 Attach back cushion (E) to the back frame Attach seat cushion (F) to base. Your glider is ready to use...
- Page 5 CHECK BOLTS/SCREWS PERIODICALLY (Every 2-3 months) AND TIGHTEN IF NECESSARY. Please contact Customer Service email: service@artivausa.com or visit us at www.artivausa.com We will respond within 24 hrs Monday- Friday 9am to 5pm PST (except Holiday)
Need help?
Do you have a question about the AF20206-GRX and is the answer not in the manual?
Questions and answers