Advertisement
Advertisement
Table of Contents

Subscribe to Our Youtube Channel
Related Manuals for Texecom PREMIER RKP4


Summary of Contents for Texecom PREMIER RKP4
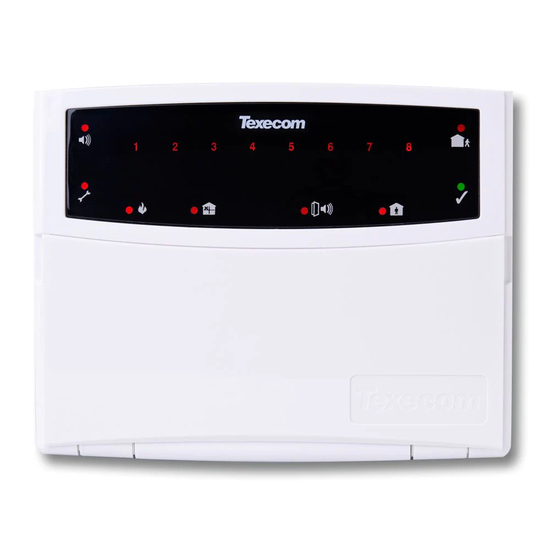
- Page 1 Installation Manual PREMIER RKP4/8/16 &RKP8PLUS/16PLUS INS181-4...
-
Page 2: Table Of Contents
Content 1.0 Installation ..........................1.1 Mounting RKP8/16 Plus ......................1.2 Mounting RKP4/8/16 ......................1.3 Selecting an Address ......................1.4 Cable Entry RKP4/8/16 ......................1.5 Wiring ..........................1.6 Programming/Confirm Devices .................... 1.7 Technical Specifications ...................... 1.8 Standards ..........................1.9 Warranty ..........................INS181-4 2/9... -
Page 3: Installation
1.0 Installation The Premier RKP4/8/16 &8/16 Plus remote keypads are suitable for use with the following Texecom control panels: Premier 412 and Premier 816 with Version 2.1 or higher panel software. Up to 6 keypads may be connected to the system 1.1 Mounting RKP8/16 Plus... - Page 4 INS181-4 4/9...
-
Page 5: Selecting An Address
1.3 Selecting an Address Each keypad MUST be given a different address using the DIP switch on the left hand side of the PCB as follows: NEVER set two RKPs to the same address. Keypads are factory set to Address 1 (all switches off). 1.4 Cable Entry RKP4/8/16 INS181-4 5/9... - Page 6 Cable entry MUST use either the top left-hand hole or the cable channel. NEVER run cables behind the PCB. INS181-4 6/9...
-
Page 7: Wiring
1.5 Wiring It is strongly recommended that the system is completely powered down (mains and battery) before wiring a keypad. Connect the keypad to the control panel using 4-core cable as follows: Up to six keypads may be connected in parallel (‘star’) or series (‘daisy‑chain’) or any combination. When using long cable runs or connecting keypads in series (‘daisy‑chain’) ensure that the voltage at the keypad is no less than 10.0V. -
Page 8: Technical Specifications
LED RKP 4, 8 & 16 Allow system to operate for 30 seconds Enter installer/engineer code – would display confirm devices Press Arm Key – Enter confirm devices menu (Top line of LED’s will illuminate) Press Arm Key – Accept Detected network devices (All zone LED’s will un-illuminate) Press Arm Key –... -
Page 9: Standards
Premier RKP8/16 Plus is covered by a two year warranty against defects in material or workmanship (details on request). As the Premier RKP8/16 Plus is not a complete alarm system but only a part thereof, Texecom cannot accept responsibility or liability for any damages whatsoever based on a claim that the Premier RKP8/16 Plus failed to function correctly.
Need help?
Do you have a question about the PREMIER RKP4 and is the answer not in the manual?
Questions and answers