Table of Contents
Advertisement
Quick Links
Advertisement
Table of Contents

Related Manuals for AUDAC WP220


Summary of Contents for AUDAC WP220
- Page 1 User manual WP220 audac.eu...
- Page 2 This manual is put together with much care, and is as complete as could be on the publication date. However, updates on the specifications, functionality or software may have occurred since publication. To obtain the latest version of both manual and software, please visit the Audac website @ www.audac.eu. WP2xx - User manual...
-
Page 3: Table Of Contents
Table of contents Introduction Universal wall panel - Bluetooth receiver � � � � � � � � � � � � � � � � � � � � � � � � � � � � � � � � � � � � � � � � � � � � 05 Precautions Chapter 1 Overview front panel �... - Page 4 WP2xx - User manual...
-
Page 5: Introduction
& Android smartphones, tablets, PC, Laptops, Desktops, etc... The WP220 is available in 2 colours and is compatible with most standard EU (80x80 mm) style in-wall boxes for solid and hollow walls. With the Elegant ABS front panel with glass, it will blend into any environment. -
Page 6: Precautions
Precautions READ FOLLOWING INSTRUCTIONS FOR YOUR OWN SAFETY ALWAYS KEEP THESE INSTRUCTIONS. NEVER THROW THEM AWAY ALWAYS HANDLE THIS UNIT WITH CARE HEED ALL WARNINGS FOLLOW ALL INSTRUCTIONS NEVER EXPOSE THIS EQUIPMENT TO RAIN, MOISTURE, ANY DRIPPING OR SPLASHING LIQUID. AND NEVER PLACE AN OBJECT FILLED WITH LIQUID ON TOP OF THIS DEVICE NO NAKED FLAME SOURCES, SUCH AS LIGHTED CANDLES, SHOULD BE PLACED ON THE APPARATUS DO NOT PLACE THIS UNIT IN AN ENCLOSED ENVIRONMENT SUCH AS A BOOKSHELF OR CLOSET. -
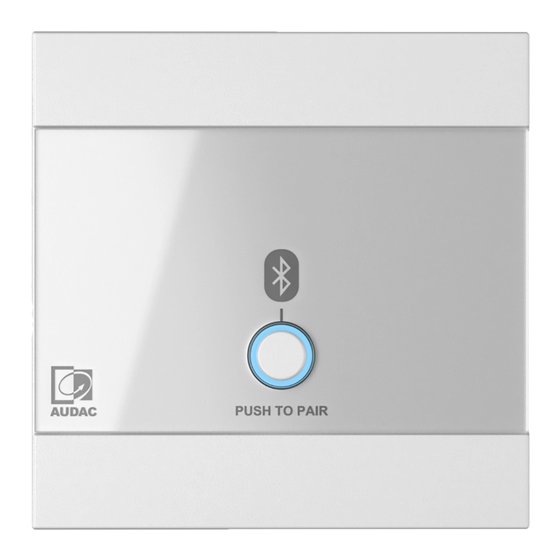
Page 7: Overview Front Panel
Bluetooth pairing button with LED Pressing the bluetooth button will put the WP220 into pairing mode. This can be recognized by the blinking of the blue LED. If the wall panel is connected to a device the LED will be constantly lit. If the button is pushed again, the connection will be disconnected and the WP220 will go back into pairing mode. -
Page 8: Overview Rear Panel
Overview rear panel The rear of the WP220 contains an 8-pin Terminal Block connector, which is used to connect the wall panel to the twisted pair cabling. Below of the 8-pin connector are some DIP switches. These switches allow certain functions to be turned on or off, depending on the situation the WP is in. -
Page 9: Quick Start Guide
Chapter 2 Quick start guide This chapter guides you through the process for a basic setup where a WP220 should be connected to a loudspeaker system with wired network. Install your wall panel on the desired location by means of the optional available WB45S/FS (for solid walls) or WB45S/FG (for hollow walls) installation boxes. -
Page 10: Chapter 3 010
For connection to Wall Panels The 8-pin Euro-Terminal Block on the rear side of the WP220 should be connected to twisted pair cabling. The maximum cable distance between the input unit and the speaker system can reach up to 100 meter. To ensure a proper working of the system, all 8 conductors of the twisted pair cable have to be connected according to the table below. -
Page 11: Technical Specifications
Technical specifications Integrated Bluetooth receiver Inputs Type Version BT5.0 Frequency band 2.4 GHz Output Type Stereo Connector 8-pin terminal block 3.81mm Output level Switch between 0dBV and 12 dBV Power consumption < 1.5W Power supply 17V - 24V Phantom power 24V DC (depending on input voltage) Noisefloor -76.5 dBV... - Page 12 Discover more on audac.eu...
Need help?
Do you have a question about the WP220 and is the answer not in the manual?
Questions and answers