Table of Contents
Advertisement
Quick Links
Advertisement
Table of Contents

Subscribe to Our Youtube Channel
Related Manuals for Springtree WallDim1

Summary of Contents for Springtree WallDim1
- Page 1 WallDim1 & WallDim5 DMX controllers USER MANUAL AND INSTALLATION GUIDE...
-
Page 2: Table Of Contents
Table of Contents 1. Product Information Description..........................3 Features............................3 2. Installation Power supply..........................4 Mounting............................4 Connecting..........................4-5 3. Programming Programming..........................6-8 4. Technical Specifications Dimensions..........................9 4. Troubleshooting Troubleshooting........................10 Contact us..........................10 (615) 599-1505 www.springtree.net... -
Page 3: Product Information
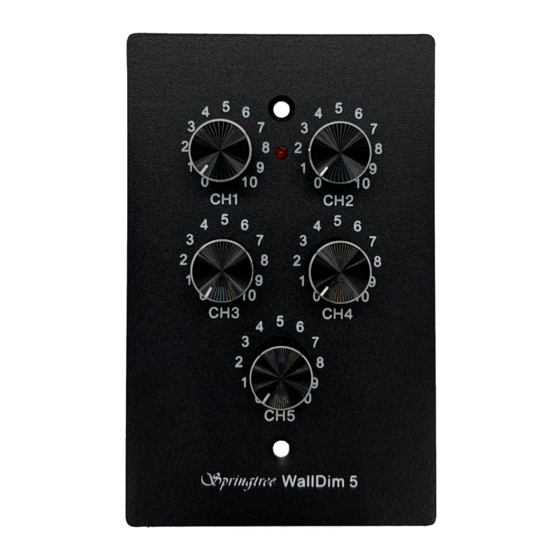
The WallDim1 and WallDim5 are stand alone, in-wall true DMX controllers. Fully addressable and ready to control one DMX channel on the WallDim1 or 5 consecutive channels with the WallDim5. No need for programming or additional consoles. With the WallDim1 and WallDim5 you are ready to control any 1-5 DMX channel light or device right out of the box. -
Page 4: Installation
Installation Power Supply The Springtree WallDim1 and WallDim5 uses a standard 12V power supply (provided). Be sure to ground your unit to prevent damage. ***See “Connecting Power and Grounding” on page 5*** Mounting The Dim1 and Dim5 come with a single gang mud ring but can also be mounted in a RACO 2 gang electrical box with a RACO 1 device mud ring cover seen below. - Page 5 12v pow- er supply that is provided. If there is power close simply connect the WallDim1 or WallDim5 to the power supply. If power is not nearby, power can be extended with 18 gauge low voltage cable.
-
Page 6: Programming
Programming - DMX dip switches Dip Switches The WallDim1 and WallDim 5 DMX addressing is done via dip switches on the back. The WallDim unit should be addressed to whatever DMX channel you would like to control. For example to control DMX address 001 the dip switch #1 should be turned on. For DMX address 005 the dip switches #1 and #3 should be on. - Page 7 Programming - DMX dip switches cont. (615) 599-1505 www.springtree.net...
- Page 8 Programming - DMX dip switches cont. (615) 599-1505 www.springtree.net...
-
Page 9: Technical Specifications
• Disconnect from main power before making any type of connection. • This fixture is intended for indoor use ONLY! • Keep this manual for as long as you own this product! (615) 599-1505 www.springtree.net... -
Page 10: Troubleshooting
Troubleshooting Lights not responding? 1. Check that the 12V power supply is plugged in and connected to the WallDim1 or WallDim5 unit. 2. Check that the DMX cables are connected properly and are wired correctly. 3. Check the dip switches. Is your fixture addressed the same as the WallDim1 or Wall-...
Need help?
Do you have a question about the WallDim1 and is the answer not in the manual?
Questions and answers