Advertisement
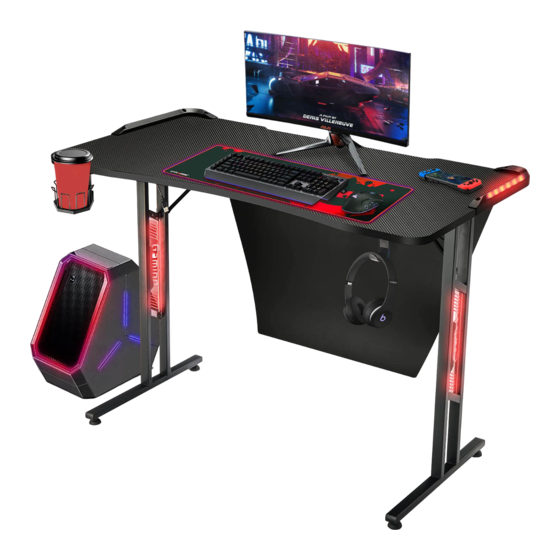
OS-GD27-R Gaming desk
MOUNTING INSTRUCTIONS
PARTS LIST
Light coverings
6
Tabletop
1
Left leg
2
≤60kg
(≤176.4lbs)
CAUTION : DO NOT EXCEED
MAXIMUM LISTED WEIGHT
CAPACITY. SERIOUS INJURY
OR PROPERTY DAMAGE MAY
OCCUR.
Cross-bar
4
Right leg
3
Diagonal bars
7
Baffle
5
A) M6×35mm
B) M6×12mm
×6
×4
E) Cable management
F) Cables manager
cup
×2
INSTALLATION STEPS
1
A×2
Do not tighten the screws
until all parts are installed.
C) M5×12mm
D) Hook
×2
×8
Tools
×2
Connect
2
, by A(×2)
3
A)
Tools
×2
Advertisement
Table of Contents

Subscribe to Our Youtube Channel
Summary of Contents for Otto OS-GD27-R
- Page 1 OS-GD27-R Gaming desk A) M6×35mm B) M6×12mm C) M5×12mm D) Hook MOUNTING INSTRUCTIONS ×2 ×6 ×4 ×8 E) Cable management F) Cables manager Tools ≤60kg ×2 ×2 (≤176.4lbs) CAUTION : DO NOT EXCEED MAXIMUM LISTED WEIGHT INSTALLATION STEPS CAPACITY. SERIOUS INJURY OR PROPERTY DAMAGE MAY OCCUR.
- Page 2 Do not tighten the screws until all parts are installed. Connect byB(×4) Fix D(×2) with C(×2) D×2 C×2 A×4 B×4 ×4 ×2 ×4 Connect and the legs ×2 by A(×4) Tools Tools Do not tighten the screws until all parts are installed.
- Page 3 C×6 Connect the wire interfaces, with C(×6) then put the wire interfaces into the legs Press F×2 Pull the wire interfaces over the tabletop Tips Uncover the back glue of E and stick it under the desktop, E can be used to arrange cables ×2 Connect the wire interfaces, then put the wire interfaces into the...


Need help?
Do you have a question about the OS-GD27-R and is the answer not in the manual?
Questions and answers