Advertisement
Quick Links
Advertisement

Related Manuals for CONCORD QC3914


Summary of Contents for CONCORD QC3914
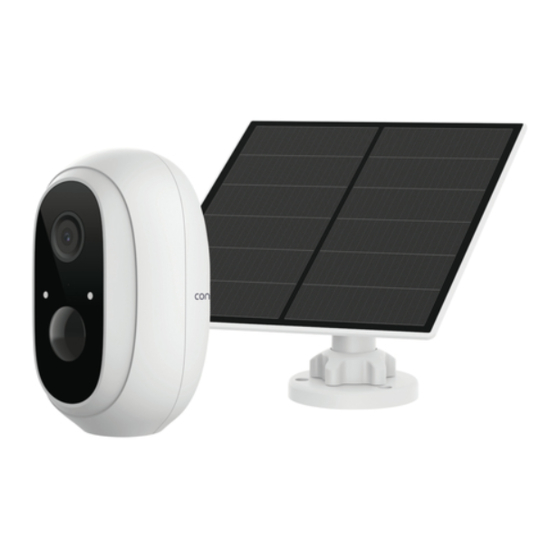
- Page 1 QC3914 Wi-Fi Battery Powered Camera & Solar Panel Quick Start Guide...
- Page 2 Solar Panel Mounting Base Solar Panel 2x Wall Mounting Hardware...
- Page 4 Getting to know your Solar Panel Solar Panel Base Locking Screw Cap Universal Joint Socket Nut USB Charging Output Front Rear...
- Page 6 Please Note: It is suggested to fully charge the camera for up to 3 hours on first time use.
- Page 9 Installing Your Solar Panel Place the solar panel in an area with consistent sunlight throughout the year. It only needs a few hours of direct sunlight each day to keep your camera powered. The amount of power that the solar panel produces is affected by weather conditions, seasonal changes, geographic location, etc.
- Page 10 Installing Your Solar Panel Step 4: Screw the locking screw cap into the base. Make sure that the universal joint is angled upwards. Base Locking Screw Cap ③ ② ① Sleeve Rod Locking Screw Cap Step 5: The solar panel’s angle can be adjusted up and down up to 90°. °...
- Page 11 Positioning Your Solar Panel Step 1: Find an area that gets the most direct sunlight throughout the day. Step 2: Angle the solar panel 30° upwards as shown below. ° Completed Installation...
- Page 12 Purple LED Flashes Quickly...
Need help?
Do you have a question about the QC3914 and is the answer not in the manual?
Questions and answers
My phone showed diminishing charge in the battery and at 5% the camera went off line. It seemed to be connected to the solar panel because previously for two months or more it said 100% charged what is the problem?
The issue could be that the solar panel is not receiving enough consistent direct sunlight to keep the camera charged. The power output of the solar panel depends on factors like weather, seasonal changes, and geographic location. If the panel does not get a few hours of direct sunlight each day, the battery may not stay charged, causing the camera to go offline.
This answer is automatically generated
How to unlink the camera from another user
I **** having a problem connecting to my router. I cannot get the blue LED. How can I access the reset button. The LED flashes red. I have entered my WiFi password and connected to 2.4G on the app. I get stuck pairing the camera to the phone.