Advertisement
Quick Links
Advertisement

Related Manuals for Kogan KADCFAN3N1A


Summary of Contents for Kogan KADCFAN3N1A
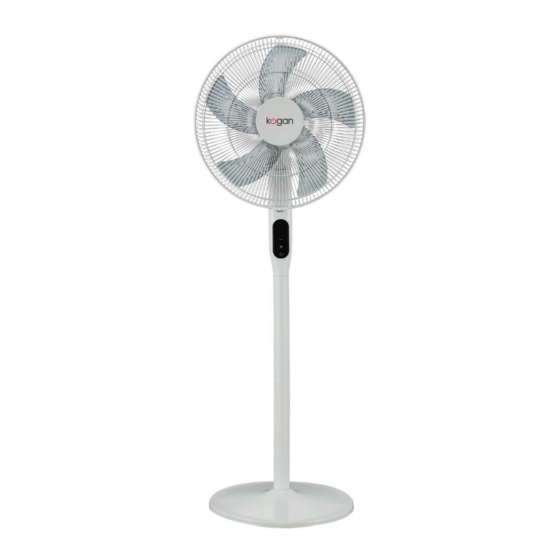
- Page 1 3-IN-1 DC MOTOR PEDESTAL FAN KADCFAN3N1A...
-
Page 3: Safety And Warnings
• Do not touch the blades when the fan is in operation. • Always disconnect the power cord before cleaning. • If the power cord is damaged, stop use immediately and contact help.Kogan.com for assistance. • Do not attempt to repair the fan yourself. - Page 4 COMPONENTS A Base (x1) B Pole assembly (x2) C Fan body (x1) D Fan blade (x1) E Front grille (x1) F Rear grille (x1) G Screw (x1) H Remote control (x1) I User guide (x1)
- Page 5 OVERVIEW Fan blade Front and rear grille Control panel Pole assembly Base Control panel Remote control Fan speed Power button button Oscillation Display Timer button button Oscillating /timer button Fan speed button Power button...
- Page 6 ASSEMBLY 1. Loosen and remove the lock nuts for the rear grille and fan blade from the fan body. Rear grille lock nut Fan blade lock nut Rear grille Fan blade lock nut lock nut body 2. Secure the pole assemblies to the base by rotating clockwise. Pole assemblies Base...
- Page 7 3. Attach the fan body onto the pole assembly, then attach the rear grille onto the fan body. Fan body Rear grille Pole assembly 4. Secure the rear grille lock nut clockwise onto the rear grille. Secure the fan blade, then place and turn the fan blade lock nut anti-clockwise.
- Page 8 5. Align the top clip of the front grille with the rear grille, then press the front and rear grilles together. Rear grille Front grille 6. Using a screwdriver (not supplied), secure the locking clip connected to the front grille with the provided screw.
-
Page 9: Before First Use
BEFORE FIRST USE Batteries for the remote control 1. Slide the back cover off the remote control. 2. Noting the polarity markings ‘+/–’, insert two AAA batteries (not supplied) into the remote control. Slide the back cover on. OPERATION Powering on/off 1. - Page 10 Timer The timer can be set to either turn the fan on or off after a specified period between 0.5–12 hours. Setting the timer to turn on the fan There are two methods. Applicable to both methods, ensure the fan is in standby when setting this timer.
- Page 11 • Using the remote control: 1. Press the timer button to enter the timer settings. 2. Repeatedly press the timer button to set the timer to the desired number of hours. Each press will increase the timer by one hour. This will be reflected on the display. Oscillation When the oscillation function is turned on, the fan will automatically rotate left and right.
- Page 12 Adjusting the height The pole assemblies can be removed to create different heights for the fan. This results in three different configurations. To change the configuration: 1. Remove the fan body. 2. Rotate the pole assembly/assemblies anti-clockwise then remove. 3. Resecure the fan body onto the remaining pole assembly/base.
-
Page 13: Cleaning And Care
CLEANING & CARE Ensure the fan is turned off and unplugged before cleaning. 1. Wipe the exterior with a soft cloth dampened with a mild detergent. 2. Remove any soapy residue with a dry cloth. Notes: • Do not disassemble the fan to remove dust. •... - Page 14 NOTES...
- Page 16 Need more information? We hope that this user guide has given you the assistance needed for a simple set-up. For the most up-to-date guide for your product, as well as any additional assistance you may require, head online to help.kogan.com...
Need help?
Do you have a question about the KADCFAN3N1A and is the answer not in the manual?
Questions and answers