Sign In
Upload
Download
Table of Contents
Contents
Add to my manuals
Delete from my manuals
Share
URL of this page:
HTML Link:
Bookmark this page
Add
Manual will be automatically added to "My Manuals"
Print this page
×
Bookmark added
×
Added to my manuals
Manuals
Brands
Texecom Manuals
Cell Phone
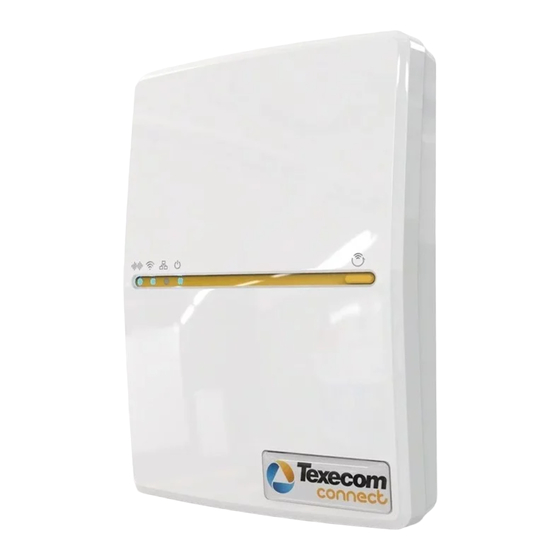
SmartCom
Installation manual
Texecom SmartCom Installation Manual
Hide thumbs
Also See for SmartCom
:
Installation manual
(91 pages)
1
Table Of Contents
2
3
4
5
6
7
8
9
10
11
12
13
14
15
16
17
18
19
20
21
22
23
24
25
26
page
of
26
Go
/
26
Contents
Table of Contents
Bookmarks
Table of Contents
Table of Contents
Contents
Revision History
Introduction
Product Types and Part Ordering Codes
Requirements for Texecom Monitor
Requirement Summary
Firmware Versions
Technical Information on the Service Provision
Availability Monitoring
Certified Configurations
Compliant Configurations
BS9263:2016 Preventative Maintenance Visits
Specifications
Smartcom - CELA1000
Smartcom 4G CELA0050
Weights & Dimensions
Warranty
Supplier Information
Declaration
Installation Guide
Texecom Monitor Overview
Connection Contracts and Payments
Connection Security and Resilience
Getting Started
Connect to an ARC
Adding a Site to Texecom Monitor
Select the Service and Contract
Naming and Adding Site Details
Making an Application to the ARC
Installing and Configuring Your Panel for Texecom Monitor
Smartcom and Smartcom 4G Opening & Identification
Smartcom Connecting to the Panel
Smartcom Managed Networks
Connecting the Smartcom to Ethernet / LAN
Connecting to 4G Mobile Networks
Configuring Your Premier Elite System
Connecting the System to the Texecom Monitor Service
Testing Your Alarm Signalling to the ARC
Appendices
Panel Configuration - When Without Monitor Mode
Smartcom How to Default to Factory Settings
Advertisement
Quick Links
1
Table of Contents
2
Introduction
3
Installation Guide
4
Connecting the Smartcom to Ethernet / Lan
Download this manual
SmartCom and SmartCom 4G
for Texecom Monitor
INS890EN
Table of
Contents
Previous
Page
Next
Page
1
2
3
4
5
Advertisement
Table of Contents
Need help?
Do you have a question about the SmartCom and is the answer not in the manual?
Ask a question
Questions and answers
Related Manuals for Texecom SmartCom
Network Hardware Texecom SmartCom Installation Manual
(91 pages)
Network Hardware Texecom SmartCom 4G Installation Manual
(87 pages)
Cell Phone Texecom CEL-0001 Installation Manual
(26 pages)
Cell Phone Texecom CEL-0007 Installation Manual
(26 pages)
This manual is also suitable for:
Smartcom 4g
Cel-0001
Cel-0007
Table of Contents
Save PDF
Print
Rename the bookmark
Delete bookmark?
Delete from my manuals?
Login
Sign In
OR
Sign in with Facebook
Sign in with Google
Upload manual
Upload from disk
Upload from URL


Need help?
Do you have a question about the SmartCom and is the answer not in the manual?
Questions and answers