Table of Contents
Advertisement
Quick Links
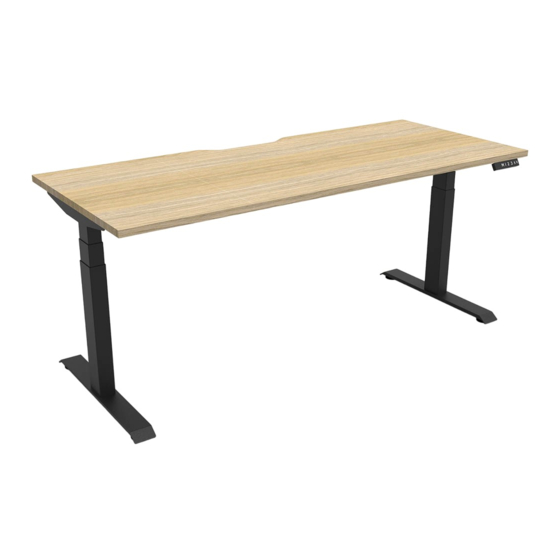
Single Sided Desk Workstation
Instruction Manual
Table of Contents
Component parts ............................................................................................................................................ 2
Assembly Instructions ...................................................................................................................................... 3
Use Instructions ................................................................................................................................................ 9
Troubleshooting ............................................................................................................................................. 11
Important Safety Instructions ......................................................................................................................... 12
Advanced Programming ................................................................................................................................. 13
1
Advertisement
Chapters
Table of Contents

Related Manuals for Rapidline Boost Plus Single Sided Desk Workstation


Summary of Contents for Rapidline Boost Plus Single Sided Desk Workstation
-
Page 1: Table Of Contents
Single Sided Desk Workstation Instruction Manual Table of Contents Component parts ............................2 Assembly Instructions ……..........................3 Use Instructions …………............................ 9 Troubleshooting ………............................ 11 Important Safety Instructions …………………....................12 Advanced Programming …………………......................13... -
Page 2: Component Parts
Component parts Component Name Component Name Leveling pads Center rails Table feet Top frame-2 Lifting column( right) Lifting column( left) Bolt: M6x12 Bolt: M6x16 Screw:ST4x20 Allen Wrench(4mm) Side brackets Cable Tie Rubber pad Handset Top frame-1 Control Box Bolt: M6x10 Motor cable Centre bracket Power cord... -
Page 3: Assembly Instructions
Assembly Instructions Step 1 Loosen the pre-installed bolts and Adjust the length of the top frame to match the size of the table top. Step 2 Inset the lifting column to the top frame. - First fix lifting column with 4pcs screws M6x12 like B displayed - And then tighten the pre-installed bolts like C displayed... - Page 4 Step 3 Install the two table feet with Screws 8 pcs M6x16, Install the 4 pcs leveling pads Step 4 Install the two side brackets with Screws 4 pcs M6x12,...
- Page 5 Step 5 Mount the tabletop and fix it with 14 pcs screws ST4x20; Tighten the screws like D display to fix the top frame.Fix the centre bracket with 2 pcs screws M6x10 Step 6 Mount the control box to the frame;Fix the handset with 2 pcs screws ST4x20 Zipped the cables with cable tie.
- Page 6 Cable tray installation Step 1 - Fix the cable tray to the cable tray arms with 8 pcs M6x10 screws. Step 1 - Install the U brackets to the desk frame with 4 pcs M8x10 screws. - Mount the cable tray to the desk frame and fix it with 6 pcs M6x10 screws...
- Page 7 Screen panel installation Step 1 - Insert the tapped plates to the screen panel Step 2 - Install the brackets to the panel with 8 pcs M5x6 screws.
- Page 8 Step 3 - Fix the panel to the desk frame with 10 pcs M6x10 screws.
-
Page 9: Use Instructions
Use Instructions A. Parts list 1. Lifting Column ……..........................2 pcs 2.Handset..........................1 pcs 3. Control Box ……............................1 pcs 4. Motor Cable …........................... 2 pcs 5. Power Cord …………..........................1 pcs Connect the cables as shown in the photo below: B. - Page 10 1. Make sure all components are connected correctly (control box, control panel, power cable and connecting cable, lifting columns). 2. Connect the power cable to a 110/240VAC outlet. After the control panel will display "62.0" sign for a few seconds, the system is turn on and the desk is ready for use. 3.
-
Page 11: Troubleshooting
Troubleshooting 1. HOT Issue: Operation of the control box, continuously, for more than 2 minutes. Solution: a. Wait 18 minutes. b. Disconnect the power cable, wait a few minutes, and then plug the cable to the power source. The error code will disappear. -
Page 12: Important Safety Instructions
Important Safety Instructions • Before using this device, read these operating instructions carefully and keep this user manual for future reference. • Before using the product, check the desk and power cables for any visible signs of damage. If you notice cuts or deep scratches, do not turn on the device. -
Page 13: Advanced Programming
Advanced programming 1Un-Display units setting ------------------------------------------------------------------------------------------------14 2br-Handset brightness setting-----------------------------------------------------------------------------------------14 3bE-Voice setting ---------------------------------------------------------------------------------------------------------------14 4Fu-Go up anti-collision sensitivity setting ----------------------------------------------------------------------------15 5Fd-Go down anti-collision sensitivity setting -------------------------------------------------------------------------15 6FS-Balance sensitivity---------------------------------------------------------------------------------------------------------16 7SH-Setting the new lowest display and height range ------------------------------------------------------------16 8Hc-Setting Constant-touch & One-touch --------------------------------------------------------------------------17 9St-Time Reminder setting ---------------------------------------------------------------------------------------------17 10H-Setting bounce height ----------------------------------------------------------------------------------------------17 11r-Restore Factory Defaults... -
Page 14: 1Un-Display Units Setting
1Un- Display units Change the numeric display to show heights in either inches or centimeters Press "M" button and hold 3 seconds, handset display "S--" ,Release “S” button,Press "M" button to enter,Display “ 1Un”,Press "M" button again to confirm the first programming setting. 1. -
Page 15: 4Fu-Go Up Anti-Collision Sensitivity Setting
4Fu-Go up anti-collision sensitivity The desk has an Anti-Collision Sensitivity that will stop the desk’s movement if it hits something on the way up. You can change this Sensitivity level by doing the following: Press "M" button and hold 3 seconds, handset display "S--" ,Release "M" button,Press "M" button again to enter,Display “... -
Page 16: 6Fs-Balance Sensitivity
6FS-Balance sensitivity The desk has a balance Sensitivity to make sure the 2 columns always work in the same position . You can change this Sensitivity level by doing the following: Press "M" button and hold 3 seconds, handset display "S--" ,Release “S” button,Press "M" button again to enter,Display “... -
Page 17: 8Hc-Setting Constant-Touch & One-Touch
8Hc- Setting Constant-touch & One-touch for go Up or Down Press "M" button and hold 3 seconds, handset display "S--" ,Release "M" button,Press "M" button again to enter,Display “ 1Un”. 1. Press UP or DOWN,It will display 8Hc 2. Press “ S” button to enter,It will display current mode ,Press UP or DOWN,It will display : Keep pressing UP or DOWN button to make the desk moving up or down. -
Page 18: 11R-Restore Factory Defaults
11r- Restore Factory Defaults Press "M"button and hold 3 seconds, handset display "S--" ,Release "M" button,Press "M" button again to enter,Display “ 1Un”. 1. Press UP or DOWN ,It will display 11r 2. Press "M" to enter,It will display and flash. 3.
Need help?
Do you have a question about the Boost Plus Single Sided Desk Workstation and is the answer not in the manual?
Questions and answers