Table of Contents
Advertisement
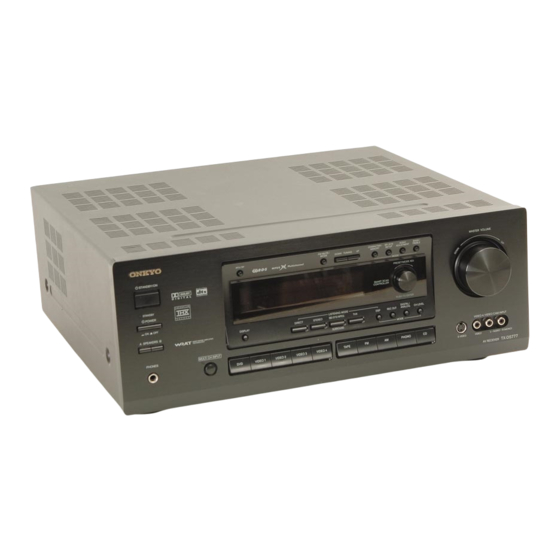
A / V Receiver
TX-DS777
TX-DS676
Instruction Manual
DIMMER
STANDBY/ON
STAND-BY
POWER
ON
OFF
A SPEAKERS B
DISPLAY
DIRECT
PHONES
MUL
TI CH INPUT
DVD
VIDEO-1
VIDEO-2
VIDEO-3
Thank you for purchasing the Onkyo Audio Video
Control Receiver.
Please read this manual thoroughly before making
connections and turning on the power.
Following the instructions in this manual will enable
you to obtain optimum performance and listening
enjoyment from your new Audio Video Control
Receiver.
Please retain this manual for future reference.
MASTER VOLUME
FM MUTE/
CHARACTER/
SP/SYS
AUDIO
BASS/
MODE
DOWN
TUNING
UP
MEMORY
SETUP
ADJUSTMENT
TREBLE
MODE
PRESET/MODE ADJ
PUSH TO ENTER
LISTENING MODE
DIGITAL/
STEREO
/DTS
THX
DSP
REC OUT
ANALOG
CH LEVEL
SURROUND
MODE
VIDEO
/ 4
VIDEO CAM INPUT
VIDEO-4
TAPE
FM
AM
PHONO
C D
S VIDEO
VIDEO
L
AUDIO
R(MONO)
TX-DS
777
AV RECEIVER
Contents
Before using
Important Safeguards ........................................ 2
Precautions ........................................................ 3
Features ............................................................. 4
Supplied accessories ......................................... 4
Before operating this unit ................................. 5
Preparation
Audio equipment connections .......................... 6
Video equipment connections ........................... 8
with 5.1-channel output .................................. 9
Connecting speakers ....................................... 10
Connecting power amplifiers .......................... 12
Connecting an equalizer .................................. 13
Connecting the power ..................................... 13
Making antenna connections .......................... 14
Operation
Using the on-screen display ............................ 16
Setting the speaker configuration ................... 18
Setting the speaker distance ............................ 20
Setting the speaker Level ................................ 21
Playing a digital source ................................... 23
Presetting FM/AM radio stations .................... 24
Selecting an input source ................................ 26
Selecting a preset station ................................. 32
Playing a multichannel input source ............... 33
Using the Listening Modes ............................. 34
Setting the listening mode parameters .................... 38
to each audio input source .............................. 40
and preset radio station ................................... 41
while listening to it ......................................... 42
Other setup operations .................................... 43
Recording a source .......................................... 44
(European models only) .................................. 46
The initial settings ........................................... 48
Appendix
Using the remote controller ............................ 49
other devices into the RC-392M ..................... 52
Using a Macro function .................................. 54
Troubleshooting guide .................................... 58
Specifications .................................................. 60
Control positions and names ........................... 62
Advertisement
Table of Contents


Need help?
Do you have a question about the TX-DS676 and is the answer not in the manual?
Questions and answers