Advertisement
Thank you for purchasing this quality product from A.R.T. Furniture. Be sure to check all
packing material for parts which may have come loose inside the carton during shipment.
Identify and count all parts and compare with the parts list below.
Note: Some furniture is heavy, it is recommended that two people assemble this item to
avoid injury or damage.
STEP 1: Align the seat frame (2) with the chair back (1) and then loosely attach the seat
frame (2) to the chair back (1) using flat washer (D), lock washer (E) and bolt (A).
STEP 2: Continue (loose) assembly of the seat frame (2) to the chair back (1) using flat
washers (D), lock washers (E), and bolts (B) through the corner blocks at the back of the
seat frame (2).
No.
Hardware List
5
A
16
5
B
16
C
Wrench
5
D
16
5
E
16
5
F
16
1
G
4
Page 1
Qt.
3
" X 1
" Bolt
4
1
" X 3
" Bolt
4
" Flat Washer
13
" Lock Washer
13
" NUT
1
" Bolt
" X1
2
! KEEP THESE INSTRUCTIONS FOR FUTURE REFERENCE !
ASSEMBLY INSTRUCTIONS
1
1
D
1
4
NO
1
1
2
3
4
4
6
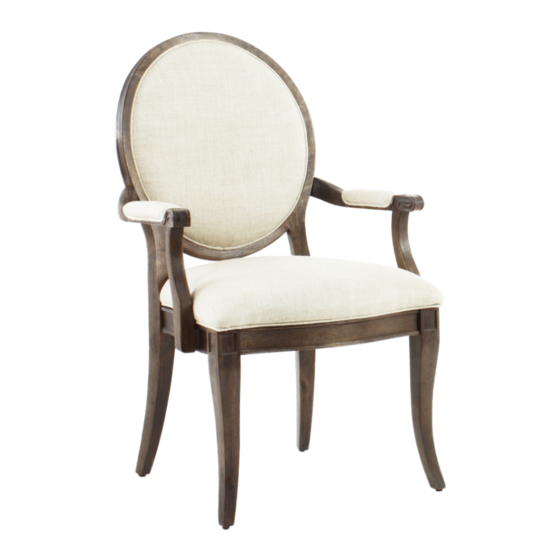
215203 OVAL-BACK ARM CHAIR
B
E
PARTS LIST
DESCRIPTION
CHAIR BACK
SEAT FRAME
FRONT LEG
Arm
PIECES
1
1
2
2
3/8/2015
Advertisement
Table of Contents

Related Manuals for A.R.T. Furniture 215203


Summary of Contents for A.R.T. Furniture 215203
- Page 1 ASSEMBLY INSTRUCTIONS 215203 OVAL-BACK ARM CHAIR Thank you for purchasing this quality product from A.R.T. Furniture. Be sure to check all packing material for parts which may have come loose inside the carton during shipment. Identify and count all parts and compare with the parts list below.
- Page 2 ASSEMBLY INSTRUCTIONS 215203 OVAL-BACK ARM CHAIR STEP 3: Assemble the front legs (3) to the seat frame (2) using flat washers (D), lock washers (E) and nuts (F). STEP 4: Loosely assemble the arms (4) and the chair back (1) using bolts (G). Then attach the arms (4) and the seat frame (2) securely using flat washers (D), lock washers (E)and bolts (G).
Need help?
Do you have a question about the 215203 and is the answer not in the manual?
Questions and answers