Advertisement
WINDOW-TYPE ROOM AIR CONDITIONER
Owner's Manual &
Installation Manual
IMPORTANT NOTE:
Read this manual carefully before installing
or operating your new air conditioning
unit. Make sure to save this manual for
future reference.
Please check the applicable models, technical
data from the nameplate pasted on the unit.
Advertisement

Related Manuals for Midea MWF09HB4


Summary of Contents for Midea MWF09HB4
- Page 1 WINDOW-TYPE ROOM AIR CONDITIONER Owner’s Manual & Installation Manual IMPORTANT NOTE: Read this manual carefully before installing or operating your new air conditioning unit. Make sure to save this manual for future reference. Please check the applicable models, technical data from the nameplate pasted on the unit.
-
Page 2: Table Of Contents
Table of Contents Safety Precautions ................Unit Parts Identification ................ Operation Instructions ............... Care and Maintenance ............... Water Drainage ..................Installation Instructions ..............Troubleshooting ................... Specifications ..................European Disposal Guidelines This marking shown on the product or its literature, indicates that waste electrical and eletrical equipment should not be mixed with general household waste. -
Page 3: Safety Precautions
Safety Precautions Read Safety Precautions Before Operation and Installation Incorrect installation due to ignoring instructions can cause serious damage or injury. The seriousness of potential damage or injuries is classified as either a WARNING or CAUTION. CAUTION WARNING This symbol indicates the possibility of This symbol indicates the possibility property damage or serious consequences. - Page 4 ELECTRICAL WARNINGS Only use the specified power cord. If the power cord is damaged, it must be replaced by the manufacturer, its service • agent or similarly qualified persons in order to avoid a hazard. Keep power plug clean. Remove any dust or grime that accumulates on or around the plug. Dirty plugs can cause fire •...
-
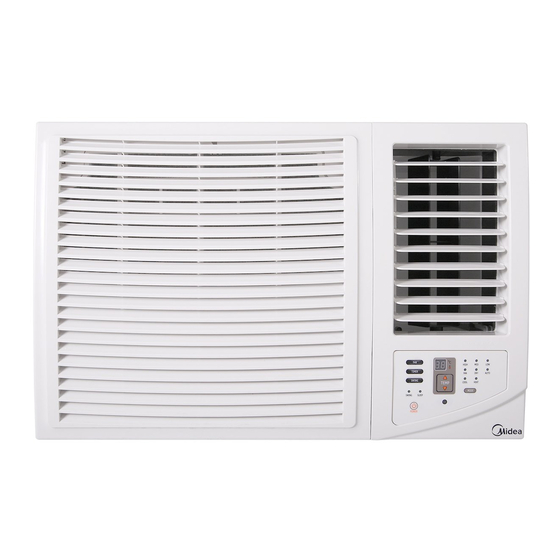
Page 5: Unit Parts Identification
Note about Fluorinated Gasses 1. Fluorinated greenhouse gases are contained in hermetically sealed equipment. For specific information on the type, the amount and the CO2 equivalent in tonnes of the fluorinated greenhouse gas(on some models), please refer to the relevant label on the unit itself. 2. -
Page 6: Operation Instructions
Vent Control The vent control is located above the control knobs. The operation method and the shape may vary in different models (see the following figures). For maximum cooling efficiency, CLOSE the vent. It will allow internal air circulation. OPEN the vent to discharge stale air. CLOSE VENT OPEN... - Page 7 TIMER OFF for cooling and fan operation:(on some models) • On cool mode, press the TIMER button for 2 seconds, the TIMER OFF light illuminates and the cool mode light flashes, it indicates the Auto Stop programe for cooling operation is initiated. Press the mode button, the fan mode light flashes, it indicates the Auto Stop programe for fan operation is initiated.
-
Page 8: Care And Maintenance
CARE AND MAINTENANCE BEFORE CLEANING OR MAINTENANCE ALWAYS TURN OFF YOUR AIR CONDITIONER SYSTEM AND DISCONNECT ITS POWER SUPPLY BEFORE CLEANING OR MAINTENANCE. Cleaning Your Unit IMPORTANT The cabinet and front panel may be dusted with an oil-free cloth or washed with a cloth dampened in a solution of warm water and mild liquid dishwashing detergent. -
Page 9: Installation Instructions
Non-drainage If you choose non-drainage when cooling, both the bottom and the back drain holes of the unit should be plugged with rubber plugs. The condensed water will be sprayed to condenser, and will improve the cooling performance. NOTE: When you choose non-drainage, the air conditioner will be perfect cooling efficiency, but big noise may be caused by spr- aying the condensed water. - Page 10 Model B: 1. Remove one screw securing the chassis fixing bracket, then take down the chassis fixing bracket. Remove two screws located on the back of the cabinet as shown in Fig.5B. 2. Grasp the handle on the chassis and carefully slide the air cond- itioner out of the cabinet.(see Fig.6) Model C: 1.
-
Page 11: Troubleshooting
NOTE: For the unit with power cord comes out from left side, please perform the following steps: 1. Pull the power cord to the left side straightly(See Fig.a & b). 2. Wrap the PVC protecing sheath on the power cord with cable ties in the hole position (see Fig.c). 3. -
Page 12: Specifications
Issue Possible Causes Air movement sound. This is normal. If too loud, turn selector to lower FAN setting. Sound of fan hitting water-moisture removal system. This is normal when humidity is high. Noise when unit is Close doors, windows and registers. cooling Window vibration - poor installation. - Page 13 AIR CONDITIONER REMOTE CONTROLLER ILLUSTRATION Thank you very much for purchasing our air conditioner. CS465-R031D(E) Please read this owner's manual carefully before using your air conditioner.
- Page 14 Handling the remote controller CONTENTS Location of the remote controller. Handling the remote controller ............Use the remote controller within a distance of 5 meters from the appliance, pointing it towards Remote controller Specifications........... the receiver. Reception is confirmed by a beep. Function buttons ....
- Page 16 Dehumidifying operation How to use the buttons Ensure the unit is plugged in and power is available. Auto operation Press the ON/OFFbutton to start the air conditioner. Ensure the unit is plugged in and power is Press the MODE button to select Auto. available.
- Page 17 SLEEP operation Timer operation To set the Auto-stop time. Press this button to activate the Sleep mode. This function is available on COOL, 1. Push the TIMER button when the unit is HEAT or AUTO mode only and maintain the operational, only the Auto-stop feature can most comfortable temperature for you.
Need help?
Do you have a question about the MWF09HB4 and is the answer not in the manual?
Questions and answers