Advertisement
Alaterre Furniture
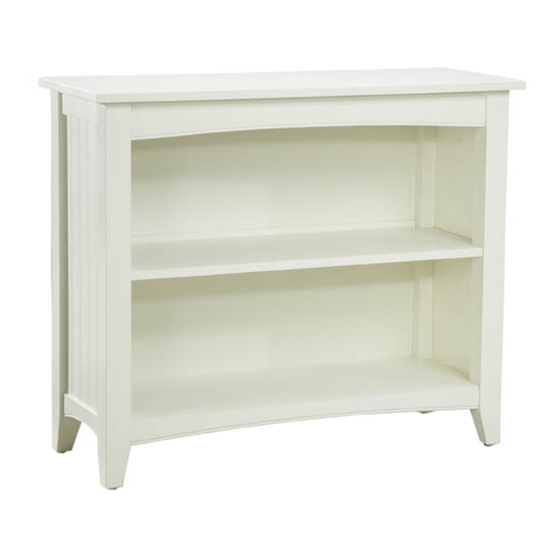
Shaker Cottage Low Bookcase
Thank you for purchasing our Shaker Cottage Low Bookcase. We have found it helpful to have
a second person present in at least one step of the assembly.
Low Bookcase Assembly Instructions
Lay out all parts on a "non-abrasive"surface to avoid scratching furniture.
NO.
DRAWING
DESCRIPTION
ANTI-TIP
1
PARTS
Step 1
Read through these instructions thoroughly before beginning assembly. We have found this to be of great
value when first assembling this product.
Step 2
Remove all parts and hardware from packing material. Wooden pieces should be placed on a non
abrasive surface (like the carton or carpet) to prevent damage to the finish.
Step 3, 4, 5 and 6
Lay Left Side (B) on side and attach Top Unit (A) using 2 Hex Bolts (G).
Note: It will help to have a second person at this time to assist in assembly.
Slide 1 Back Panel (F) into grooves in Top Unit (A) and Left Side (B).
Insert 2 Wood Dowels (H) into Left Side (B) and 2 Wood Dowels (H) into Shelf (D).
Slide Shelf (D) onto 2 Wood Dowels (H) in Left Side (B)
4/12/17
1 of 2
Bookcase
Advertisement
Table of Contents

Subscribe to Our Youtube Channel
Summary of Contents for Alaterre Furniture Shaker Cottage
- Page 1 Alaterre Furniture Shaker Cottage Low Bookcase Thank you for purchasing our Shaker Cottage Low Bookcase. We have found it helpful to have a second person present in at least one step of the assembly. Low Bookcase Assembly Instructions Lay out all parts on a "non-abrasive"surface to avoid scratching furniture.
- Page 2 Step 7, 8 and 9 Slide 1 Back Panel (F) into grooves in Shelf (D) and Left Side (B). Attach Bottom Panel (E) to Left Side (B) using 2 Hex Bolts (G). Attach Right Side (C) to Top Panel (A) and Bottom Panel (E) using 4 Hex Bolts (G). CARE Clean with mild soap and wipe dry.


Need help?
Do you have a question about the Shaker Cottage and is the answer not in the manual?
Questions and answers