Table of Contents
Advertisement
Quick Links
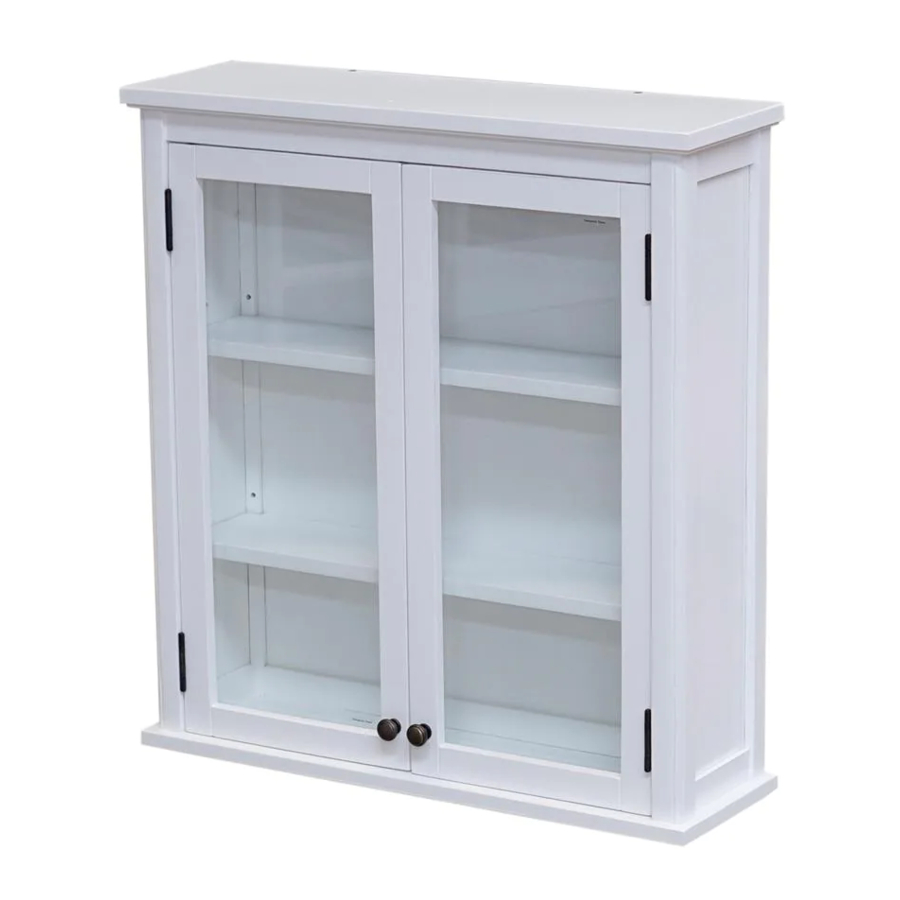
Thank you for purchasing the Toilet Hutch with Glass from ALATERRE FURNITURE. We have found it
helpful to have a second person present during the assembly process.
Toilet Hutch with Glass Assembly Instructions
NO.
DRAWING
A
B
C
7/9/2018
Alaterre Furniture
Toilet Hutch with Glass
Parts
DESCRIPTION
QTY
TOILET HUTCH
1
SHELF
2
FRENCH CLEAT
1
1 of 5
NO.
DRAWING
D
E
F
G
I
DESCRIPTION
QTY
M6x45MM BOLT
4x40MM
SHELF CLIP
ALLEN KEY
ANTI-TIP
Toilet Hutch with Glass
4
4
8
1
1
Advertisement
Table of Contents

Related Manuals for Alaterre Furniture ANVA73WH


Summary of Contents for Alaterre Furniture ANVA73WH
- Page 1 Alaterre Furniture Toilet Hutch with Glass Thank you for purchasing the Toilet Hutch with Glass from ALATERRE FURNITURE. We have found it helpful to have a second person present during the assembly process. Toilet Hutch with Glass Assembly Instructions Parts...
- Page 2 Step 1 Read through these instructions thoroughly before beginning assembly. We have found this to be of great value when assembling this product. Step 2 Remove all parts and hardware from packing material. Wooden pieces should be placed on a non abrasive surface to prevent damage to the finish Step 3 Remove Table Top of Toilet Base by unscrewing 4 pre-installed Hex Bolts (D).
- Page 3 Step 5 Attach Toilet Hutch (A) to Toilet Base using 4-M6x45MM Hex Bolts (D). NOTE: TIGHTEN ALL BOLTS AT THIS TIME ! CARE Clean with a non abrasive cloth using a mild soap. Make sure to wipe dry. REPLACEMENT PARTS: For best service, to order replacement parts go to www.alaterrefurniture.com.
- Page 4 IF YOU WANT TO HANG ON THE WALL Step 1 Read through these instructions thoroughly before beginning assembly. We have found this to be of great value when assembling this product. Step 2 Remove all parts and hardware from packing material. Wooden pieces should be placed on a non abrasive surface to prevent damage to the finish Step 3 Remove the French Cleat (C) from the back of the Toilet Hutch (A) by unscrewing 2 pre-installed Wood...
- Page 5 Step 4 Open the Doors of Toilet Hutch (A), Insert 8-Shelf Clips (F) in Holes on Side Frames at desired location. Place Shelves (B) on Shelf Clips (F). Step 5 Set Toilet Hutch (A) on French Cleat (C). Secure Toilet Hutch (A) to French Cleat (C) by installing 2 Wood Screws (E).
Need help?
Do you have a question about the ANVA73WH and is the answer not in the manual?
Questions and answers