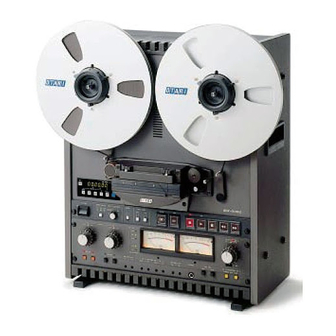
OTARI MX-5050 B-II Alignment Procedure
Reel-to-reel tape recorder
Hide thumbs
Also See for MX-5050 B-II:
- Instruction and maintenance manual (154 pages) ,
- Operation and maintenance manual (146 pages) ,
- Instruction manual (61 pages)
Advertisement
Table of Contents
Set SRL switch to SRL position.
PLAYBACK
1. Set the Reference Flux, and EQ to suit the test tape
2. AZIMUTH
a. Adjust for 0º ø on oscilloscope (A4 screw)
3. REPRO LEVEL
a. Play 0VU @ 1kHz and adjust VR106/VR206 for 0VU
4. REPRO EQ
a. Play ƒ sweep and adjust VR102/VR202 for a flat response (15 ips)
b. Play ƒ sweep and adjust VR103/VR203 for a flat response (71/2 ips)
RECORD
1. AZIMUTH
a. Adjust for 0º ø on oscilloscope (A3 screw)
2. RECORD METER LEVEL
a. Set the input level controls to maximum
b. Record 1kHz from a -15dBm source
c. Adjust the Record Level trimpot for 0VU
d. Switch to monitor Source
e. Adjust VR108/208 for 0VU
3. RECORD LEVEL
a. Set the Record flux level switch to M (250nW)
b. Monitor 'Source' and set the level to 0VU
c. Monitor 'Tape' and start recording
d. Adjust the Record Level trimpot for 0VU
Alignment Procedure for Otari MX-5050 B-II
Advertisement
Table of Contents

Related Manuals for OTARI MX-5050 B-II


Summary of Contents for OTARI MX-5050 B-II
- Page 1 Alignment Procedure for Otari MX-5050 B-II Set SRL switch to SRL position. PLAYBACK 1. Set the Reference Flux, and EQ to suit the test tape 2. AZIMUTH a. Adjust for 0º ø on oscilloscope (A4 screw) 3. REPRO LEVEL a. Play 0VU @ 1kHz and adjust VR106/VR206 for 0VU 4.
- Page 2 4. RECORD BIAS a. Record 1kHz tone @ 0VU b. Adjust the Record Bias trimpot for +3VU 5. RECORD EQ a. For 15 ips, record 10kHz @ 0VU b. Adjust the Record EQ (High) trimpot for 0VU c. For 71/2” ips, record 10kHz @ -10VU d.
Need help?
Do you have a question about the MX-5050 B-II and is the answer not in the manual?
Questions and answers