Advertisement
Advertisement

Related Manuals for SemaConnect 4 EV Series


Summary of Contents for SemaConnect 4 EV Series
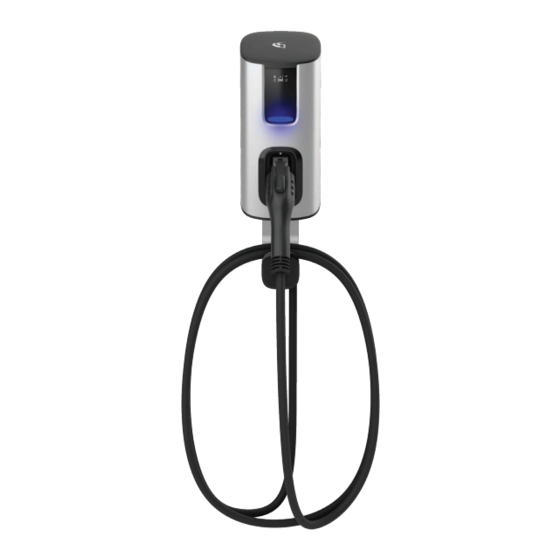
- Page 1 Series 4 EV Home Charger INSTALLATION AND USER GUIDE...
-
Page 3: Table Of Contents
7. Troubleshooting and Maintenance WARNINGS Please read the full document before using this SemaConnect charger. While working with electrical devices please follow basic electrical safety procedures. Do not try to install this charger while the breaker is still powered on. -
Page 4: Safety And Compliance
However, specifications and other information in this manual are subject to change at any time without prior notice. Use of the SemaConnect charger in a manner not intended or any modification not approved by the manufacturer will void the limited warranty. Other than the limited warranty, SemaConnect products are provided “AS IS,”... -
Page 5: Electrical Requirements
2. Electrical Requirements Wiring Diagram Connect the charger to a single phase 120/240 volt, bonded neutral power source. All wire must be sized in accordance with the National Electric Code. Electric vehicle charging stations must be equipped with an internal Ground Monitor/Interrupter circuit (GMI circuit). -
Page 6: Parts List
3. Parts List Materials Included • SemaConnect Series 4 EV Home Charger • Allen wrench • Mounting hardware Tools Needed • Stud finder • Level • Marker • Drill • Measuring tape Materials Needed • 3/4“ Liquid Tight Flexible Metal Conduit - Hardwired Version Only •... - Page 7 Wall Preparation 1. Locate and remove the top mounting screw from the charger using the supplied Allen wrench. 2. Remove the wall mount bracket from the charger by applying downward pressure on the wall mount bracket until the charger mounting screws unseat from the wall mount bracket keyhole slots. 3.
- Page 8 Wall Mounting (NEMA 14-50 Version) 1. Locate the 3 mounting screws on the rear of the charger. Position them into the corresponding keyhole slots on the wall mount bracket. Slide downward until fully seated. 2. Reinstall the top mounting screw using the supplied Allen wrench to secure the charger. The charger should feel secure after it is fully seated.
- Page 9 Wall Mounting (Hardwired Version) The hardwired version of the SemaConnect Series 4 EV Home Charger is manufactured with 3 feet of cable that has been listed by a Nationally Recognized Testing Laboratory (NRTL) to the appropriate UL standards for the specified ampere ratings.
-
Page 10: Configuration
Powering Up the Charger After you have installed the SemaConnect Series 4 EV Home Charger, turn on the power at the breaker. Allow up to 3 minutes for the charger to fully power on. The charger is ready to use when the LED is a steady blue color and icons are visible on the screen. - Page 11 Basic Configuration To configure the charger, perform the following steps in the SemaConnect mobile app: 1. Access the Home Charger menu and follow the instructions to add a charger. • Initiate the pairing process on the charger by inserting the supplied Allen wrench into the small opening where the vehicle connector attaches to the charger and briefly pressing the recessed button for less than 2 seconds.
-
Page 12: Operation
6. Operation Charging Your Vehicle To start a charging session, connect the vehicle to the charger. • Unlocked mode - charging will begin immediately. • Locked mode - charging will begin once authorization is provided using the mobile app. Press the Start Charging button in the Home Charger section. - Page 13 On-screen Icons The charger may show the following icons on the screen: ICON MEANING No vehicle is connected. Plug in to start a charge. The vehicle is charging. A vehicle has been plugged-in to the charger. The charger has paused the charging session. This could indicate the charger is waiting for a schedule to begin or the session has been stopped by the mobile application.
-
Page 14: Troubleshooting And Maintenance
7. Troubleshooting and Maintenance Troubleshooting ISSUE POSSIBLE CAUSE RESOLUTION No light or screen icons are The charger has no power. Ensure the breaker is powered on. displayed. Ensure the charger is plugged-in or correctly hardwired. The charger is powered-on but the The vehicle battery is already full. - Page 15 Maintenance • Clean the charger by wiping it with a dry or slightly damp cloth. • Do not exert too much pressure on the charger during cleaning. • Do not open the device to clean it. • Do not use a vacuum cleaner. Updating Charger Firmware Updated firmware may be made available to add additional features or correct reported issues.
Need help?
Do you have a question about the 4 EV Series and is the answer not in the manual?
Questions and answers