
Subscribe to Our Youtube Channel
Related Manuals for Viofo A129 Plus Duo IR


Summary of Contents for Viofo A129 Plus Duo IR
- Page 1 Plus Duo IR The user manual is available on https://support.viofo.com Copyright (c) 2020,Viofo Ltd, All rights reserved. V21.9.15...
-
Page 2: Table Of Contents
Table of Contents Product Overview Table of Contents Product Overview Product Overview Standard Items Standard Items Optional Accessory Product Diagram Inserting / Removing the memory card LED Indicators Buttons and Icons Car Charger 4M Car Charger Card Reader Front Camera Installation Adapter USB Cable... -
Page 3: Product Diagram
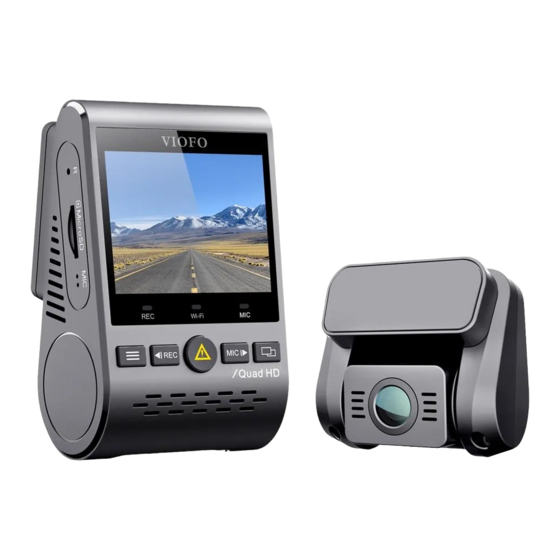
Product Overview Product Overview Product Diagram 1) Front Camera USB Power Port Mount Interior Camera USB Port Lens AV Out Power In / microSD Card Reader Mode (computer) Menu / Power On | O Interior Camera (Optional) Microphone On | O Recording On | O / Menu Up / Menu Down Video Protect / Playback... -
Page 4: Inserting / Removing The Memory Card
FAT32 file system, either on a computer or in the camera. with the card label facing the forward (away from the screen). We recommend you buy the VIOFO brand memory card which are manufactured with top-tier MLC NAND ash, making them durable and reliable. -
Page 5: Buttons And Icons
Product Overview Product Overview Buttons and Icons Buttons Mode Behavior Mode Buttons Behavior Back to previous menu / Stop playback Click once to enter the menu Menu up / Change playback speed / Delete the video Click once to start recording Playlist Select the current / Play / Pause Standby... -
Page 6: Installation
Installation Installation Installation Front camera installation 1) Insert the clips, then slide the mount horizontally into the slot on the back of camera. 5) Fix the front camera on the selected location. 6) Adjust the lens angle - Look at the live view on the LCD. - Adjust the angle of the lens up / down if necessary. -
Page 7: Cable Connection
Installation Installation 2) Connecting with Interior Camera Power o the product and connect the interior camera cable to the front camera (main unit). Cable routing should be as shown in the following two diagrams. Use the cable clips to help fix the two cables conveniently and safely. 3) Peel the protection film o the sticky pad and camera lens. -
Page 8: Operation
Installation Operation Tips Operation 1. Do not install / mount the camera in a location that interferes with the driver’s visibility and safety. 2. Install / mount the camera close to the rearview mirror so that Power On / O both sides of the scene being recorded are equally covered by the When you start the engine, the camera will turn on and begin camera’s FOV (field of view). -
Page 9: Emergency Recording
Operation Operation Emergency Recording Motion Detection Automatic emergency recording When the G-sensor is activated by a collision, the current footage If turned ON, the camera will start recording on detecting any will be locked automatically to avoid being overwritten by loop movement within its FOV (field of view). -
Page 10: View On A Tv
There are four modes for live preview on the A129 LCD screen and Follow the instructions on this website to upgrade the firmware: via Wi-Fi while the interior camera is attached. https://support.viofo.com/support/solutions/19000101567 Note: Picture in picture (PIP) mode is available only while the interior camera is attached. -
Page 11: System Settings
Using low bitrate will save space and record for longer time. Note: We recommend to buy VIOFO HK3 ACC hardwire kit cable for • Live Video Source: Front camera / Interior camera / PIP mode 1 / PIP parking mode recording. - Page 12 Setting Setting • Motion Detection: When activated, the camera will start recording • Boot delay: The camera will boot seconds later when powered on. if there is movement in front of the camera. Once the camera does The settings are O / 5s / 10s. not detect movement for 60 seconds, it stops recording and returns •...
-
Page 13: Review And Control On Smartphone
2020/12/28 08:16:12 Connecting the camera to a smartphone • Search "VIOFO" on Google play store on an Android device or Apple app store on an iOS device, also you can scan below code to download the APP. Download on the... -
Page 14: Notice
FCC Statement This equipment has been tested and found to comply with the limits Shenzhen Viofo Technology Co.,Ltd, declares that this Radio for a Class B digital device, pursuant to part 15 of the FCC Rules. These Frequency peripheral is in compliance with the essential limits are designed to provide reasonable protection against harmful requirements and other relevant provisions of Directive 1999/5/EC. -
Page 15: Customer Service
12 months and all accessories are warranted for 3 months. a mysterious gift at marketing@viofo.com. VIOFO o ers lifetime technical support for all our users. We are committed to making sure that you are 100% satis ed with our products and services.
Need help?
Do you have a question about the A129 Plus Duo IR and is the answer not in the manual?
Questions and answers