Table of Contents
Advertisement
Advertisement
Table of Contents

Related Manuals for Viofo A119 V3


Summary of Contents for Viofo A119 V3
- Page 1 User Manual Copyright (c) 2019,VIOFO Inc., All rights reserved.
-
Page 2: Table Of Contents
Table of Contents Setting ......15 Notice Resolution Bitrate Loop Recording Installation Video Format Exposure Accessories WDR (Wide Dynamic Range) Installation Method Parking Mode Tips Parking G-sensor Parking Motion Detection Time-lapse Recording Motion Detection Introduction Interface Speed Unit G-sensor Date Stamp Buttons and Icons GPS Info Stamp Camera Model Stamp... -
Page 3: Notice
Notice Installation • Do not install or operate the camera with wet hands. Accessories • Do not install the camera in a humid location or anywhere near liquids and inflammable gases. The camera should be installed/mounted in a location that does not compromise the driver’s visibility and safety. -
Page 4: Installation Method
Note: Installation Method ① For GPS version mount, use the female Mini USB port on the 1) Install the Mount mount or on the camera’s side. ② For non-GPS version mounts, use the female Mini USB port ① Slide the mount into the slot on the back of the camera. on the camera’s side. -
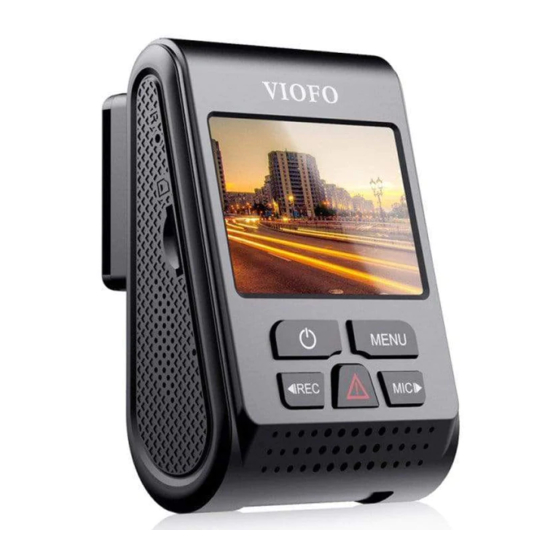
Page 5: Introduction
• Do not install / mount the camera in a location that interferes with the driver’s visibility and safety. • Install / mount the camera close to the rearview mirror so that both sides of the scene being recorded are equally covered by the camera’s FOV (field of view). - Page 6 To turn on / off device LED Color Behavior Back to previous menu Solid Red Power ON, Recording 1. To select the last video 1. Power ON, not recording Playlist Flashing Red 2. To delete the video 2. Upgrading Mode 1.
-
Page 7: Operation
Operation 4) Emergency Recording 1) Switch ON ① Automatic emergency recording Insert the Micro SD card into the camera’s card slot. Plug the USB When the G-sensor is activated due to a collision, current footage car adapter into the vehicle’s 12V/24V female power socket, will be automatically locked to avoid being overwritten by connect the Mini USB cable’s USB port end to the USB car adapter loop-recording. -
Page 8: Pc Mode
7) PC Mode ⑤ The camera will automatically reboot after the upgrade is ① Connect the camera to a computer using a Mini USB cable. completed. ② Device will automatically turn on and “Mass Storage” will be ⑥ Currently installed firmware version can be verified by accessing displayed. -
Page 9: Setting
• Resolution: 2560 x 1600P 30fps; 2560 x 1440P 30fps; 2304 x 1296P 30fps; Note: We recommend to buy VIOFO HK3 ACC hardwire kit cable for parking mode recording. 1920X1080P 60fps, 1920X1080P 30fps, 1280X720P 120fps, 1280X720P 60fps, 1280X720P 30fps, are available for selection. -
Page 10: Date Stamp
System date / time setting. • Date / Time: Sets the current time zone for GPS time and date • Time Zone: support@viofo.com calibration. Note: the time zone must be manually adjusted for daylight savings. www.facebook.com/viofo.world Display language setting (English, Traditional Chinese, •...
Need help?
Do you have a question about the A119 V3 and is the answer not in the manual?
Questions and answers