Advertisement
Quick Links
Advertisement

Related Manuals for Markant Matrix Pro Single


Summary of Contents for Markant Matrix Pro Single
- Page 1 Matrix Pro Single Manual *leveler *leveler [1003]_MAI_[Matrix Pro Single]...
-
Page 2: Main Components
Frame *leveler *leveler MAIN COMPONENTS *only for table top Component A (x2) Component B (x1) Component C (x8) Component D (x2) Component E (x2) M6 x 15 screw JCH Screw TOOLS & MANPOWER Manpower x2 OPTION 2: Allen Key x2 Leveler OPTION 1: Power Tool x2 markantoffice.com... - Page 3 carton block carton block The frame (B) is pre-assembled. Do not remove the carton box Raise the legs, slide the frame outwards to fit desired size and fix until the leg is flip up. This is to prevent any further damages. it with the screw that are already pre-mounted in the frame.
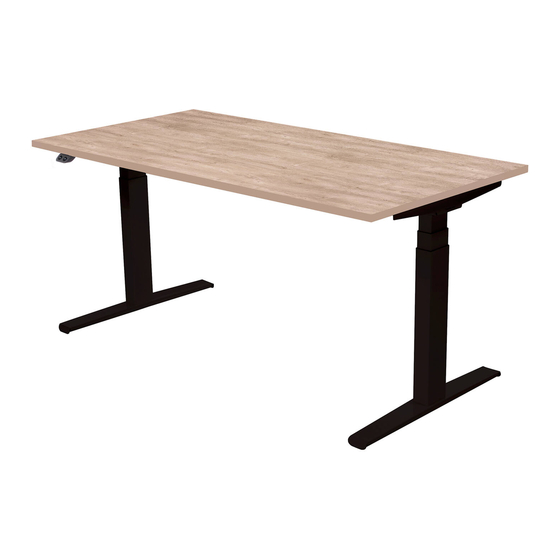
- Page 4 Table Top Attach table top on the frame and secure it using (E) screw. The installation of the table top is completed. markantoffice.com...
- Page 5 Accesories MAIN COMPONENTS (A) Handset (B) Media Hub (C) Monitor Arm (D) Front Gutter (E) Multi Drawer TOOLS & MANPOWER Allen Key x5 Manpower x1 Power Tool x1 markantoffice.com...
- Page 6 Attach (A) Handset below the table top using a screw. The installation for (A) Handset is completed. *screw *screw Tighten the screw on top of (B) Media Hub. The installation for Attach (B) Media Hub on the table top. Media Hub is completed.
- Page 7 *tighten screw Tighten the screw at the bottom. The installation for (C) Monitor Arm is completed. Attach (C) Monitor Arm on the table top. Attach (D) Front Gutter below the table top using screw. The installation for (D) Front Gutter is completed. *top part Multi Drawer *bottom part Multi Drawer Attach the top part of (E) Muli Drawer below the table top using...
-
Page 8: Control Box
Control Box Please refer handset manual instruction that is provided. MAIN COMPONENTS [A] Control Box [B] Power Plug TOOLS & MANPOWER Allen Key x5 Power Tool x1 Manpower x1 Self Tap Screw markantoffice.com... - Page 9 Umbilical Cord STEP 1: Attach (C) control box below the table top using self-tap screw. STEP 2: Plug in the main plug to the power extension inside the trunk towards the power extension inside the front gutter. (E) Wall Socket (C) Control Box (D) Power Extension (A) Handset...
- Page 10 Cable line from the (C) power extension inside the Cable line from (D) control box to the (A) handset. front gutter to the monitor arm. Cable line from the (E) wall socket go through the Cable line from the (D) control box to the (B) actuator. umbilical cord towards the (C) power extension inside the front gutter.
- Page 11 Recycleable Guideline All components are easy to dismantle and recycle. Undo the step of all installation for recycleable or reuse purposes. RECYCLABLE/ ITEMS MATERIAL WEIGHT (g) / pc NON-RECYCLABLE *detach the adjustable feet RECYCLABLE Metal 20302.64 *detach rubber RECYCLABLE Metal 861.36 RECYCLABLE Metal...
Need help?
Do you have a question about the Matrix Pro Single and is the answer not in the manual?
Questions and answers