
Related Manuals for Davey SolarMatic


Summary of Contents for Davey SolarMatic
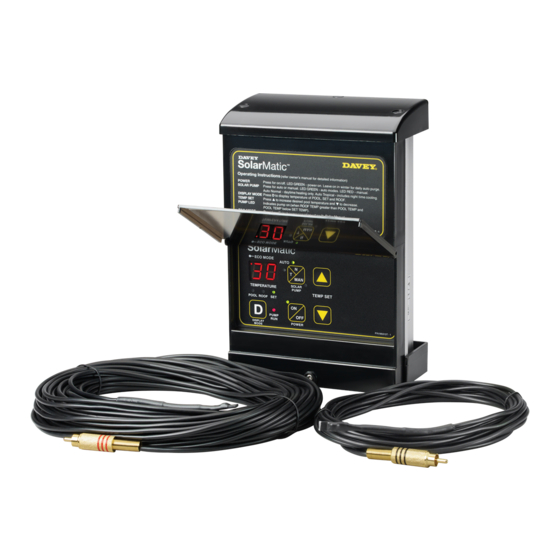
- Page 1 Solar Pool Heating Controller Installation and Operating Instructions Please pass these instructions on to the operator of this equipment.
-
Page 2: Table Of Contents
SolarMatic Solar Pool Heating Controller. SolarMatic extends your swimming season and allows you get the most from your pool. SolarMatic takes control of your solar heating system and captures the free heat generated by the sun on your solar roof collector, and transfers it into your pool water, at practically no cost. -
Page 3: Installation Instructions
Installation Instructions- Mounting the Control Unit 1. Please ensure the SolarMatic is mounted a minimum of 3 metres away from the pool water and 1.5 metres above ground level. 2. Cut out mounting template on page 12 for location of drilling points. - Page 4 Using some silicon grease push the rubber grommet into the pool pipework, then push in the brass sensor fitting carefully to lock it into SolarMatic extends your swimming season and allows you get the most from your pool. SolarMatic place. Push Black connector into correct socket marked BLACK on takes control of your solar heating system and captures the free heat generated by the sun on your solar roof collector, and transfers it into your pool water, at practically no cost.
-
Page 5: Optional Pressure Switch & Connection
Optional Pressure Switch & Connection Some solar heating installations use a “booster” pump to circulate pool water through the roof collector system and do not have a separate solar circuit to and from the pool. These installations require the optional pressure switch (P/N M6601), which will only allow the booster pump to turn on if the main filtration pump is running and water is available to the booster pump. Without this safety system, damage to the booster pump may occur. -
Page 6: Instrument Panel Information
e flow fault being rectified or wait for a maximum of 10 minutes before op ENT PANEL DISPLAYS & FEATURES: 4. Instrument Panel Displays & Feat IMPORTANT: The Power Supply – If the supply cord is damaged, it must be replaced by the manufacturer or its service agent or a similarly qualified person in order to avoid a hazard. - Page 7 Press for ON / OFF. GREEN LED indicates power ON. POWER Leave on in winter for daily auto purge. TEMPERATURE Displays temperature readout for pool and roof sensors and DISPLAY SCREEN the SET comfort temperature. Press D to cycle through displays of POOL, ROOF & SET DISPLAY MODE temperature.
-
Page 8: Operating Instructions
Solarmatic Operating Instructions 1. Once installation is complete and all connections have been made, turn the unit ON using the POWER button. The LED will illuminate green when it is on. 2. To set the temperature, use the DISPLAY MODE (D) button to select the SET function. Use the 5 6buttons to enter your desired comfort temperature. Your setting will display briefly on the screen. -
Page 9: Autopurge Feature
The Auto Purge feature is designed to circulate the pool water daily to prevent build-up of stagnant, untreated water in the solar collector. It is recommended that you leave your SolarMatic ON all year. In cooler months the solar pump may not operate while in AUTO mode, so the Auto Purge feature will operate the solar pump for a few minutes every 24hrs to purge the system. -
Page 10: Trouble Shooting
It is possible for the solar Reduce the SET temperature to its minimum pump to run in Winter if it is value. When the weather begins to warm again operating conditions are met simply return the SET temperature to its nor- (see SolarMatic Operating mal comfort value. Instructions). NOTE: The AutoPurge will still operate. -
Page 11: Davey Guarantee
Customer Service line on 1300 367 866 in Australia, or 0800 654 333 in New Zealand, or send a written letter to Davey at the address listed below. On receipt of your claim, Davey will seek to resolve your difficulties or, if the product is faulty or defective, advise you on how to have your Davey product repaired, obtain a replacement or a refund. -
Page 12: Mounting Template
MOUNTING TEMPLATE 18 mm...
Need help?
Do you have a question about the SolarMatic and is the answer not in the manual?
Questions and answers