Sign In
Upload
Download
Table of Contents
Contents
Add to my manuals
Delete from my manuals
Share
URL of this page:
HTML Link:
Bookmark this page
Add
Manual will be automatically added to "My Manuals"
Print this page
×
Bookmark added
×
Added to my manuals
Manuals
Brands
3nh Manuals
Measuring Instruments
NH310
Operation manual
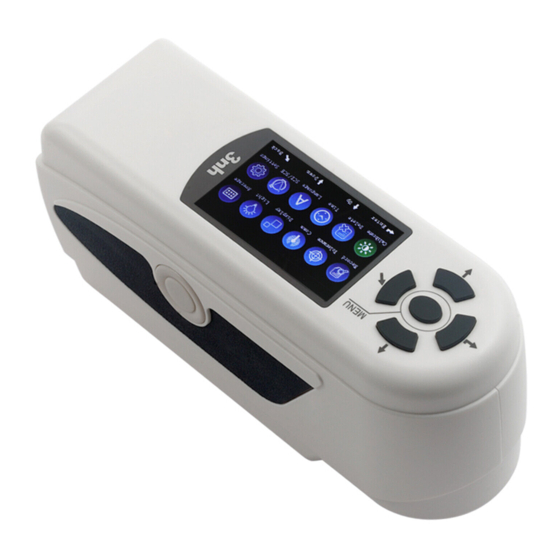
3nh NH310 Operation Manual
High-quality portable colorimeter
Hide thumbs
1
Table Of Contents
2
3
4
5
6
7
8
9
10
11
12
13
14
15
16
17
18
19
20
21
22
23
24
25
26
27
28
29
30
31
32
33
34
35
36
37
38
39
40
41
page
of
41
Go
/
41
Contents
Table of Contents
Bookmarks
Table of Contents
Table of Contents
Product Description
Cautions
Button Description
Interface Description
Battery Description and Installation
NH310 Colorimeter Operating Instruction
I) Turning on
Preparations before Power on
Turning on
White Calibration and Black Calibration
Changing Measuring Aperture
Measurement
Locating and Measuring Method
Standard Measurement
Sample Measurement
Save Data
Auto Save
Manual Save
Connect NH310 Colorimeter to the PC
Ⅴ)Print
System Function Description
Record and Standard Entering
Tolerance Setting
Delete Records
Time Setting
Display Mode
Language Selection
Light Source Selection
Sci/Sce
Average Measurement
Function Setting
Ⅵ. Product Parameters
Product Features
Product Specifications
Appendix
The Color of Objects
Human Eyes to Distinguish Colors
Advertisement
Quick Links
Download this manual
Table of
Contents
Previous
Page
Next
Page
1
2
3
4
5
Advertisement
Table of Contents
Need help?
Do you have a question about the NH310 and is the answer not in the manual?
Ask a question
Questions and answers
Related Manuals for 3nh NH310
Measuring Instruments 3nh NS800 Manual
(44 pages)
Measuring Instruments 3nh NR60CP Operation Manual
Precision colorimeter (39 pages)
Measuring Instruments 3nh NR110 Operation Manual
Precision colorimeter (39 pages)
Measuring Instruments 3nh NR10QC Operation Manual
Precision colorimeter (39 pages)
Measuring Instruments 3nh NR145 Operation Manual
Precision colorimeter (39 pages)
Measuring Instruments 3nh NR20XE Operation Manual
Precision colorimeter (39 pages)
Measuring Instruments 3nh NS810 Manual
(46 pages)
Measuring Instruments 3nh NHG Series Operation Manual
Intelligent gloss meter (32 pages)
Measuring Instruments 3nh NH300 Operation Manual
High-quality portable colorimeter (41 pages)
Measuring Instruments 3nh NR200 Operation Manual
High-quality portable colorimeter (41 pages)
Measuring Instruments 3nh HG Series Operation Manual
Gloss meter (10 pages)
Measuring Instruments 3nh TS Series Operation Manual
(55 pages)
Measuring Instruments 3nh YG Series Operation Manual
Intelligent gloss meter (32 pages)
This manual is also suitable for:
Nh300
Nr200
Table of Contents
Print
Rename the bookmark
Delete bookmark?
Delete from my manuals?
Login
Sign In
OR
Sign in with Facebook
Sign in with Google
Upload manual
Upload from disk
Upload from URL


Need help?
Do you have a question about the NH310 and is the answer not in the manual?
Questions and answers