Panasonic DMC-ZS8 Handy Manual
Hide thumbs
Also See for DMC-ZS8:
- Basic owner's manual (108 pages) ,
- Quick manual (5 pages) ,
- Using (2 pages)
Advertisement
AFHCAN
www.afhcan.org
Background
A digital camera can add critical information to a telemedicine case. The Panasonic DMC-ZS8 Digital Camera is simple
to use and captures high quality images. Tips for deleting clinical images can be found on the back of this Handy Guide.
Taking Still Images
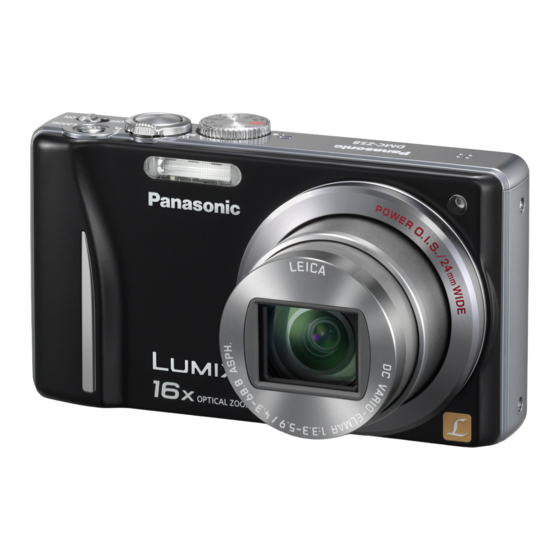
1. Turn the camera on by sliding the On/Off switch to
the right (A) and select the AUTO camera mode
(B).
2. Slide the REC/PLAY switch down (C) to
check for images on the camera. Delete any
existing images (see Deleting Images on the
back of this Handy Guide).
3. Slide the REC/PLAY switch up to place the camera
in picture taking mode.
4. Take a picture by depressing the shutter button (D)
halfway down to set the autofocus (E). Depress the
shutter button all the way down to take the picture.
Reminder: Take several pictures of the
subject. Include close up view for detail and
far away view for perspective.
Using the Macro Function
1. The Panasonic Camera should automatically switch to macro mode when
focused on an object closer than 22 inches.
a. If the macro function doesn't preset automatically simply
depress the macro symbol on the selection wheel (F).
You should now see the macro icon in the viewfinder.
Using the Flash Function
The Panasonic Camera automatically adjusts the flash. If you feel the flash is causing your subject to become washed
out, you can manually turn the flash off:
1. Depress the flash on the icon selection wheel (G)
2. Use the selection wheel to highlight no flash on the
screen/viewfinder
3. Depress the MENU/SET button
The flash is now off and will remain off until you select a new flash setting.
HG-0040 Using the Panasonic Digital Camera
Handy
Guide
Copyright © 2011 Alaska Native Tribal Health Consortium. All rights reserved.
Using the Panasonic Digital
C
Camera
B
D
A
E
F
G
Page 1 of 2
Advertisement
Table of Contents

Subscribe to Our Youtube Channel
Related Manuals for Panasonic DMC-ZS8


Summary of Contents for Panasonic DMC-ZS8
- Page 1 Background A digital camera can add critical information to a telemedicine case. The Panasonic DMC-ZS8 Digital Camera is simple to use and captures high quality images. Tips for deleting clinical images can be found on the back of this Handy Guide.
- Page 2 3. Select “Add an Image” from the “Add to Case” column 4. Browse to the Panasonic Camera folder on your computer 5. Select the image (s) you want to add to the case HG-0040 Using the Panasonic Digital Camera...
Need help?
Do you have a question about the DMC-ZS8 and is the answer not in the manual?
Questions and answers