Table of Contents
Advertisement
Available languages
Available languages
Quick Links
INSTRUCTION MANUAL
MANUAL DE INSTRUCCIONES
MANUEL D'INSTRUCTIONS
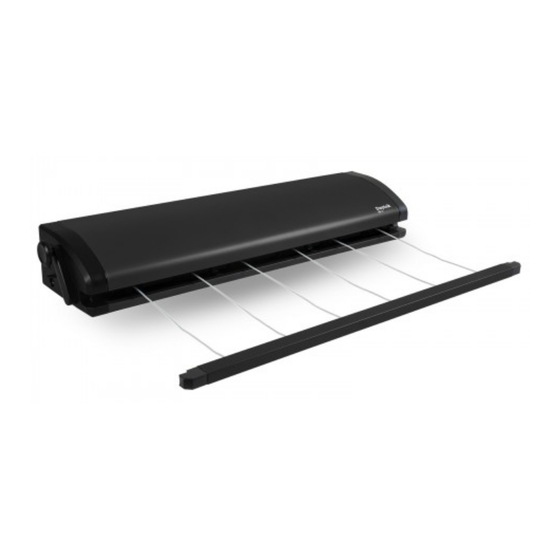
Outdoor Retractable Clotheslines
Tendederos retráctiles para exteriores
Cordes à linge rétractables d'extérieur
Model 4/5/6 Line
IMPORTANT – READ THESE INSTRUCTIONS
BEFORE USING YOUR CLOTHESLINE
IMPORTANTE - LEA ESTAS INSTRUCCIONES
ANTES DE USAR SU TENDEDERO
IMPORTANT - LISEZ CES INSTRUCTIONS
AVANT D'UTILISER VOTRE LIGNE DE VÊTEMENTS
Product Code
Date of purchase
Name of supplier
100% Australian Owned
Propiedad 100% Australiana
100% Australien
|
Modelo 4/5/6 Línea
Código de producto
Fecha de compra
Nombre del
proveedor
1
|
Modèle 4/5/6 Line
Code produit
Date d'achat
Nom du
fournisseur
RECT-INT-0321-V1
daytekusa.com
Advertisement
Table of Contents

Related Manuals for DAYTEK 4 LINE


Summary of Contents for DAYTEK 4 LINE
- Page 1 INSTRUCTION MANUAL MANUAL DE INSTRUCCIONES MANUEL D’INSTRUCTIONS Outdoor Retractable Clotheslines Tendederos retráctiles para exteriores Cordes à linge rétractables d’extérieur Model 4/5/6 Line Modelo 4/5/6 Línea Modèle 4/5/6 Line IMPORTANT – READ THESE INSTRUCTIONS BEFORE USING YOUR CLOTHESLINE IMPORTANTE - LEA ESTAS INSTRUCCIONES ANTES DE USAR SU TENDEDERO IMPORTANT - LISEZ CES INSTRUCTIONS AVANT D’UTILISER VOTRE LIGNE DE VÊTEMENTS...
-
Page 2: Before You Begin
INSTALLATION OPTIONS • Wall to Wall – All fixing required included inside pack • Wall to Post – Requires additional Daytek Post Kit x 1 • Post to Post – Requires additional Daytek Post Kit x 2 INSTALLATION INSTRUCTIONS Important: Recommended installation height of line is Tools required for installation: user height + 100mm (+4 inch) minimum. - Page 3 (refer to Wall (25/64”) diameter x 50–60mm (2.0-2.4 inch) Mounting Hole Position Table). (See Fig. 1) depth on the cabinet wall side. (See Fig. 2) 4 Line – 551mm / 21.6 inches 5 Line – 681mm / 26.8 inches Users BRACKET 6 Line –...
- Page 4 OPERATING INSTRUCTIONS IMPORTANT! This clothesline is self-tensioning. LEVER IS NOT TO BE USED AS A WINDING MECHANISM. With lever in the UNLOCK position, the clothesline will self-tension. Once line has self-tensioned, rotate the lever into the LOCK position. 1. Check that the handle knob is pulled out and the lever is in the PULL...
-
Page 5: Special Note
Daytek directly. material Daytek will repair or replace free of cost You must bear the cost of claiming the warranty. within 5 years from the original date of purchase This warranty is in addition to other rights and (receipt of purchase required). -
Page 6: Antes De Comenzar
De pared a pared: todas las fijaciones necesarias se incluyen en el paquete interior • De pared a poste - Requiere kit de poste Daytek adicional x 1 • Poste a poste - Requiere kit de postes Daytek adicional x 2 INSTRUCCIONES DE INSTALACIÓN... - Page 7 1. Marque la altura de instalación recomendada, las 2. Taladre dos orificios de montaje del gabinete posiciones centrales del gabinete y del soporte con 10 mm (25/64”) de diámetro x 50–60 mm (consulte la Tabla de posiciones de los orificios de (2.0-2.4 pulgadas) de profundidad en el lado de montaje en la pared).
-
Page 8: Instrucciones De Operación
INSTRUCCIONES DE OPERACIÓN ¡IMPORTANTE! Este tendedero se tensa automáticamente. LA PALANCA NO SE DEBE UTILIZAR COMO MECANISMO DE ENROLLADO MANUAL. Con la palanca en la posición UNLOCK, el tendedero se tensará automáticamente. Una vez que la línea se haya auto tensado, gire la palanca a la posición LOCK. -
Page 9: Cuidado Y Mantenimiento
Cualquier evidencia de mal uso o ajuste incorrecto correctamente debido a mano de obra o material anulará la garantía. Para reclamar la garantía de un defectuoso, Daytek reparará o reemplazará sin costo producto, comuníquese directamente con Daytek. alguno dentro de los5 años a partir de la fecha Debe asumir el costo de reclamar la garantía. -
Page 10: Options D'installation
Mur à mur - Toutes les fixations requises sont incluses à l’intérieur du pack • Mur à poteau - Nécessite un kit de poteau Daytek supplémentaire x 1 • Poteau à poteau - Nécessite un kit de poteau Daytek supplémentaire x 2 INSTRUCTIONS D’INSTALLATION... - Page 11 1. Marquez la hauteur d’installation recommandée, 2. Percez deux trous de montage de l’armoire de 10 les positions centrales de l’armoire et du mm (25/64 ”) de diamètre x 50–60 mm (2.0-2.4 support (reportez-vous au tableau des positions des pouces) de profondeur sur le côté de la paroi de trous de montage mural).
-
Page 12: Conseil De Sécurité
MODE D’EMPLOI IMPORTANT! Cette corde à linge est à tension automatique. LE LEVIER NE DOIT PAS ÊTRE UTILISÉ COMME MÉCANISME D’ENROULEMENT. Avec le levier en position UNLOCK, la corde à linge se tend automatiquement. Une fois que la ligne s’est auto-tendue, tournez le levier en position LOCK. -
Page 13: Entretien Et Maintenance
Pour réclamer une garantie de produit, fabrication ou d’un matériau défectueux, Daytek veuillez contacter Daytek directement. Vous devez réparera ou remplacera gratuitement dans un délai supporter les frais de réclamation de la garantie. - Page 14 Daytek is a third generation Australian company committed to innovative, long lasting products designed to meet the environmental demands of today’s households. Daytek es una empresa Australiana de tercera generación comprometida con productos innovadores y duraderos diseñados para satisfacer las demandas ambientales de los hogares de hoy.
Need help?
Do you have a question about the 4 LINE and is the answer not in the manual?
Questions and answers