Table of Contents
Advertisement
Quick Links
GARDENA
D
Gebrauchsanweisung
Bewässerungssteuerung
GB
Operating Instructions
Watering Controller
F
Mode d'emploi
Programmateur
NL
Gebruiksaanwijzing
Besproeiingscomputer
S
Bruksanvisning
Kontrollpanel
DK
Brugsanvisning
Vandingskontrol-system
FIN
Brugsanvisning
Kastelunohjauslaite
N
Brugsanvisning
Vanningstimer kontrollenhet
I
Istruzioni per l'uso
Centralina
E
Manual de instrucciones
Programación de riego
P
Instruções de utilização
Comando de rega
®
4030
6030
Art. 1283
Art. 1284
Advertisement
Table of Contents

Summary of Contents for Gardena 4030
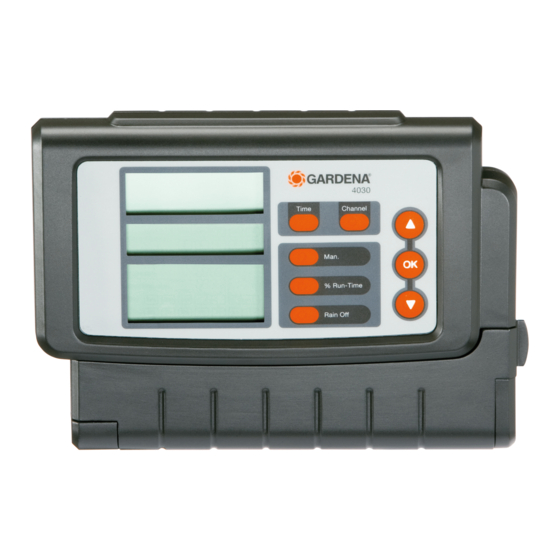
- Page 1 GARDENA ® 4030 Art. 1283 6030 Art. 1284 Gebrauchsanweisung Bewässerungssteuerung Operating Instructions Watering Controller Mode d’emploi Programmateur Gebruiksaanwijzing Besproeiingscomputer Bruksanvisning Kontrollpanel Brugsanvisning Vandingskontrol-system Brugsanvisning Kastelunohjauslaite Brugsanvisning Vanningstimer kontrollenhet Istruzioni per l’uso Centralina Manual de instrucciones Programación de riego Instruções de utilização...
-
Page 2: Table Of Contents
Please keep these instructions in a safe place. Contents 1. Where to Use your GARDENA Watering Controller ..2. Safety Instructions .......... -
Page 3: Safety Instructions
The Watering Controller must be used only for controlling commercially available 24 V (AC) valves. The electric power consumption per channel must not exceed 600 mA (a GARDENA Irrigation Valve Art. 1278 requires 150 mA). 2. Safety Instructions Watering Controller :... -
Page 4: Initial Operation
2. Connect the cable of the power supply unit to the 24 V AC terminals. 3. Connect the cables for the valves (e.g. 7-wire GARDENA Connection Cable Art. 1280 for up to 6 valves) to the terminals for the channels (CHANNELS 1…) and C (see also “Connecting the valves”... - Page 5 Connecting the valves : The example shows the connection of 2 valves Art. 1278 in the Valve Box Art. 1255 to the Watering Controller 4030 / 6030. As the output of the Watering Controller is 24 V AC (alternating current) for switching the valves, it is does not matter which of the two cables of a valve is inserted into C.
-
Page 6: Operation
Wall-mounting the Watering The two screws (not supplied) for attaching the Watering Controller : Controller have to be screwed into place 80 mm apart and the screw head diameter must not exceed 8 mm. 1. Screw the screws into the wall 80 mm apart. 2. - Page 7 Watering Programs (Channel Key) Prerequisite : The date and time have been set. To give you a better overview, we recommend that before starting to enter the watering data you enter the data for your valves into the watering plan in the appendix of these operating instructions. You can save 3 watering programs for each channel (a maximum of 3 programs x 4 (Art.
- Page 8 7. Select the minutes for watering duration using the ▲-▼ keys (e.g. minutes) and confirm by pressing the OK key. 24h flashes. Setting the watering cycle / watering days : (a) Watering cycle : Watering options are every 24 hours “24h”, every second day “2nd”, every third day “3rd”, every “Odd”...
- Page 9 5.2 Special Functions If Program Off is selected as program memory location for a Blocking a channel : channel, the respective channel is blocked and the watering programs of the channel are no longer executed. The programs of the channel are retained. You can end the programming mode at any time by pressing the Channel key.
- Page 10 Ending active watering You can exit active watering (programmed or started manually) prematurely : prematurely without changing the programs. 1. Press the Man. key. SELECT CHANNEL and the channel flash. 2. Select the active channel desired (in the frame e.g. channel 4) using the ▲-▼...
- Page 11 E.g. In case of 60 % run-time, a programmed watering duration of 60 min. is reduced to 36 min. Note : When the percentage of the watering duration is changed the display of the originally programmed watering durations in the programs stays as it is.
-
Page 12: Putting Out Of Operation
A reset can be triggered at any time. Tip : Should you have any questions about operating and programming your Watering Controller, please do not hesitate to contact your nearest GARDENA Service Centre. 6. Putting Out of Operation Wintering / Storage : The watering controller is frost-proof. -
Page 13: Technical Data
In the event of other faults please contact GARDENA Service. Repairs should only be carried out by GARDENA service centres or dealers authorised by GARDENA. 8. Technical Data Power supply from power supply unit : 24 V (AC) / 800 mA (sufficient for 5 simultaneously open GARDENA Watering Valves Art. - Page 14 Channel START TIME RUN TIME Prog. 24 h 2nd 3rd Odd Even Mo Tu We Th Sa Su Channel START TIME RUN TIME Prog. 24 h 2nd 3rd Odd Even Mo Tu We Th Sa Su Channel Prog. START TIME RUN TIME 24 h 2nd 3rd Odd Even Mo Tu We Th...
- Page 15 We expressly point out that, in accordance with the product liability law, we are not liable for any damage caused by our units if it is due to improper repair or if parts exchanged are not original GARDENA parts or parts approved by us, and, if the repairs were not carried out by a GARDENA Service Centre or an authorised specialist.
- Page 16 Detta intyg upphör att gälla om produkten änd- EN 60730- 2 - 8 ras utan vårt tillstånd. Hinterlegte Dokumentation: GARDENA Technische Dokumentation EU Overensstemmelse certificat M. Kugler 89079 Ulm Undertegnede Husqvarna AB, 561 82 Huskvarna, Sweden bekræfter hermed, at...
- Page 17 Autoput za Novi Sad bb © GARDENA Temuco, Chile Ateities pl. 77C Avda. Valparaíso # 01466 http : // www.gardena.com / fr 11273 Belgrade Manufacturing GmbH N° AZUR : 0 810 00 78 23 LT-52104 Kaunas Phone: (+381) 1 18 48 88 12...


Need help?
Do you have a question about the 4030 and is the answer not in the manual?
Questions and answers