Diamond Multimedia One Touch Capture VC500 Quick Start Manual
Hide thumbs
Also See for One Touch Capture VC500:
- Specification sheet (1 page) ,
- Troubleshooting (3 pages)

Related Manuals for Diamond Multimedia One Touch Capture VC500


Summary of Contents for Diamond Multimedia One Touch Capture VC500
-
Page 2: System Requirement
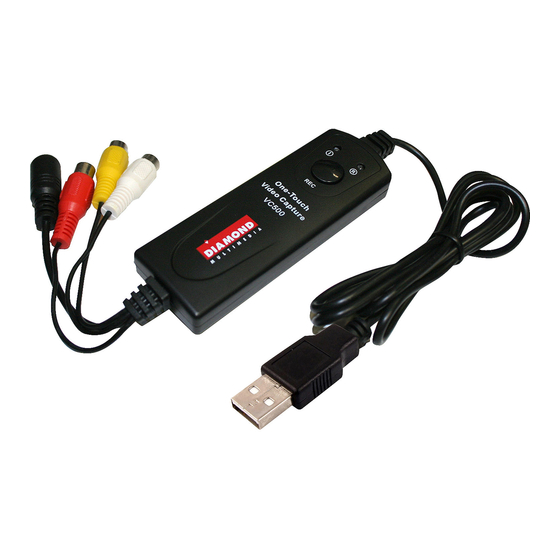
VC500 Quick Installation Guide System requirement ⚫ Inter Pentium4 1.4G CPU, recommended Pentium4 2.0G or higher ⚫ Windows 7, 8, 8.1 and 10 ⚫ Memory 128M min, recommend 256M or higher ⚫ A high speed USB2.0 interface ⚫ VGA card supports DirectX9.0 ⚫... - Page 3 VC500 Connection Diagram Note: make sure you connect the V500 inputs to your video source (VHS or Camcorder) outputs. The device source example; your VCR will be labeled Video out. Connect the Yellow cable to the Yellow video out of the source. Connect the Red and White cable to the audio out of the source.
- Page 4 the light is red there is a hardware problem and you should try another USB port. Once plugged in Windows may display “New Hardware Device” found. Please choose “Cancel” and continue to the next step. Step2: Insert the installation CD and open up the CD contents. Note: you may have to double click on your CD/DVD drive while the disk is in the drive to see the contents of the disk.
- Page 5 Step 6: (Optional) If you need to verify the driver installation open the windows device manager. Under “Sound, video and game controllers”. You should see two new devices "USB2.0 Audio Capture" and "USB2.0 Video Capture" as shown below: Installing Power Director Capture and Editing Software.
- Page 6 Step 1: Click “Power Director” as shown below: Step 2: Select your preferred language and click “OK” Step 3: PowerDirector Click “Yes” to accept the license agreement to continue the “ ” installation. Step 4:...
- Page 7 Click “ ” As shown below: Next Step 5: PowerDirector" installation is now in progress ... Step 6: PowerDirector Click “Finish” “ ” installation is complete Step 7:...
- Page 8 If you choose not to launch the Power Director you can do so later by Double-clicking on the desktop icon " " to launch the "PowerDirector" program. Step 8: Select the video aspect ratio and then click on full feature editor Step 9: Please enter the license key to activate the program.
- Page 9 Step 10: Select "Full Feature Editor" modules to enter video capture interface. If you get the User Account Control warning just lick Yes to continue to the screen below: Step 11: Click the "Capture" button...
- Page 10 PowerDirector basic settings. Note: the full users guide is located on the How to use installation disk, in the folder named Manual. Capture module. It will detect video format automatically, or click “Settings” to change it. (Default settings are recommended for North America. Outside of North America you may have to change the video standard settings If you are using the red, white and yellow composite video connectors there is no need to change the video source settings.
- Page 11 Choose video format and location of recorded files. Please click”?” button to get online help. Ez Grabber Installation: Ez Grabber is a simple capture tool. If you want to capture, edit and burn to DVD we recommend using the Power Director application and only use Ez Grabber if you just want to do a simple video or audio capture to store locally or external storage drives.
- Page 12 Step 1: Insert the installation CD and run the VC500.EXE file located in the root of the installation CD Note: if you get a user account warning just click Yes to continue and you should get the menu as shown below: Step 2: Click on Ez Grabbeer to begin the installation Step 3:...
- Page 13 Using Ez grabber: Control Features: 1. Video Preview screen 2. Setup Menu. Here you can change your video format, video source, picture adjustments, One Touch Capture button actions, Snapshot format, video record formats and recorded video destination folder. 3. Snapshot icon. Click here to create a snapshot still photo of your video 4.
- Page 14 Technical Support Diamond Technical Support staff is here to help resolve any issues that you may be experiencing. Prior to contacting technical support please make sure you have the following information available. 1. Model #: (Printed on the bar code, located on the box) 2.
Need help?
Do you have a question about the One Touch Capture VC500 and is the answer not in the manual?
Questions and answers