Advertisement
Quick Links
Advertisement

Subscribe to Our Youtube Channel
Related Manuals for Technicolor TG587n


Summary of Contents for Technicolor TG587n
- Page 1 SETUP AND USER GUIDE Technicolor TG587n v3...
- Page 3 SETUP AND USER GUIDE Technicolor TG587n v3...
- Page 4 Distribution and copying of this document, use and communication of its contents is not permitted without written authorization from Technicolor. The content of this document is furnished for informational use only, may be subject to change without notice, and should not be construed as a commitment by Technicolor.
- Page 5 3.3.2 Setting up a Wired Connection..........................25 3.4 Configure the Technicolor Gateway....................26 3.5 Setting Up the 3G Fall-Back WAN Connection..................27 3.5.1 Managing your Mobile Connection with the Technicolor Gateway GUI ............28 3.5.2 Inserting a Mobile USB Adapter ..........................29 4 Configuration Tools....................31 4.1 Technicolor Gateway GUI........................32...
- Page 6 7.5 Safely Removing your USB Storage Device..................62 8 Network Services ....................63 8.1 UPnP................................. 64 8.1.1 Accessing Your Technicolor Gateway via UPnP..................... 65 8.1.2 Managing your Internet connection via UPnP ......................66 8.1.3 Configuring UPnP on the Technicolor Gateway..................... 68 8.1.4 Installing UPnP on Windows XP ..........................
- Page 7 The note symbol indicates that the text provides additional information about a topic. Terminology Generally, the Technicolor TG587n v3 will be referred to as Technicolor Gateway in this Setup and User Guide. Typographical Conventions Following typographical convention is used throughout this manual: This sample text indicates a hyperlink to a Web site.
- Page 8 ABOUT THIS SETUP AND USER GUIDE DMS-CTC-20101206-0017 v2.0...
- Page 9 1 Getting Started Introduction This chapter gives you a brief overview of the main features and components of the Technicolor Gateway. After this chapter we will start with the installation. Do not connect any cables to the Technicolor Gateway until instructed to do so.
- Page 10 “7 Sharing Content” on page ECO label Technicolor’s ECO label guarantees you that the Technicolor Gateway is able to reduce its power consumption to an absolute minimum. For more information, see “6 Saving Energy” on page Technicolor Gateway configuration tools The Technicolor Gateway Setup CD allows you to configure your Technicolor Gateway and helps you to connect your ...
- Page 11 The Technicolor Gateway is connected to the DSL network of your service provider and brings the Internet to your home. Internet Technicolor Gateway Local Router The Technicolor Gateway is placed behind another gateway or modem. In this setup the gateway or modem in front of the Technicolor Gateway will establish the connection to the Internet: Internet Modem/Router...
- Page 12 1 GETTING STARTED 1.3 Components Overview This section provides an overview of the different components of the Technicolor Gateway: Topic Page 1.3.1 Power 1.3.2 Local Network Connection 1.3.3 Broadband Connection 1.3.4 Buttons 1.3.5 Status LEDs DMS-CTC-20101206-0017 v2.0...
- Page 13 Technicolor Gateway. To power the Technicolor Gateway on or off, press the power switch for two seconds and then release it. The Technicolor Gateway is powered off when none of the status LEDs are lit.
- Page 14 Ethernet device (for example, a computer) to your local network. For more information, see “3.3 Connecting Your Network Devices to the Technicolor Gateway” on page Ethernet port 4 is a Gigabit Ethernet port and has a maximum speed of 1 Gbps (Gigabit per second). The other Ethernet ports have a maximum speed of 100Mbps (Megabit per second).
- Page 15 1.3.3 Broadband Connection Overview DSL port This port can be used to connect your Technicolor Gateway to your service provider’s DSL network. For more information, see “3.1 Connecting the Technicolor Gateway to your Service Provider’s Network” on page WAN port This port allows you to use your Technicolor Gateway as Local Router.
- Page 16 ) button allows you to disable your wireless access point. You can do this when you do not have any devices that are connected to the wireless access point. This allows you to save the energy that the Technicolor Gateway would be using for the wireless access point.
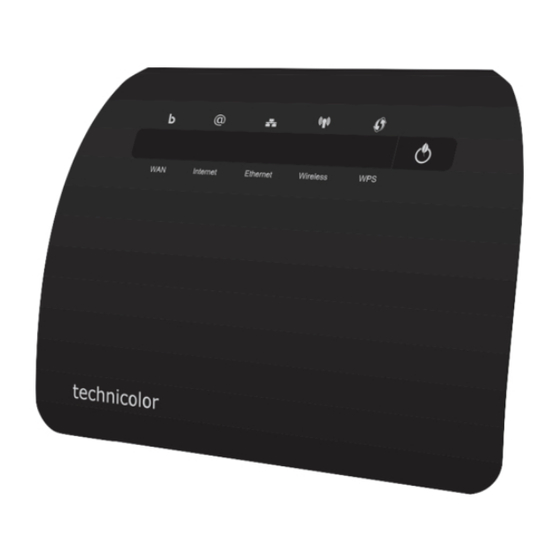
- Page 17 1 GETTING STARTED 1.3.5 Status LEDs Introduction On the front panel of your Technicolor Gateway, you can find a number of status LEDs, indicating the state of the device. Broadband Internet Ethernet Wireless ECO button LED The ECO ( ) button LED provides information about the overall state of your Technicolor Gateway. For more information, see “ECO button”...
- Page 18 State Description Green Solid on DSL line synchronised Blinking Trying to detect carrier signal or pending DSL line synchronisation Technicolor Gateway powered off. Broadband LED (if you are using the Local Router scenario) Colour State Description Green Solid on Connected to the WAN device...
- Page 19 1 GETTING STARTED 1.4 Preparing for the Installation DSL service requirements This section is only applicable if you are using your Technicolor Gateway as DSL gateway. For more information, see “1.2 User Scenarios” on page Make sure that: Your service provider activated the DSL service on your telephone line by your service provider.
- Page 20 1 GETTING STARTED DMS-CTC-20101206-0017 v2.0...
Need help?
Do you have a question about the TG587n and is the answer not in the manual?
Questions and answers