Table of Contents
Advertisement
Quick Links
Advertisement
Table of Contents

Related Manuals for Ingeteam INGEREV FUSION


Summary of Contents for Ingeteam INGEREV FUSION
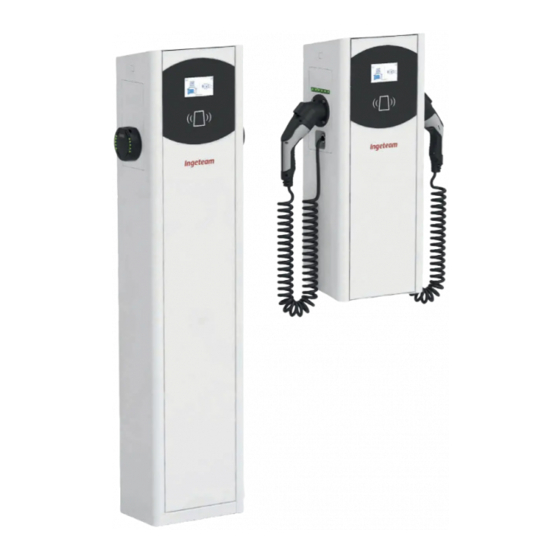
- Page 1 INGEREV FUSION START-UP...
-
Page 2: Table Of Contents
Tabla de contenido / Table of contents Introduction ..............................3 Master configuration ............................. 4 Connect to the webserver ........................4 3G configuration ..........................5 Local IP configuration .......................... 7 OCPP Configuration ..........................9 2.4.1 General OCPP parameters configuration ..................9 2.4.2 Chargeboxid configuration ...................... -
Page 3: Introduction
1 Introduction The following document summarize the start-up and software configuration of the INGEREV FUSION charging points. The procedure will be divided in two different sections, the master configuration and the slaves’ configuration. In case there is only one charger just the master configuration should be performed. -
Page 4: Master Configuration
2 Master configuration 2.1 Connect to the webserver To access the website, you need to know the modem's IP address. Unless specified otherwise, the default local IP is 192.168.1.33. The laptop used to connect to the charging point must have an IP in the same IP range. Please follow the steps from Annex 1 in order to change the laptop IP. -
Page 5: Configuration
2.2 3G configuration Before turning on the charging point the SIM should be inserted in the charging point. To configure the 3G connection, access Network > Interfaces. In case there the SIM doesn’t have a specific APN, you should already see the 3G IP in the WAN connection and there is no need to perform any 3G configuration. - Page 6 Click on Edit from WAN connection and configure the required parameters and unclick Discover APN: Username Password The SIM shouldn’t have a PIN. Click on Save&Apply. Unclick Discover APN After a couple of minutes you should see the IP address for the WAN connection in the first tab, Network > Interfaces.
-
Page 7: Local Ip Configuration
2.3 Local IP configuration To configure the local connection, access Network > Interfaces. - Page 8 Click on Edit from LAN connection, change the IPV4 Address to the desired one and click on Save & Apply. In case, OCPP communication is through Ethernet also configure the “IPv4 gateway” and the DNS server in “Use custom DNS servers”. Click on Save & Apply after configuring all values. The website will show “Waiting for changes to be applied”...
-
Page 9: Ocpp Configuration
2.4 OCPP Configuration 2.4.1 General OCPP parameters configuration To configure the OCPP general parameters, access Applications > OCPP. The following parameters must be configured: OCPP version: 1.5 or 1.6 Backend url: SOAP url shall start with http:// JSON url shall start with ws://... - Page 10 Once configured the OCPP general parameters, OCPP should be enabled in case it isn’t already enabled, and restart. Access System > Startup and proceed depending on the situation. Below the different situations’ procedure. The above image refers to a charging point where OCPP 1.5 is running. The procedures depending on what it wants to be made are the following: 1.
-
Page 11: Chargeboxid Configuration
2.4.2 Chargeboxid configuration By default, the chargeboxid is INGE-Serialnumber. For example, INGE- 6W0A19240050. It can be configure accessing Charging points > SerialNumber > OCPP After configuring the chargeboxid click on Save & Apply. Then restart the corresponding OCPP in the tab System >... -
Page 12: Smart Charging Configuration
2.5 Smart charging configuration 2.5.1 Plant current configuration In case the maximum current of an installation does not allow to charge in every charger at full power, the smart charging of the plant shall be launched. To configure the maximum plant current access Applications > Smart Charging >... -
Page 13: Charging Point Current Configuration
2.5.2 Charging point current configuration. Once the plant smart charging current has been set, the maximum current for each charger shall be configured in the master charger. Each charger has its respective serial number tab. This means that the currents defined in each slave charger Webmanager do not apply. To configure the charging point maximum current access Applications >... -
Page 14: Slave Ip Configuration
3 Slave IP configuration By default, the local IP of all the charging point is 192.168.1.33. In order to connect several charging points in the same bus their IPs shall be reconfigured to different ones. To perform this reconfiguration, the following steps should be followed in every slave charging point and assigned them different IPs, for example, 192.168.1.34, then 192.168.1.35…... -
Page 15: Local Ip Configuration
3.2 Local IP configuration To configure the local connection, access Network > Interfaces. - Page 16 Click on Edit from LAN connection, change the IPV4 Address to the desired one and click on Save & Apply. In case the master has internet access configure also the “IPv4 gateway” and the DNS server in “Use custom DNS servers”. IPv4 gateway: Master address.
-
Page 17: Final Restart
3.3 Final restart Once all the charging points have been reconfigured and are connected to the MASTER charging point reset the master charging point through any of the following ways: Manually: turn off the master charging point and wait until the leds are off Webserver: connect to the master webserver and click on System >... -
Page 18: Current Setpoint Configuration
3.4 Current setpoint configuration In case there is no smart charging master, the charging point current can be configured following the steps below. To configure the current setpoint access Applications > smart charging > Serialnumber In this tab the different currents can be configured, the one of the complete charging point (device) and the one of each outlet, left and right. -
Page 19: Anexo 1. Network Configuration
ANEXO 1. NETWORK CONFIGURATION In Windows XP Start Control Panel Network configuration Click on “Local network configuration” and then in “Properties”. Click on “Internet Protocol (TCP/IP)" and then “Properties” Fill all the boxes as shown in the image and click on “Accept” In Windows 7 Start Control Panel...
Need help?
Do you have a question about the INGEREV FUSION and is the answer not in the manual?
Questions and answers