Advertisement
MegaMobile Installation
This quick start guide gives the basic steps for installing the AW12 MegaMobile unit in vehicles.
1
Ensure you have all the necessary equipment
The following contents are included:
■
AW12-DE modem
■
AW12-PC-EI USB to Ethernet converter
■
Vehicle mounting bracket
■
(2) M6 screws and (2) M6 lock washers
■
(4) M3 screws and (4) M3 lock washers
You will also need the following (not included in your kit):
■
GPS active/passive antenna
■
LTE antenna (need 3 leads)
The antennas can be purchased as separate units or as a single unit. See our recommended
Note.
antennas at assured-wireless.com/products/antennas.
2
Insert SIM card
Your distributor may have already inserted the SIM. If
Note.
so, please skip to section 3.
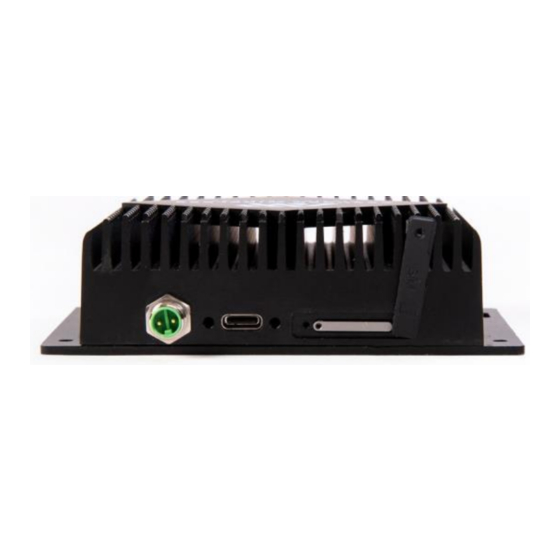
Locate the SIM card slot on the side of the AW12 modem.
1
Remove the screw on the SIM slot door.
2
Use the depression on the upper left corner of the SIM
3
slot door to open the door. You should now see the edge
of the silver SIM tray.
Insert the included SIM extractor tool into the hole on the
4
SIM tray; the tray should pop partway out.
Remove the SIM tray completely.
5
Insert your activated FirstNet SIM into the tray. Note that
6
the tray is notched, so the card can only be inserted the
correct way.
Re-insert the SIM tray into its slot.
7
Replace the SIM slot door and replace the screw, being
8
careful not to overtighten.
Copyright ©2022 Assured Wireless Corporation. All rights reserved. All information provided here is subject to change
without notice. Assured Wireless and the Assured Wireless logo are property of Assured Wireless Corporation.
■
Ethernet cable
■
USB screwtight cable
■
DC power cable (4-pin Molex)
■
DC power cable (modem to Ethernet converter)
■
SIM extractor tool
■
Activated FirstNet micro SIM card
■
Small Phillips head screwdriver
QUICK START GUIDE
Align notch and
insert in tray
assured-wireless.com
QSGmobile2022v1
Advertisement
Table of Contents

Related Manuals for Assured Wireless MegaMobile AW12


Summary of Contents for Assured Wireless MegaMobile AW12
- Page 1 Replace the SIM slot door and replace the screw, being careful not to overtighten. assured-wireless.com Copyright ©2022 Assured Wireless Corporation. All rights reserved. All information provided here is subject to change without notice. Assured Wireless and the Assured Wireless logo are property of Assured Wireless Corporation. QSGmobile2022v1...
- Page 2 Copyright ©2022 Assured Wireless Corporation. All rights reserved. All information provided here is subject to change without notice. Assured Wireless and the Assured Wireless logo are property of Assured Wireless Corporation.
- Page 3 If there is no ignition connection, be sure to connect the orange and red leads together. Note. assured-wireless.com Copyright ©2022 Assured Wireless Corporation. All rights reserved. All information provided here is subject to change without notice. Assured Wireless and the Assured Wireless logo are property of Assured Wireless Corporation. QSGmobile2022v1...
Need help?
Do you have a question about the MegaMobile AW12 and is the answer not in the manual?
Questions and answers