Miele DGC 5080 XL Installation Instructions Manual
Steam combi oven
Hide thumbs
Also See for DGC 5080 XL:
- User instructions (64 pages) ,
- Operating instructions manual (84 pages)
Table of Contents

Related Manuals for Miele DGC 5080 XL


Summary of Contents for Miele DGC 5080 XL
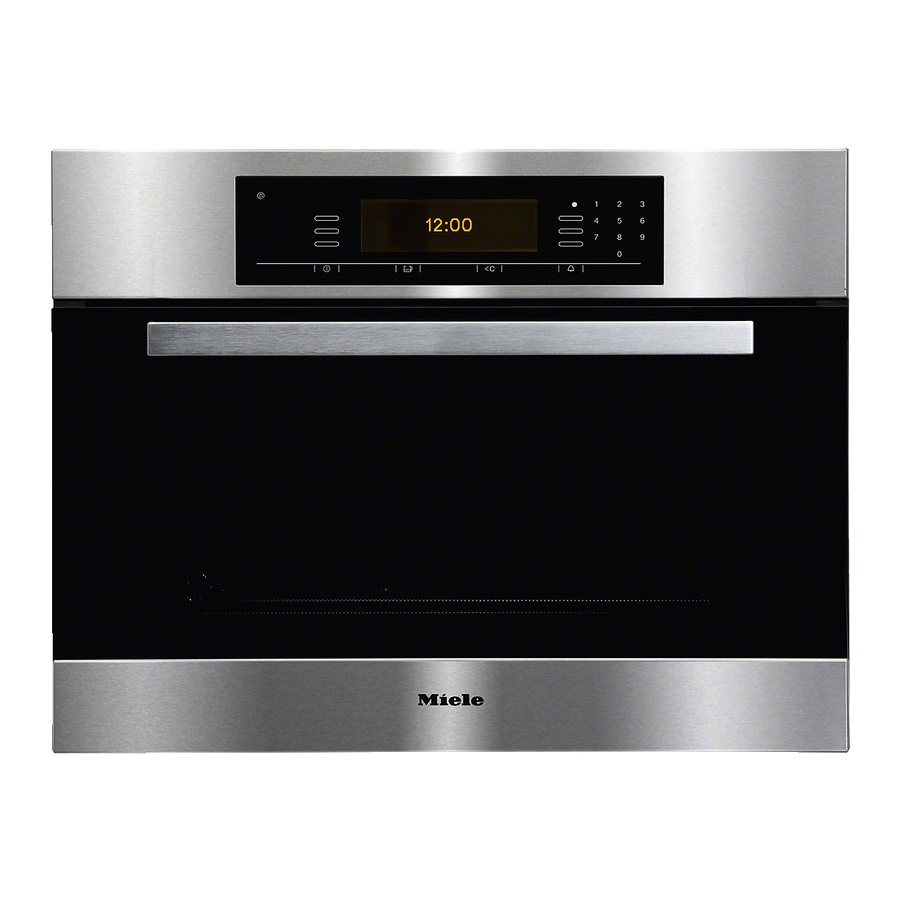
- Page 1 Installation instructions Steam combi oven DGC 5080 XL DGC 5085 XL en - GB To avoid the risk of accidents or damage to the appliance it is essential to read these instructions before it is installed and used for the first time.
-
Page 2: Table Of Contents
DGC 5080 XL ........ -
Page 3: Safety Instructions For Installation
Safety instructions for installation The appliance must be positioned The appliance must be installed by so that you can see the contents of a a suitably qualified and competent cooking container placed on the top person in strict accordance with runner. -
Page 4: Installation Notes - Important
Installation notes - important! Front dimensions... - Page 5 Installation notes - important! Room for the control panel to open and shut The area in front of the control panel must not be blocked by anything (such as a door handle) that would hinder the control panel from opening and shutting.
-
Page 6: Dgc 5080 Xl
DGC 5080 XL Appliance and building-in dimensions Installation in a tall unit a Steam combi oven b Building-in niche c Inlet for mains connection cable to the appliance d Recommended position for electrical socket. Important: Do not position behind the appliance! - Page 7 DGC 5080 XL Cut-outs for venting the steam combi oven To ensure that the steam combi oven has adequate ventilation, the following cut-outs measuring 500 x 40 mm must be made: a in the top of the housing unit b in the interim shelf above the building-in niche The furniture housing unit must not have a back panel fitted behind the building-in niche.
-
Page 8: Installation In A Base Unit
DGC 5080 XL Installation in a base unit If the steam combi oven is being installed underneath a hob, please follow the instructions for building in the hob and also take the building-in height for the hob into account. a Steam combi oven... - Page 9 DGC 5080 XL Cut-outs for venting the steam combi oven To ensure that the steam combi oven has adequate ventilation, the following cut-outs measuring 500 x 40 mm must be made: a in the base of the building-in niche b in the floor of the cupboard space below the building-in niche The furniture housing unit must not have a back panel fitted behind the building-in niche.
-
Page 10: Installation In A Tall Unit In Combination With An Oven
DGC 5080 XL Installation in a tall unit in combination with an oven a Steam combi oven b Building-in niche c Inlet for mains connection cable to the appliance d Recommended position for electrical sockets. Important: Do not position behind the appliance! - Page 11 DGC 5080 XL Cut-outs for venting the steam combi oven To ensure that the steam combi oven has adequate ventilation, the following cut-outs measuring 500 x 40 mm must be made: a in the top of the housing unit b in the interim shelf above the building-in niche The furniture housing unit must not have a back panel fitted behind the building-in niche.
-
Page 12: Installation In A Tall Unit In Combination With Egw/Esw 50X0-14
DGC 5080 XL Installation in a tall unit in combination with EGW/ESW 50x0-14 a Steam combi oven b Building-in niche c Inlet for mains connection cable to the appliance d Recommended position for electrical sockets. Important: Do not position behind the appliance! - Page 13 DGC 5080 XL Cut-outs for venting the steam combi oven To ensure that the steam combi oven has adequate ventilation, the following cut-outs measuring 500 x 40 mm must be made: a in the top of the housing unit b in the interim shelf above the building-in niche The furniture housing unit must not have a back panel fitted behind the building-in niche.
-
Page 14: Installation In A Tall Unit In Combination With Esw 50X0-29
DGC 5080 XL Installation in a tall unit in combination with ESW 50x0-29 a Steam combi oven b Building-in niche c Inlet for mains connection cable to the appliance d Recommended position for electrical sockets. Important: Do not position behind the appliance! - Page 15 DGC 5080 XL Cut-outs for venting the steam combi oven To ensure that the steam combi oven has adequate ventilation, the following cut-outs measuring 500 x 40 mm must be made: a in the top of the housing unit b in the interim shelf above the building-in niche The furniture housing unit must not have a back panel fitted behind the building-in niche.
-
Page 16: Installing The Appliance
DGC 5080 XL Installing the appliance ^ Push the appliance into the recess and align it. The appliance must be positioned level, with a maximum tolerance of 2°, to allow the steam generator to operate correctly. ^ Secure the appliance by screwing the two wood screws 3.5 x 25 mm (supplied) into the vertical strips on either side of the appliance (see illustration). -
Page 17: Dgc 5085 Xl
DGC 5085 XL Plumbing in the appliance a Stopcock b Inlet hose, L = 1500 mm c Drain hose, L = 3000 mm d The top end of the drain hose must not be higher than 500 mm where it connects to the odour trap. -
Page 18: Appliance And Building-In Dimensions
DGC 5085 XL Appliance and building-in dimensions Installation in a tall unit a Steam combi oven b Building-in niche c Inlet for mains connection cable to the appliance d Recommended position for electrical socket. Important: Do not position behind the appliance! e Mains connection cable * Appliances with glass front ** Appliances with metal front... - Page 19 DGC 5085 XL Cut-outs for venting the steam combi oven and for installing the water hoses To accommodate the water hoses and to ensure that the steam combi oven has adequate ventilation, the following cut-outs measuring 500 x 40 mm must be made: a in the top of the housing unit (for ventilation) b in the interim shelf above the building-in niche (for ventilation)
-
Page 20: Installation In A Base Unit
DGC 5085 XL Installation in a base unit If the steam combi oven is being installed underneath a hob, please follow the instructions for building in the hob and also take the building-in height for the hob into account. a Steam combi oven b Building-in niche c Inlet for mains connection cable to the appliance d Recommended position for electrical socket. - Page 21 DGC 5085 XL Cut-outs for venting the steam combi oven and for installing the water hoses To accommodate the water hoses and to ensure that the steam combi oven has adequate ventilation, the following cut-outs measuring 500 x 40 mm must be made: a in the base of the building-in niche b in the floor of the cupboard space below the building-in niche...
-
Page 22: Installation In A Tall Unit In Combination With An Oven
DGC 5085 XL Installation in a tall unit in combination with an oven a Steam combi oven b Building-in niche c Inlet for mains connection cable to the appliance d Recommended position for electrical sockets. Important: Do not position behind the appliance! e Mains connection cable f Oven * Appliances with glass front... - Page 23 DGC 5085 XL Cut-outs for venting the steam combi oven and for installing the water hoses To accommodate the water hoses and to ensure that the steam combi oven has adequate ventilation, the following cut-outs measuring 500 x 40 mm must be made: a in the top of the housing unit (for ventilation) b in the interim shelf above the building-in niche for the steam combi oven...
-
Page 24: Installation In A Tall Unit In Combination With Egw/Esw 50X0-14
DGC 5085 XL Installation in a tall unit in combination with EGW/ESW 50x0-14 a Steam combi oven b Building-in niche c Inlet for mains connection cable to the appliance d Recommended position for electrical sockets. Important: Do not position behind the appliance! e Mains connection cable f Built-in plate warming drawer / Built-in food warming drawer * Appliances with glass front... - Page 25 DGC 5085 XL Cut-outs for venting the steam combi oven and for installing the water hoses To accommodate the water hoses and to ensure that the steam combi oven has adequate ventilation, the following cut-outs measuring 500 x 40 mm must be made: a in the top of the housing unit (for ventilation) b in the interim shelf above the building-in niche (for ventilation)
-
Page 26: Installation In A Tall Unit In Combination With Esw 50X0-29
DGC 5085 XL Installation in a tall unit in combination with ESW 50x0-29 a Steam combi oven b Building-in niche c Inlet for mains connection cable to the appliance d Recommended position for electrical sockets. Important: Do not position behind the appliance! e Mains connection cable f Built-in food warming drawer * Appliances with glass front... - Page 27 DGC 5085 XL Cut-outs for venting the steam combi oven and for installing the water hoses To accommodate the water hoses and to ensure that the steam combi oven has adequate ventilation, the following cut-outs measuring 500 x 40 mm must be made: a in the top of the housing unit (for ventilation) b in the interim shelf above the building-in niche (for ventilation)
-
Page 28: Preparing The Appliance
DGC 5085 XL Preparing the appliance Before installing and connecting the appliance, please read the section "Plumbing in the appliance". Fitting the inlet hose The water inlet hose connection is located on the top left-hand side on the back of the appliance. ^ Attach the connecting nut of the stainless steel hose to the screw thread. - Page 29 DGC 5085 XL ^ Secure the appliance by screwing the two wood screws 3.5 x 25 mm (supplied) into the vertical strips on either side of the appliance (see illustration). ^ Connect the appliance to the water supply and drainage outlet.
-
Page 30: Plumbed In Water Supply
DGC 5085 XL Plumbed in water supply The inlet and drain hoses must be fitted in such a way that the appliance can be easily taken out of the housing unit by a service technician should repair work ever be necessary. Before installation, check the water hoses for visible signs of damage. - Page 31 The drain hose supplied must not be shortened. If necessary, a 3.0 m long hose is available as an optional accessory from the Miele Spare Parts Department. This hose must not be shortened. Old or used hoses must not be used.
-
Page 32: Connection To The Water Inlet
500 mm where it connects to the odour trap. The drain hose supplied must not be shortened. If necessary, a 7.5 m long hose is available as an optional accessory from the Miele Spare Parts Department. We recommend using only original hoses from the manufacturer. -
Page 33: Electrical Connection
Electrical connection All electrical work should be carried out by a suitably qualified and competent person, in strict accordance with current local and national safety regulations (BS 7671 in the UK). Installation, repairs and other work by unqualified persons could be dangerous. The manufacturer cannot be held liable for unauthorised work. -
Page 34: Connection Cable
A damaged cable must be replaced with a special pvc insulated connection cable of type H 05 VV-F, available from Miele. It must be replaced by a Miele approved service technician. The connection data are quoted on the data plate. -
Page 35: Energy Efficiency Class
Energy efficiency class This appliance is rated energy efficiency class A in accordance with EN 50304. Tests were carried out using "Cake plus". - Page 36 Alteration rights reserved / 0111 M.-Nr. 07 731 960 / 04...
Need help?
Do you have a question about the DGC 5080 XL and is the answer not in the manual?
Questions and answers