Advertisement
PREPARING THE LOCATION
To mount your speaker, you need the following items
(not supplied, available at electronics stores):
• Gyprock/plaster or keyhole saw
• Phillips screwdriver
• 16-20 gauge speaker wire (NAS Model # SPD250, 0.75mm²)
• Wire stripper
• Pencil or marker
1. Be sure the mounting surface is between 10mm (3/8") and 25mm
(1") thick, with at least a 69mm (2 3/4") clearance behind the
mounting surface. There should be no wall studs or other objects
blocking the back of the speaker.
2. Cut the circular-shaped template
out from the card supplied,
then trace around the template
using a pencil/marker to mark
the hole to be cut out from the
mounting location.
3. Use a plaster or keyhole saw to
cut the hole.
PREPARING THE SPEAKER
If you choose to paint the frame and grille, paint them and let them
dry before you connect the speaker wire or mount the speaker.
To remove the grille for painting, use the grille remover provided.
Alternatively, if
your grille remover
is misplaced;
MOUNTING THE SPEAKER
1. Use the grille remover
provided to remove the
grille, put the speaker in
the cut-out hole.
(The allowed thickness of
the ceiling: 10mm-25mm)
2. Use the thin end of the L-shaped wrench provided to install the
speaker. Push upward,
the mounting tabs should
rotate 180º clockwise, the
speaker will fix itself to the
installation location. If you
don't have the plastic
L-shaped wrench,
use the 6mm (1/4")
hexagon wrench.
3. The mounting tabs
will be locked as
The mounting tabs are locked
per the picture.
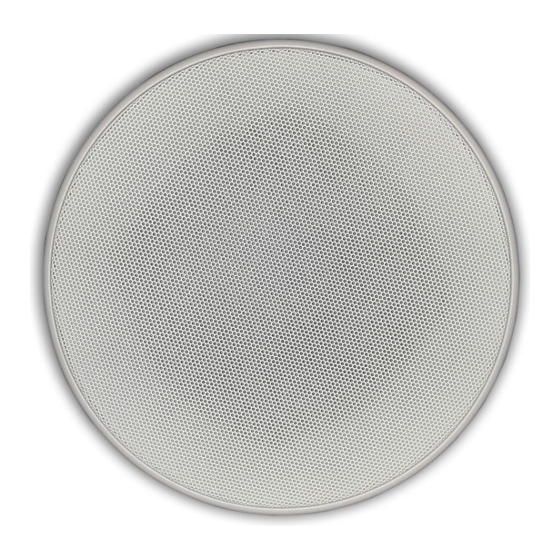
EZ 5/EZ 8 CEILING SPEAKER: OWNER'S MANUAL
insert a paperclip into one of the grille openings then pull up, or;
carefully twist the plastic frame back-and-forth until the grille edge
becomes exposed then lift the grille to remove it.
Carefully remove the dust cloth from
behind the grille and replace it after you
are finished painting.
Before painting the speaker frame
(to prevent paint from entering the
speaker) remove the grille and insert the
supplied cardboard paint mask. Once
paint is dry, remove the paint mask and
replace the grille.
CONNECTING THE SPEAKER WIRES
NAS sells a wide selection of speaker wire. We recommend you use
wire that is colour-coded or marked on one side to help you connect
the wire correctly and maintain phase.
1. Route the speaker wire to the
speaker from the receiver.
2. Separate about 101mm (4")
of speaker wire at each end.
3. Using a wire stripper, remove
about 6mm (1/4") of insulation
from each wire. Twist the ends
of each wire.
4. Connect the marked wire to a red speaker terminal by pressing the
release tab. Repeat this procedure to connect the unmarked wire
to the black terminal.
5. Connect the marked wire coming from the speaker to the left
channel of the receivers positive (+) terminal.
Connect the unmarked wire to the left channel of the amplifiers
negative (-) terminal.
TO REMOVE THE SPEAKER
1. Use the thick end of the
L-shaped wrench. Turn the
wrench counter-clockwise
and the mounting tabs will
rotate at the same time;
keep turning the wrench
counter-clockwise until the
mounting tabs unlock with
a click.
2. The mounting tabs should
now be open and the
speaker will be removable
from the mounting location.
3. Remove the speaker from
the mounting location.
Paint Mask
Advertisement
Table of Contents

Related Manuals for inDESIGN EZ 5


Summary of Contents for inDESIGN EZ 5
- Page 1 EZ 5/EZ 8 CEILING SPEAKER: OWNER’S MANUAL PREPARING THE LOCATION insert a paperclip into one of the grille openings then pull up, or; carefully twist the plastic frame back-and-forth until the grille edge To mount your speaker, you need the following items becomes exposed then lift the grille to remove it.
- Page 2 EZ 5/EZ 8 CEILING SPEAKER: SPECIFICATIONS EZ 5 EZ 8 SPECIFICATIONS EZ 5 EZ 8 Impedance 8ohms Speaker Size 5 - ¼” 133.35mm 8” 203.2mm SPL 1W @ 1m 87dB 88dB Freq Response ± 5dB 55Hz - 20kHz 50Hz - 20kHz Transformer Taps 6, 3, 1.5W...
Need help?
Do you have a question about the EZ 5 and is the answer not in the manual?
Questions and answers