Advertisement
Quick Links
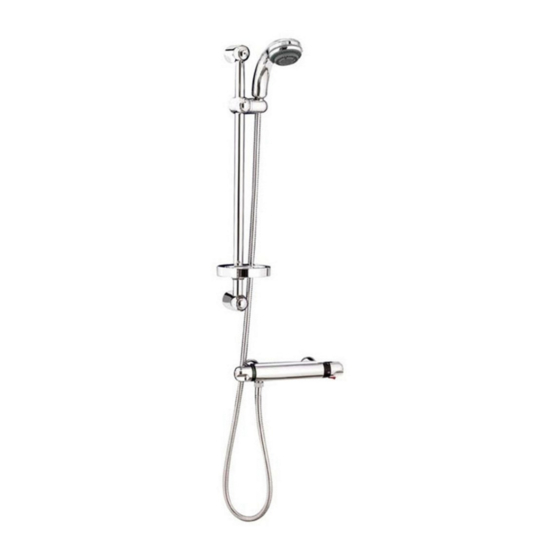
Danube T Shower Kit_D50010004
Min 0.3 bar required
Please retain this document
Please retain this document
for future reference.
for future reference.
This product should be fitted
This product should be fitted
in compliance with Water
in compliance with Water
Regulations, by a qualified
Regulations, by a qualified
plumber.
Use only a clean damp cloth
to maintain the surface
finish, use of abrasive
cleaning materials will
invalidate your guarantee.
Advertisement

Related Manuals for Roca Danube T D50010004


Summary of Contents for Roca Danube T D50010004
- Page 1 Danube T Shower Kit_D50010004 Min 0.3 bar required Please retain this document Please retain this document for future reference. for future reference. This product should be fitted This product should be fitted in compliance with Water in compliance with Water Regulations, by a qualified Regulations, by a qualified plumber.
- Page 2 Select location for kit, ensuring no wiring Select location for kit, ensuring no wiring Once both end brackets have been Once both end brackets have been or pipework in the wall can be damaged, or pipework in the wall can be damaged, secured, push empty rail through end secured, push empty rail through end also that when the slider bracket is...
-
Page 3: Operating Specification
Danube T Valve OPERATING SPECIFICATION Pressure Minimum working pressure - 0.3 bar Recommended working pressure 0.5 - 3 bar Maximum working pressure - 5 bar (Pressure above 5 bar must be reduced via a pressure reducer) In order to assure maximum efficiency of the mixer, the operating pressures should be balanced. - Page 4 Maintenance Installation To replace the thermostatic cartridge; (See diagram) Turn off water supply Remove the handle cap , followed by the screw Inside the handle, remove the screw Prepare the supply pipes at 150mm centres, allowing approx 22mm of pipe to exposed Pull handle from mixer from the finished wall.
- Page 5 Operation and Setting Maintenance To control the temperature of the shower, turn the left handle for more hot To replace the flow control valve: or cold water, in the direction indicated by the marking. Turn off water supply Remove handle by forcing off handle cap To control the flow of water turn the handle to regulate the flow of water from the Inside the handle, remove the screw shower in the direction shown on the mixer.
Need help?
Do you have a question about the Danube T D50010004 and is the answer not in the manual?
Questions and answers