Table of Contents
Advertisement
Quick Links
Advertisement
Table of Contents

Related Manuals for Doro AFTI 45


Summary of Contents for Doro AFTI 45
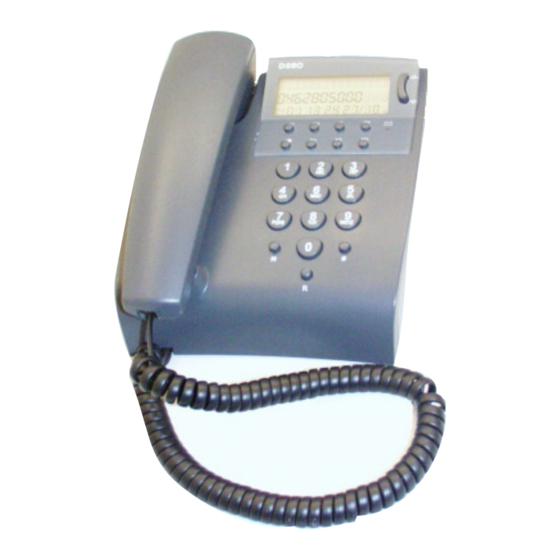
- Page 1 AFTI 45 English Telephone with Caller ID User guide...
- Page 2 www.doro.com...
-
Page 3: Installation
3. The screws should locate into the two ‘keyholes’ on the back of the telephone. 4. Remove the hanging peg (located by the hook switch) by pushing it upwards. 5. Rotate the hanging peg 180 degrees, and then replace it. www.doro.com... -
Page 4: Setting The Time And Date
, MEMORY will be displayed. 2. Scroll until SETTINGS is displayed using . Press 3. Scroll until LANGUAGE is displayed using . Press 4. Scroll until the desired language you require is shown using . Press 5. Confirm the programmed settings by pressing www.doro.com... -
Page 5: Operation
The handset earpiece volume may be adjusted during a call using . Press the button once to increase the volume, press again to decrease the volume. Ringer The ringer characteristics are adjusted using switches located on the underside of the telephone: Ringer volume Ringer type Ringer tone www.doro.com... -
Page 6: Display Contrast
Access to additional network services can be gained by using the recall button keys. Contact your network operator for more information. Hearing Aid Compatible This telephone is hearing aid compatible. Select the T mode on your hearing aid to enable this feature. www.doro.com... -
Page 7: Caller Identification
Dialling a number from CID This function allows the telephone number currently shown on the display to be dialled. 1. Scroll to the desired telephone number using 2. Lift the handset and press . The displayed telephone number will now be dialled. www.doro.com... - Page 8 . The display will show ERASE? 3. Press again to confirm. Erasing ALL numbers from CID 1. Scroll to any telephone number in the CID list using 2. Press and hold until ERASE ALL? is displayed. 3. Press again to confirm. www.doro.com...
- Page 9 MEMORY Under this setting you can store, change or erase entries in the phone book, and the direct memory (CARE) number. SETTINGS To programme date and time, display contrast, least cost routing (LCR) and language selections for display texts. www.doro.com...
-
Page 10: One-Touch Memories
1. Open the top half of the Hook switch cover by pulling on the exposed upper edge. 2. Place the memory list in the recess provided in the bottom half of the Hook switch cover. 3. Close the top half of the hook switch by carefully clipping it into place. www.doro.com... - Page 11 4.......... G H I 4 5.......... J K L 5 6.......... M N O Ö Ø 6 7.......... P Q R S 7 8.......... T U V 8 9.......... W X Y Z 9 0.......... [Space character] 0 * .......... * #.......... # www.doro.com...
- Page 12 5. Repeat the above to erase further memories, or press to return to standby mode. Dialling Numbers from the Phone Book 1. Press . Memory location 01 is displayed. 2. Scroll to the desired memory location using 3. Press . The displayed telephone number will now be dialled. www.doro.com...
-
Page 13: Least Cost Routing (Lcr)
6. If you have entered less than four digits, press to move on. 7. Enter the new dialling sequence (up to eight digits, e. g. 950200). If there’s already a number entered here, it can be erased using 8. Confirm the programmed settings by pressing www.doro.com... - Page 14 6. If you have entered less than four digits, press to move on. 7. Enter the new dialling sequence (up to eight digits, e. g. 9 or 09). If there’s already a number entered here, it can be erased using 8. Confirm the programmed settings by pressing www.doro.com...
-
Page 15: Troubleshooting
9AM - 5PM Monday-Friday excluding Bank Holidays. Alternatively, E-mail on: tech@doro-uk.com You can contact us in writing: Consumer Support Group, Doro UK Ltd., 22 Walkers Road, North Moons Moat, Redditch, Worcestershire, B98 9HE, (regarding any Spares or Technical query), or Telephone (Spares only): 01527 584377 Web site: www.doro-uk.com... - Page 20 www.doro.com...
Need help?
Do you have a question about the AFTI 45 and is the answer not in the manual?
Questions and answers