Table of Contents
Advertisement
Quick Links
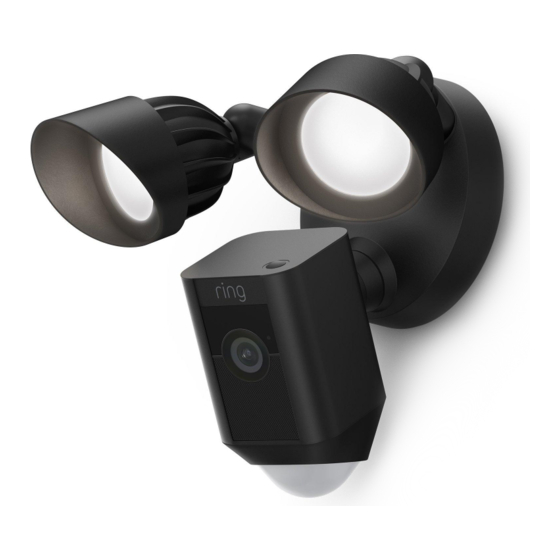
Floodlight Cam Wired Plus Installation Guide
Before you begin
WARNING: Electrical shock hazard. Disconnect power to the installation area at your circuit breaker
or fuse box before beginning installation. Always use caution when handling electrical wiring.
Installation by a qualified electrician may be required in your area. Refer to your local laws and
building codes before performing electrical work; permits plus professional installation may be
required by law.
Turn off power at the fuse box before installing.
Verify that the supply voltage is correct. Connect fixture to a 100~240 VAC 50/60 Hz power
source.
The earth wire must be connected to the light fixture. DO NOT INSTALL if a working earth
connection is not available.
Do not connect this light fixture to a dimmer switch or timer.
CAUTION: Risk of fire.
Do not install near combustible or flammable surfaces. Floodlight Cam Wired Plus must be installed
on a wall or eve.
Installation Steps
To install your Floodlight Cam Wired Plus device, follow these steps:
1. Open the Ring app and select Set Up a Device. Then follow the in-app instructions.
2. Scan the QR code found on the front of the manual, or on the back of the camera. This identifies
your Ring device to make setup fast and easy.
Support centre
How to Use
How can we help?
Advertisement
Table of Contents

Subscribe to Our Youtube Channel
Related Manuals for ring Wired Plus


Summary of Contents for ring Wired Plus
- Page 1 Do not connect this light fixture to a dimmer switch or timer. CAUTION: Risk of fire. Do not install near combustible or flammable surfaces. Floodlight Cam Wired Plus must be installed on a wall or eve. Installation Steps To install your Floodlight Cam Wired Plus device, follow these steps: 1.
- Page 2 Prep your Floodlight Cam Wired Plus for installation First, rotate the light out of the way, like this: If you’re mounting on an eave or overhang, your camera is already in position.
- Page 3 Remove your existing floodlight 1. With power off at the fuse box, remove the existing floodlight from the wall and disconnect the wires. If there is a bracket attached to the wall, remove that as well. 2. Remove the plastic mounting plate from the light fixture. Push gently on the threaded posts visible on the front of the fixture and pull the bracket free.
- Page 4 Run the wires through the hole in the mounting plate. Install the mounting plate with the two posts level with the ground, or level with the wall if mounting on an eave or overhang. Ensure the “UP” arrow is pointing upwards for wall mounting, and away from the area to be monitored for eave and overhang mounting.
- Page 5 Phillips head end of the screwdriver. Hang it up Locate the nylon strap on the back of the Floodlight Cam Wired Plus light fixture, and loop the plastic buckle at the end over the plastic hook on the mounting plate. Make sure the buckle and...
- Page 6 Connect the wires from the light fixture With power still turned off at the fuse box, slide the earth wire into the centre bay on the top of the terminal block and tighten with the flathead end of the included screwdriver. Then slide the line wire into the bay on the top of the terminal block marked “L”...
- Page 7 14. Restore power at the fuse box Now that the Floodlight Cam Wired Plus is installed, you can turn power back on at the fuse box. The lamps will flash once it’s powered on. Complete setup in the Ring App Once your Floodlight Cam Wired Plus powers on, follow the instructions to continue with setup in the app.
Need help?
Do you have a question about the Wired Plus and is the answer not in the manual?
Questions and answers